Adding chat widget to your Wix website
Add the widget code using an HTML Embed element
- Log in to your Wix dashboard and open the Wix editor.
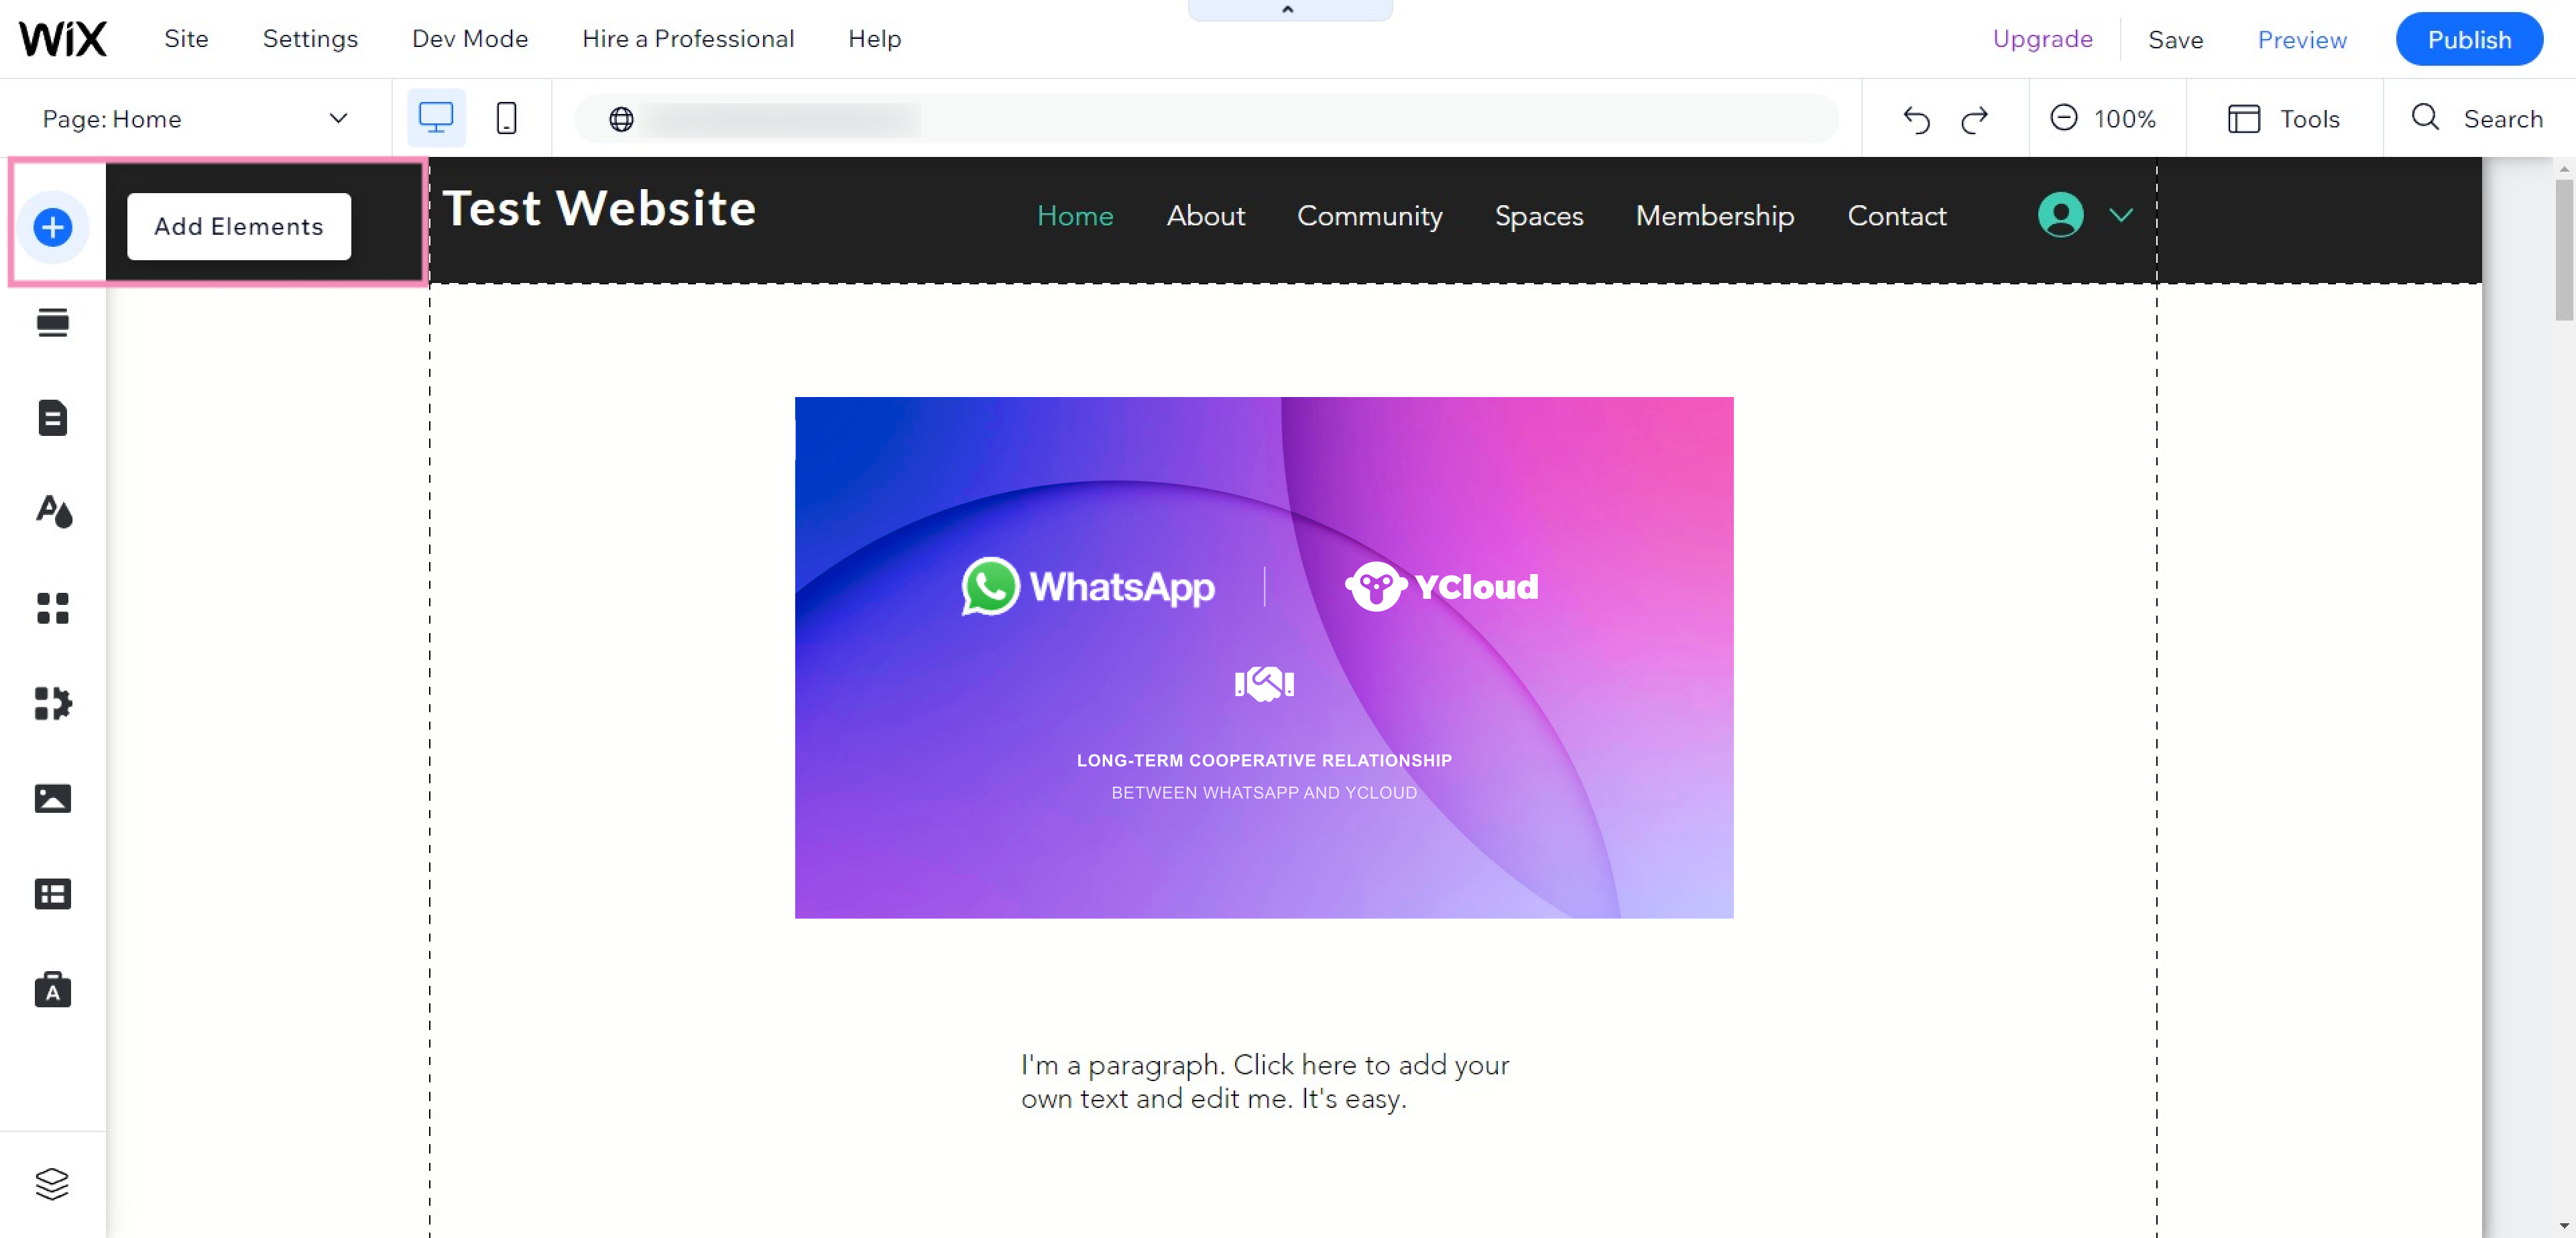
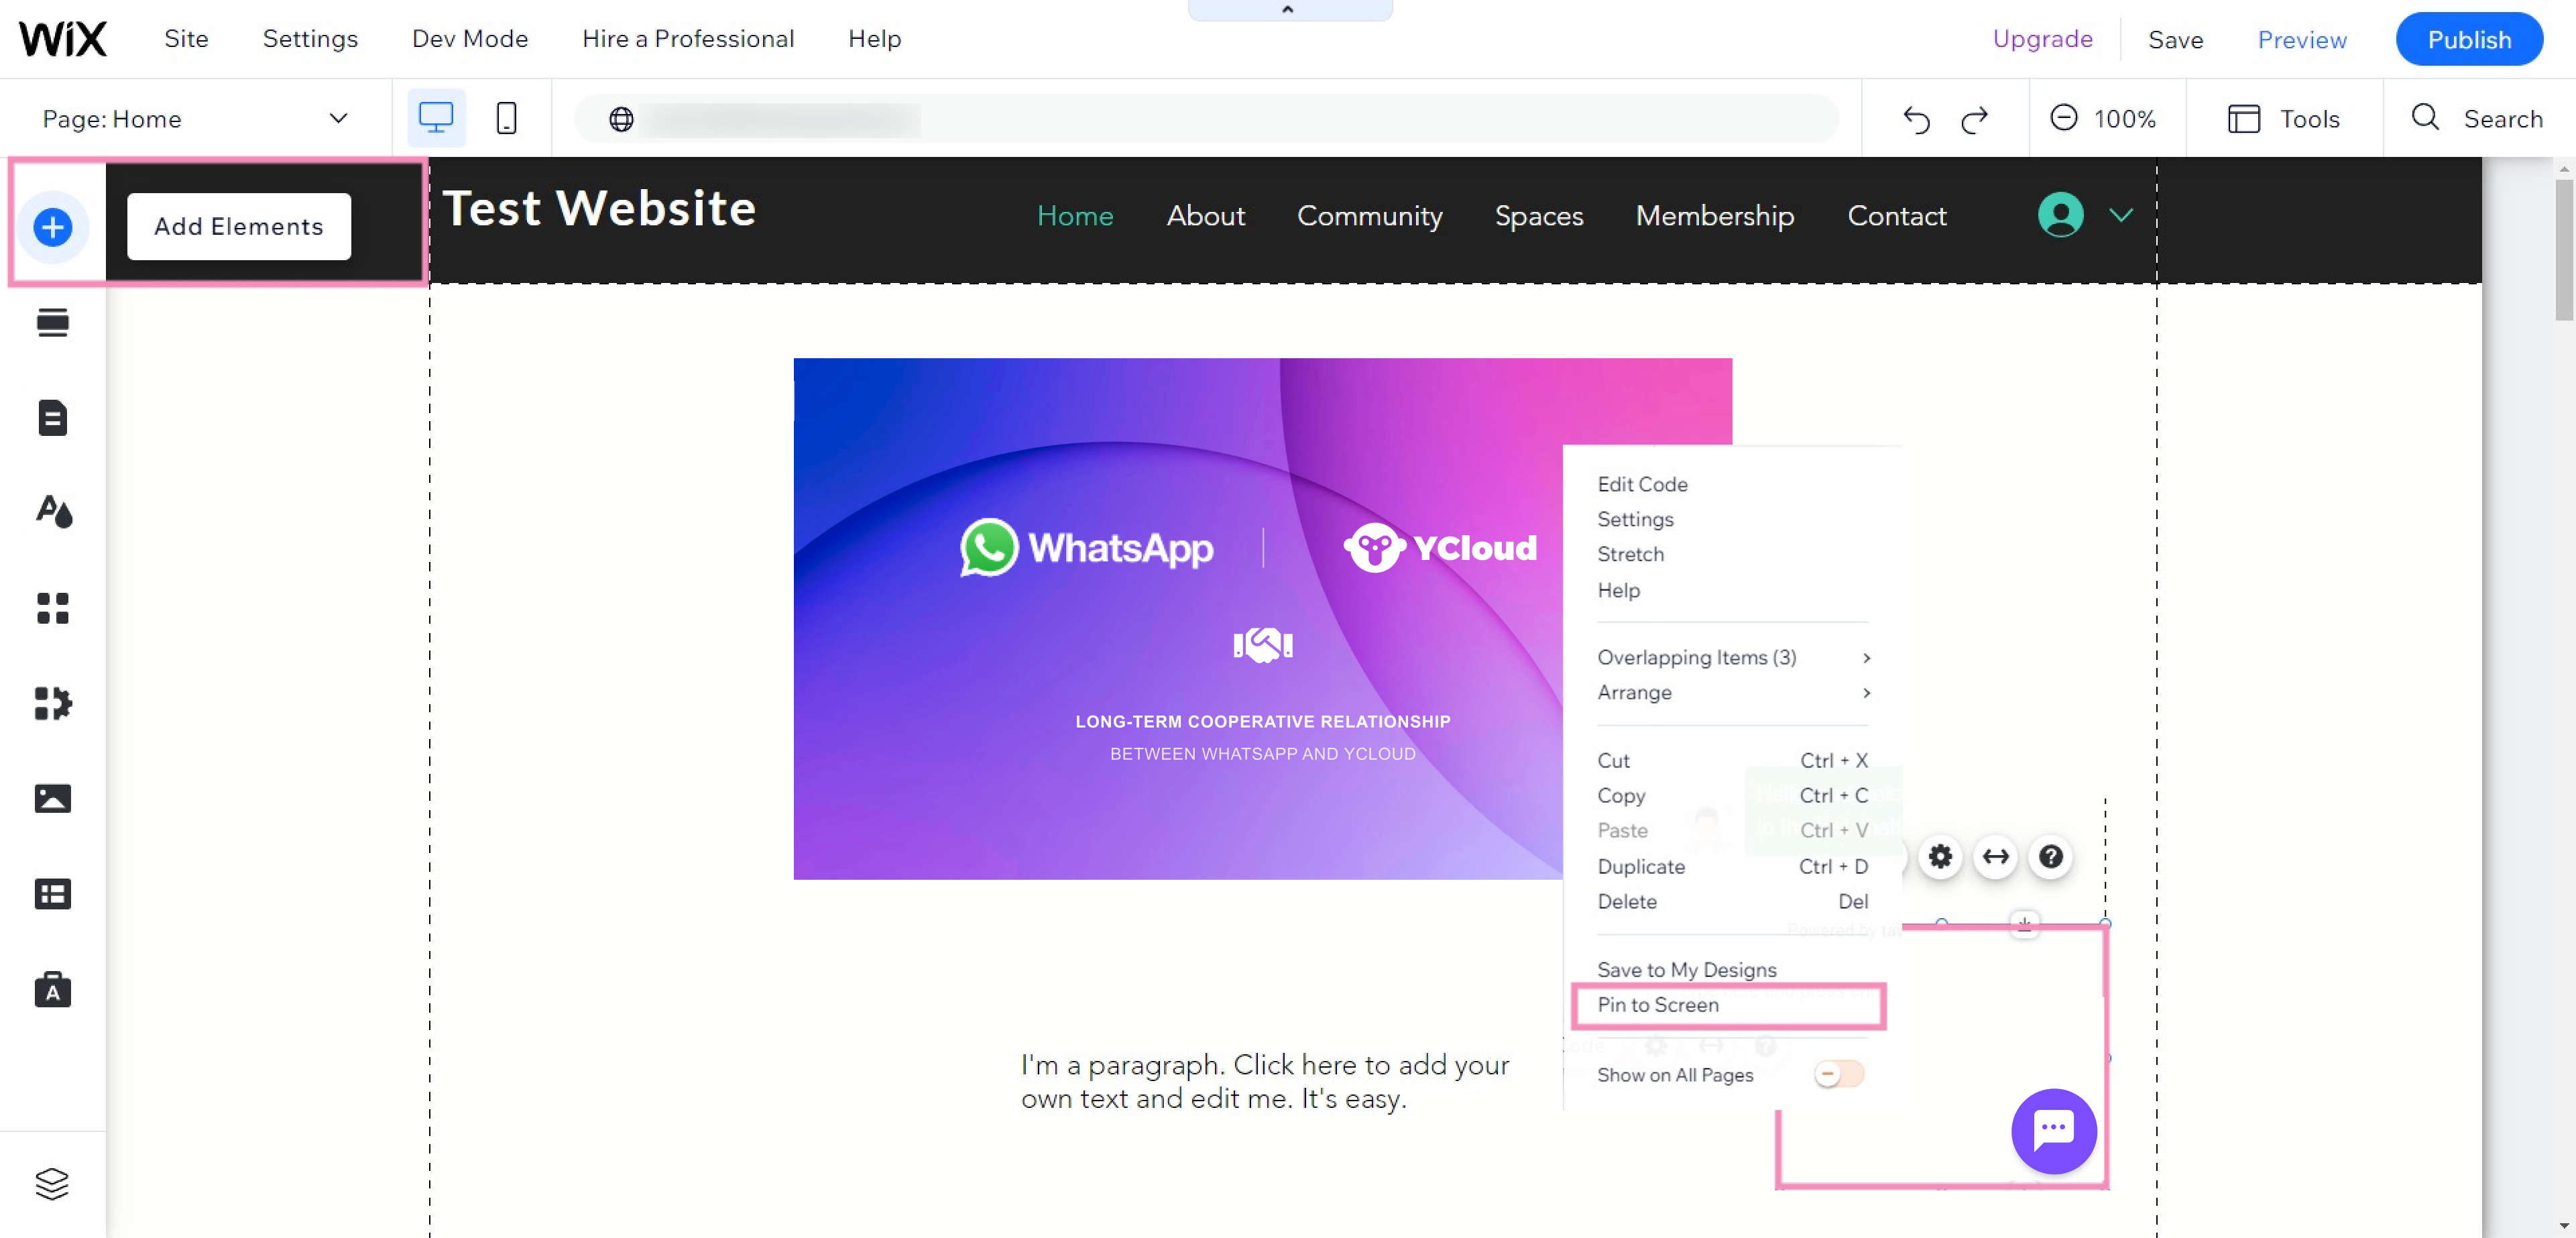
In the left icon menu, click the plus (+) icon to select Add Elements.
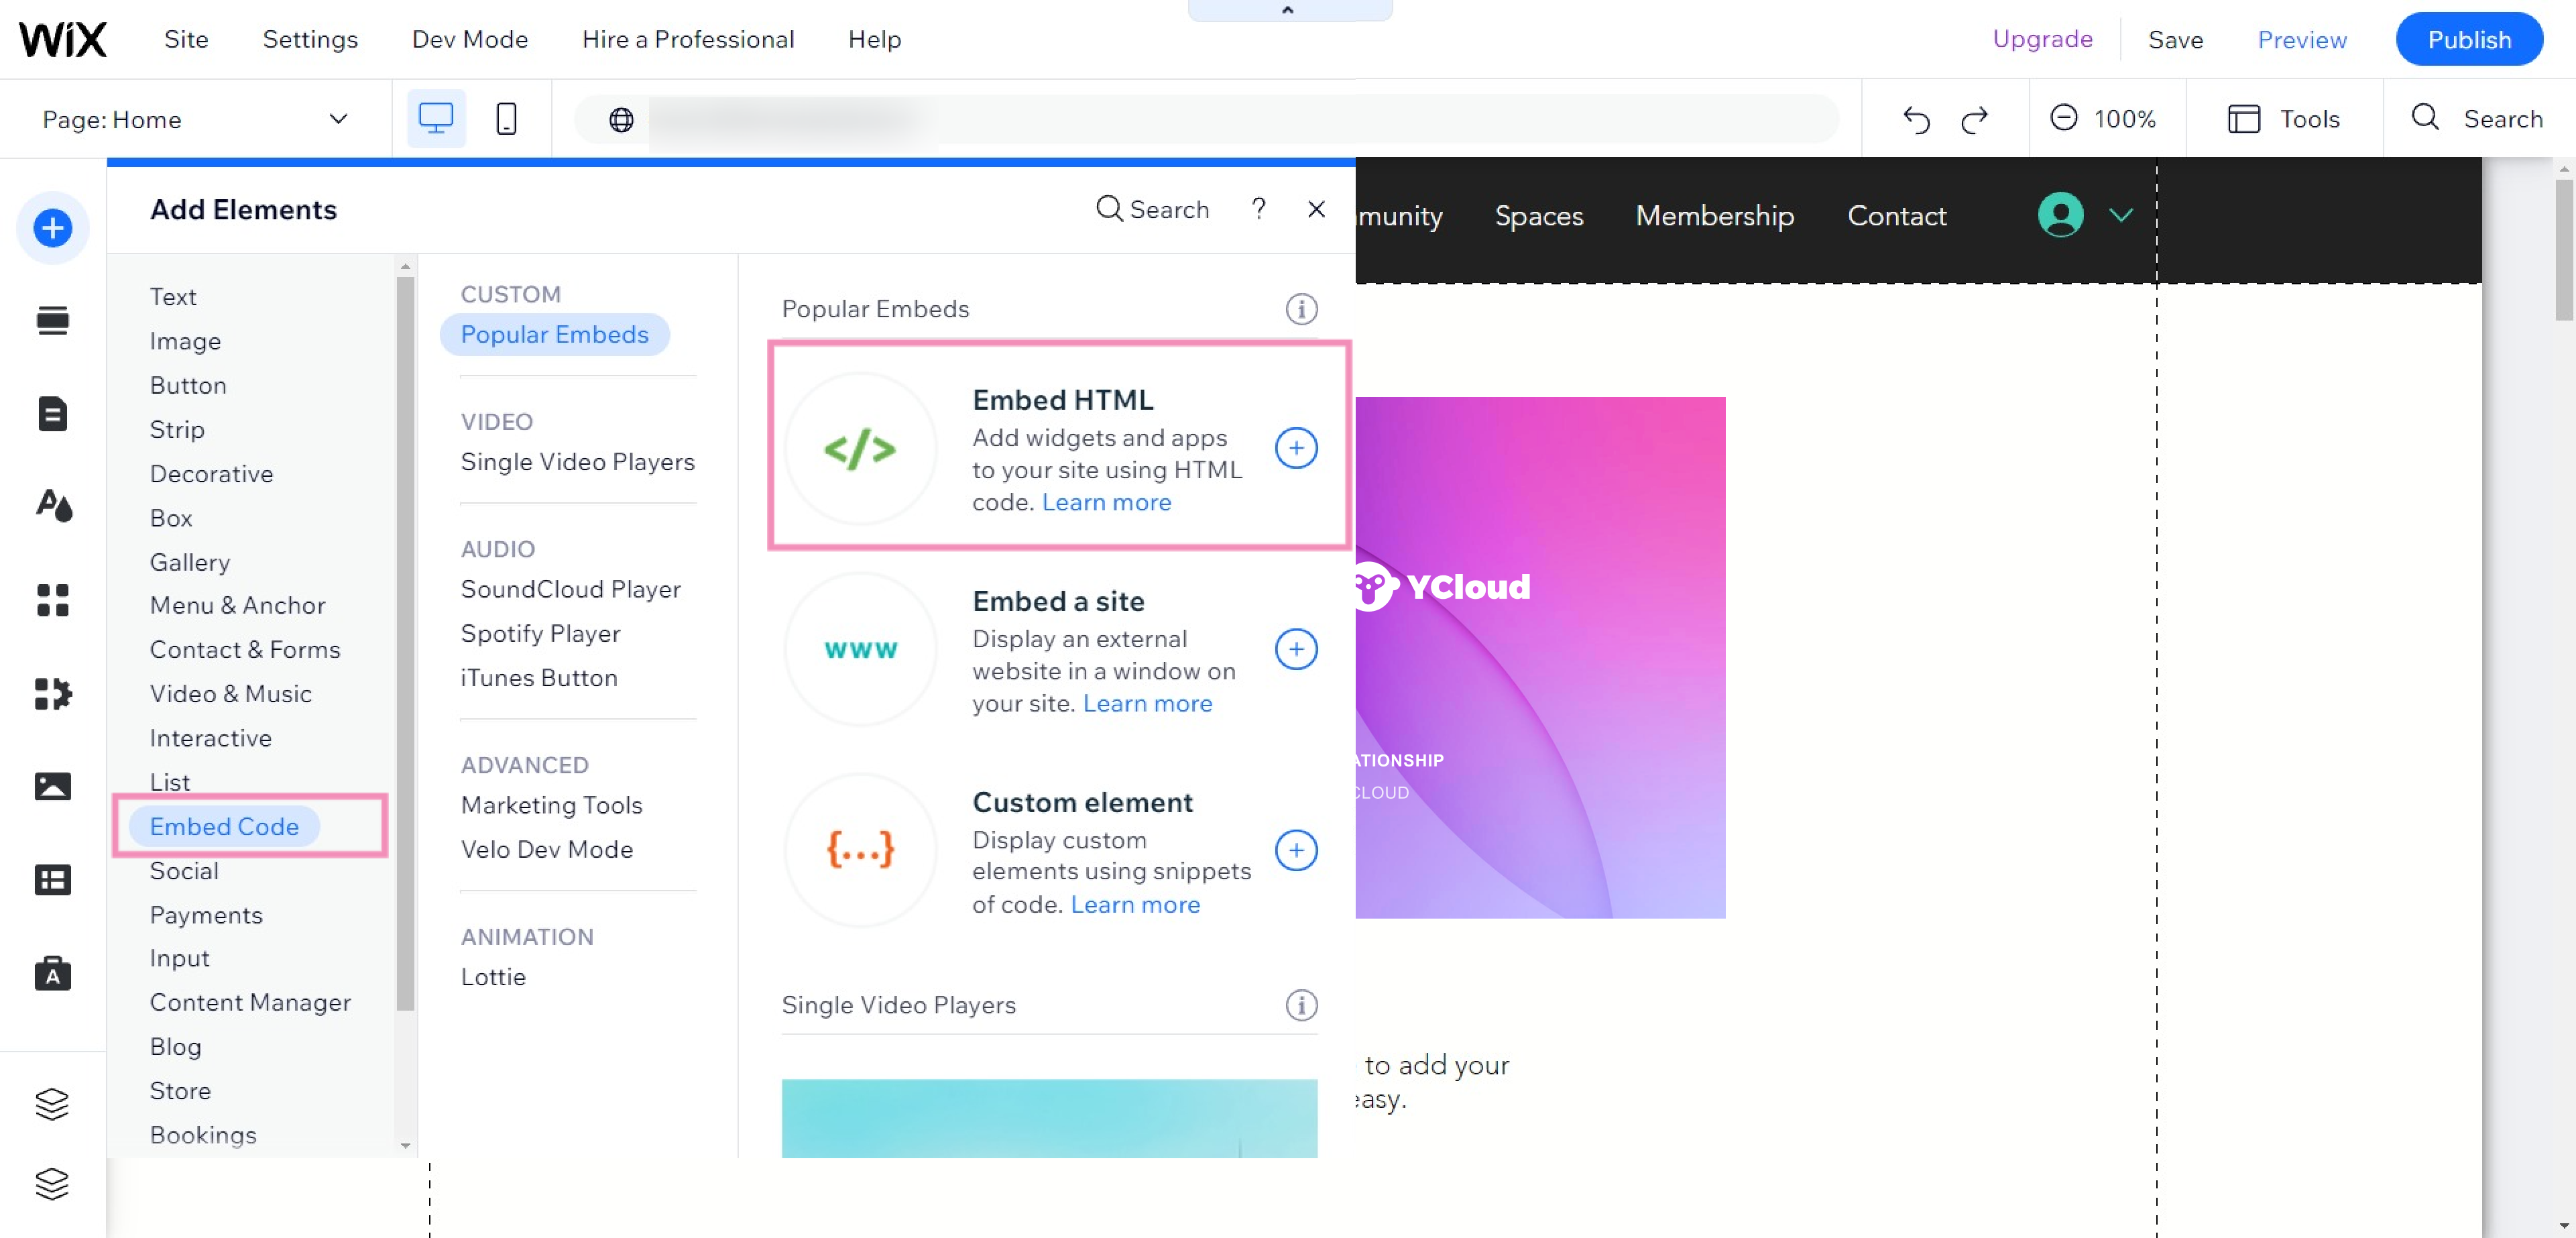
Select Embed in the left sidebar menu. Then, select Embed HTML under Popular Embeds or use the search bar to find it in the options to the right.
A new HTML box will appear
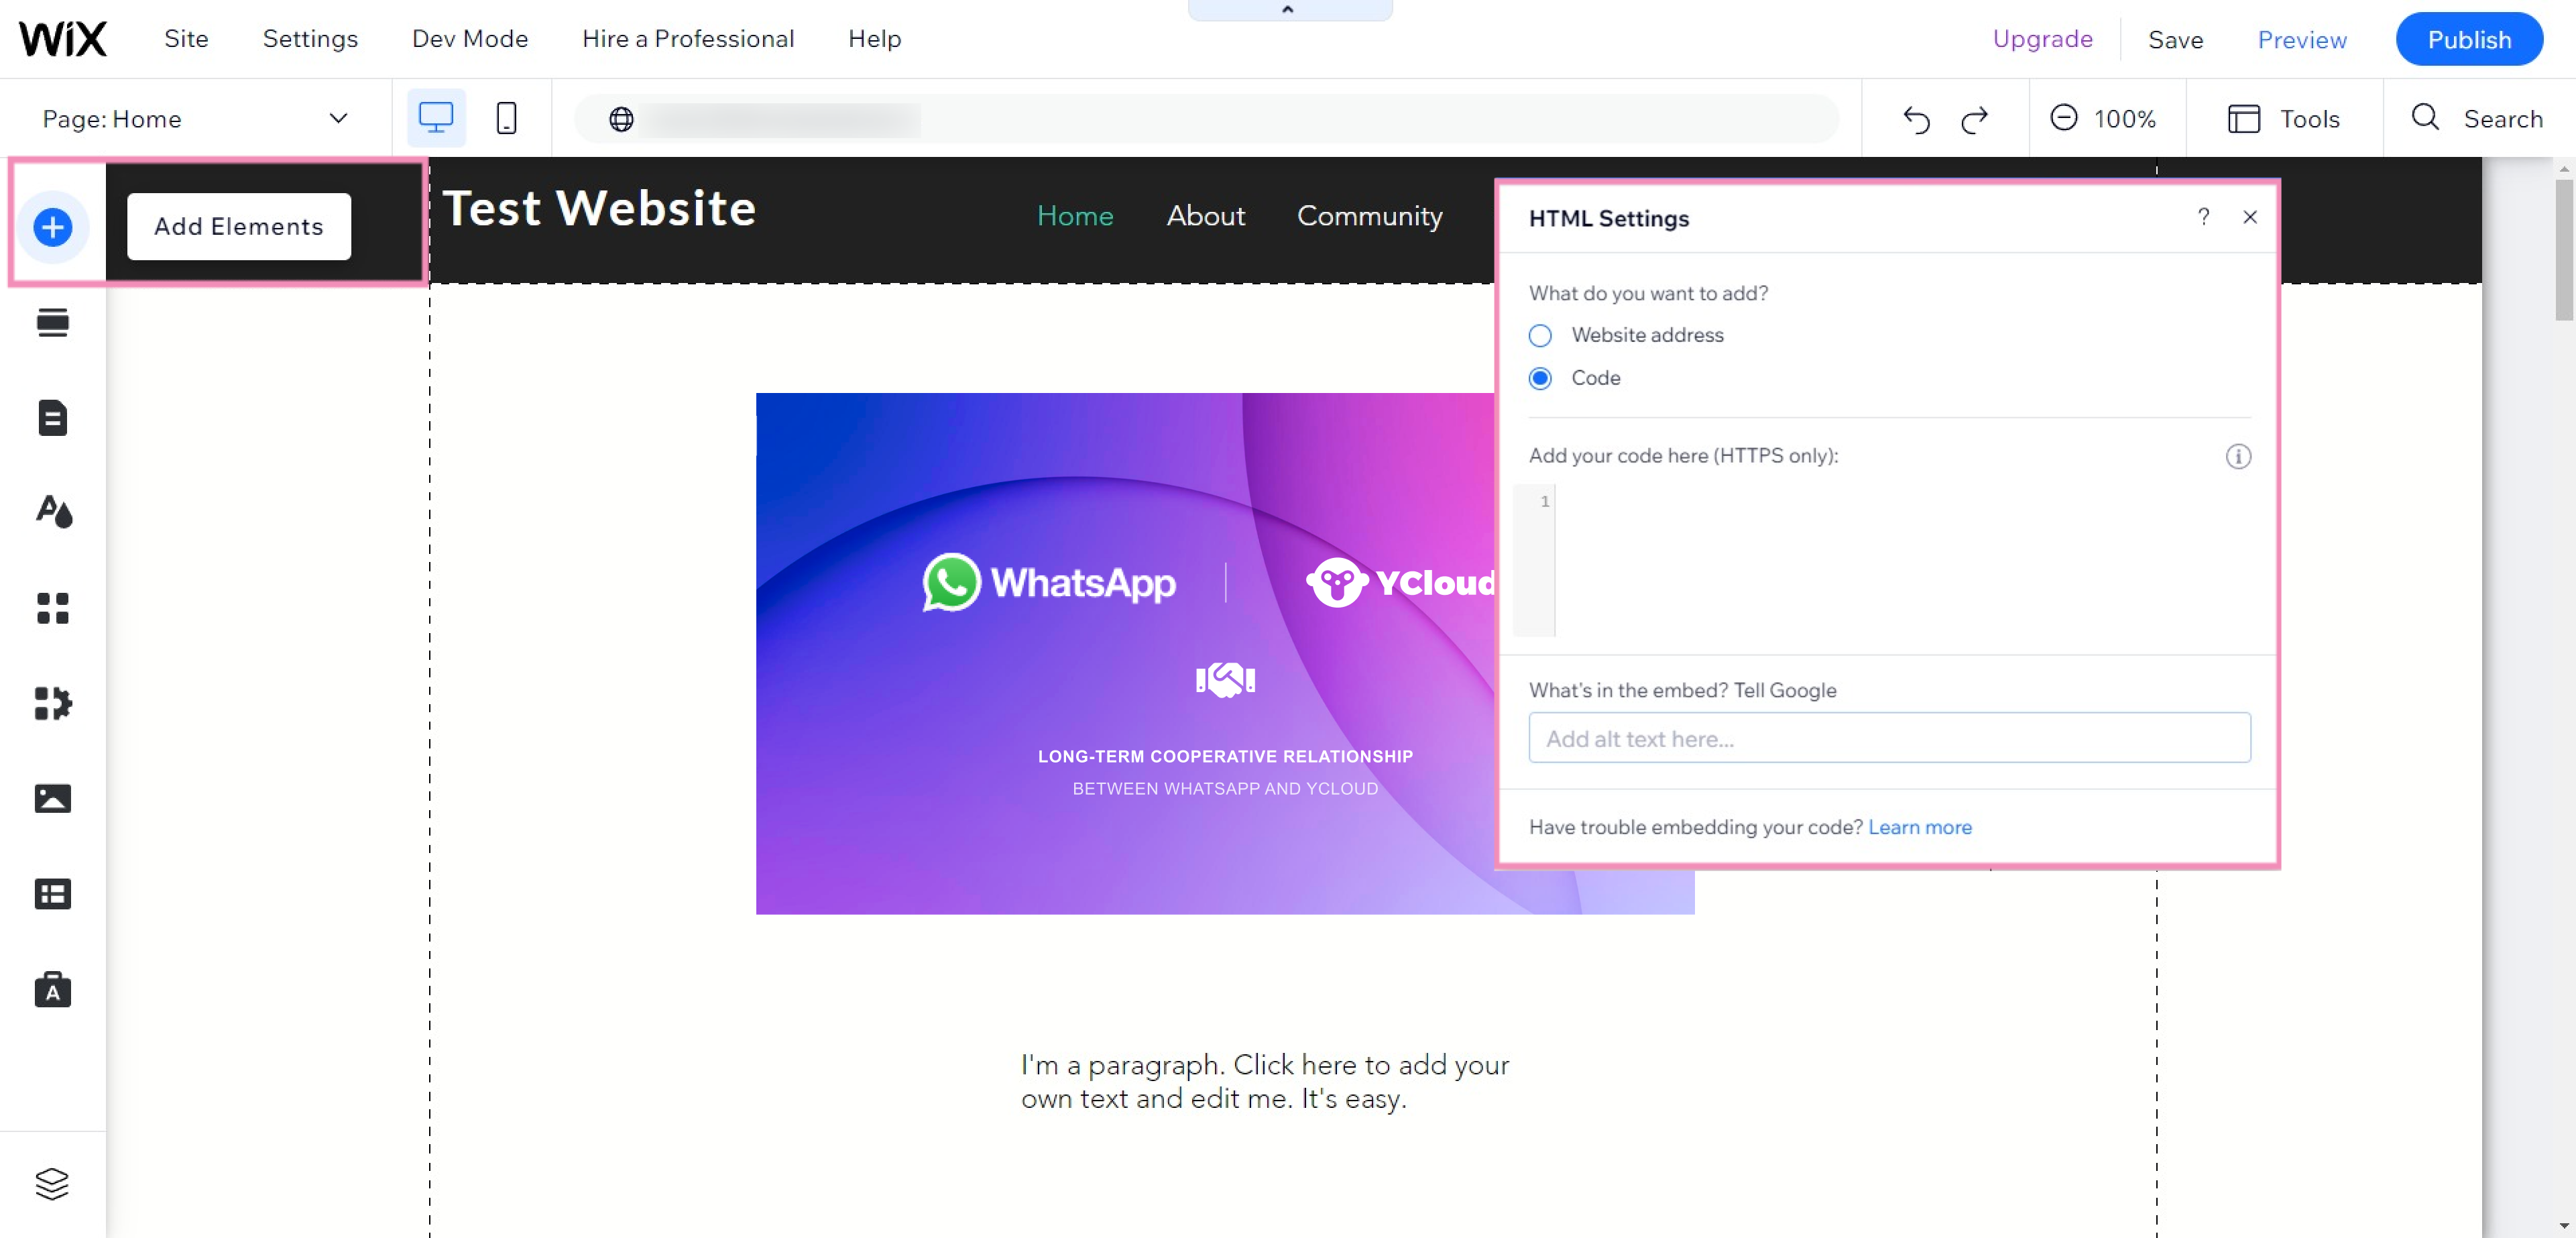
Select Code.
In the text field, paste the chat widget code you copied and click the Update button.
The chat widget will now appear in the HTML box on your page.
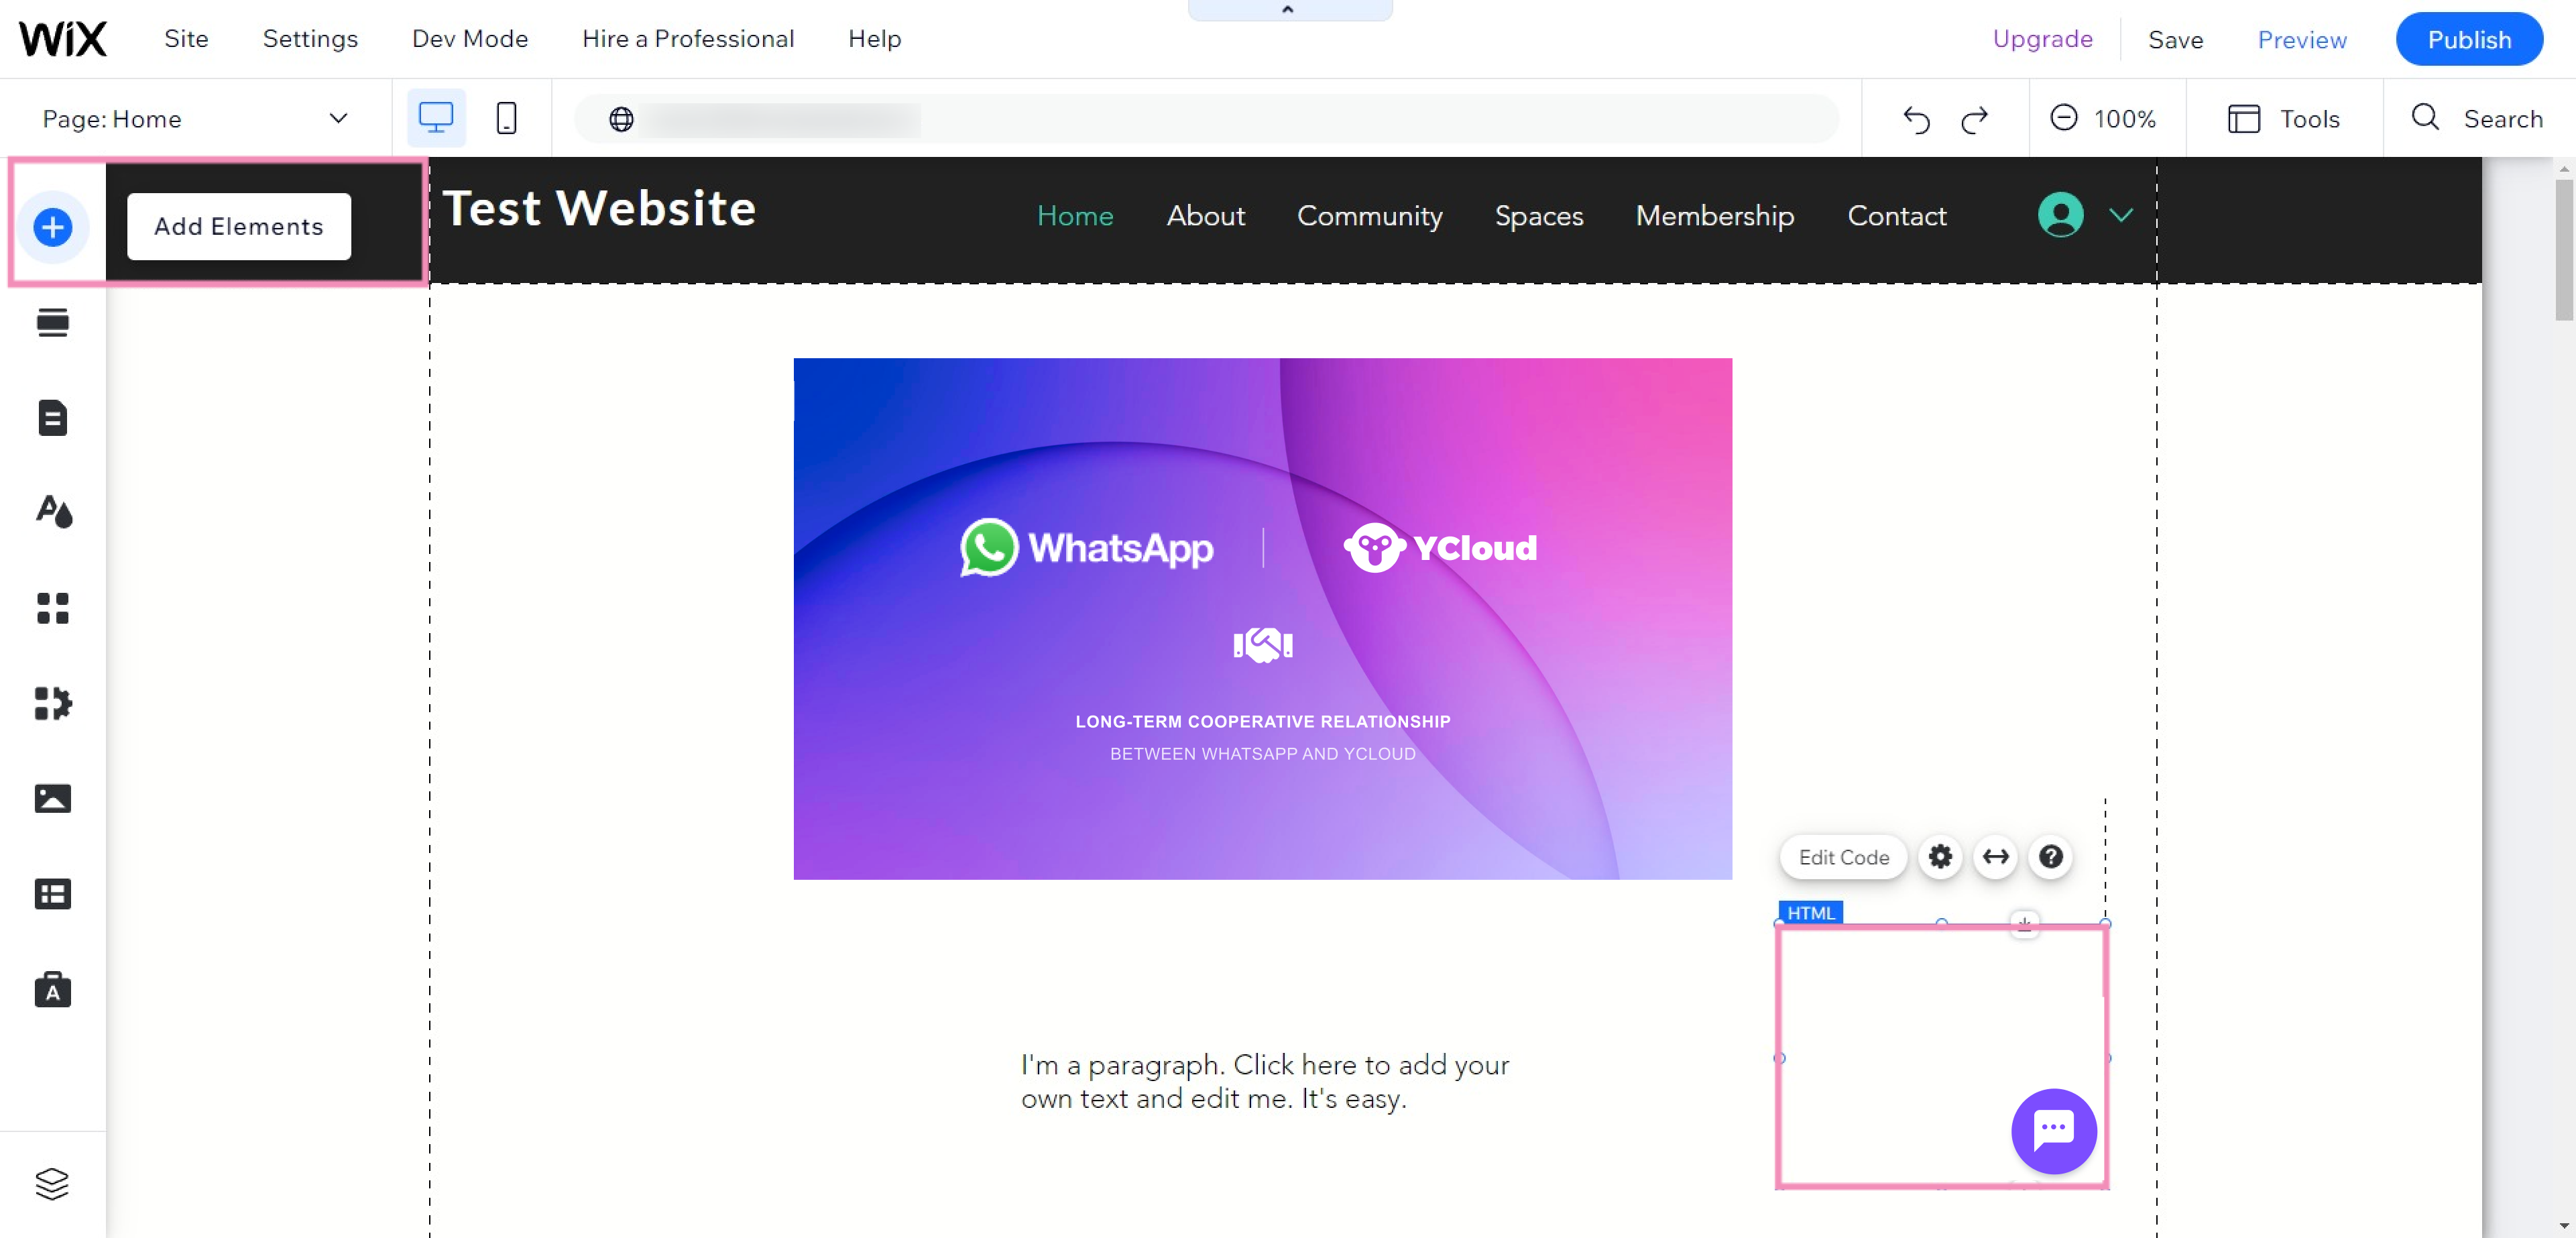
- Now we need to resize the new HTML box. Click the box once to highlight it. Then, drag it to change the size of the window here by entering values or expand the box manually by dragging it with your mouse.
Set the dimensions to the following:
Width: 500
Height: 700
The box should be big enough for the widget to expand when opened.
To freeze the position of your widget, right click on the HTML box and choose Pin to Screen. Then use the grid to choose the area where your widget will appear.
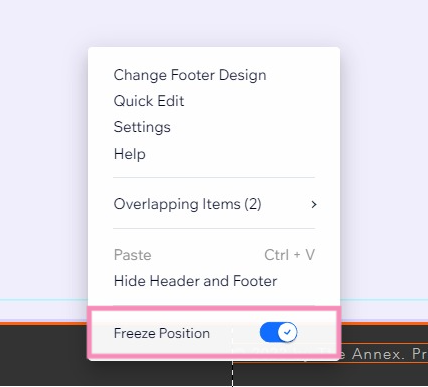
You can also pin your widget to the footer area of your site by dragging it down to the bottom of your site where the footer is. Right-click in the footer area and a small menu will pop up. At the bottom of this menu there is an option to Freeze Position.
Updated about 1 year ago
