Connect WhatsApp Inbox
Connect WhatsApp Inbox
Step 1. Open the Inbox
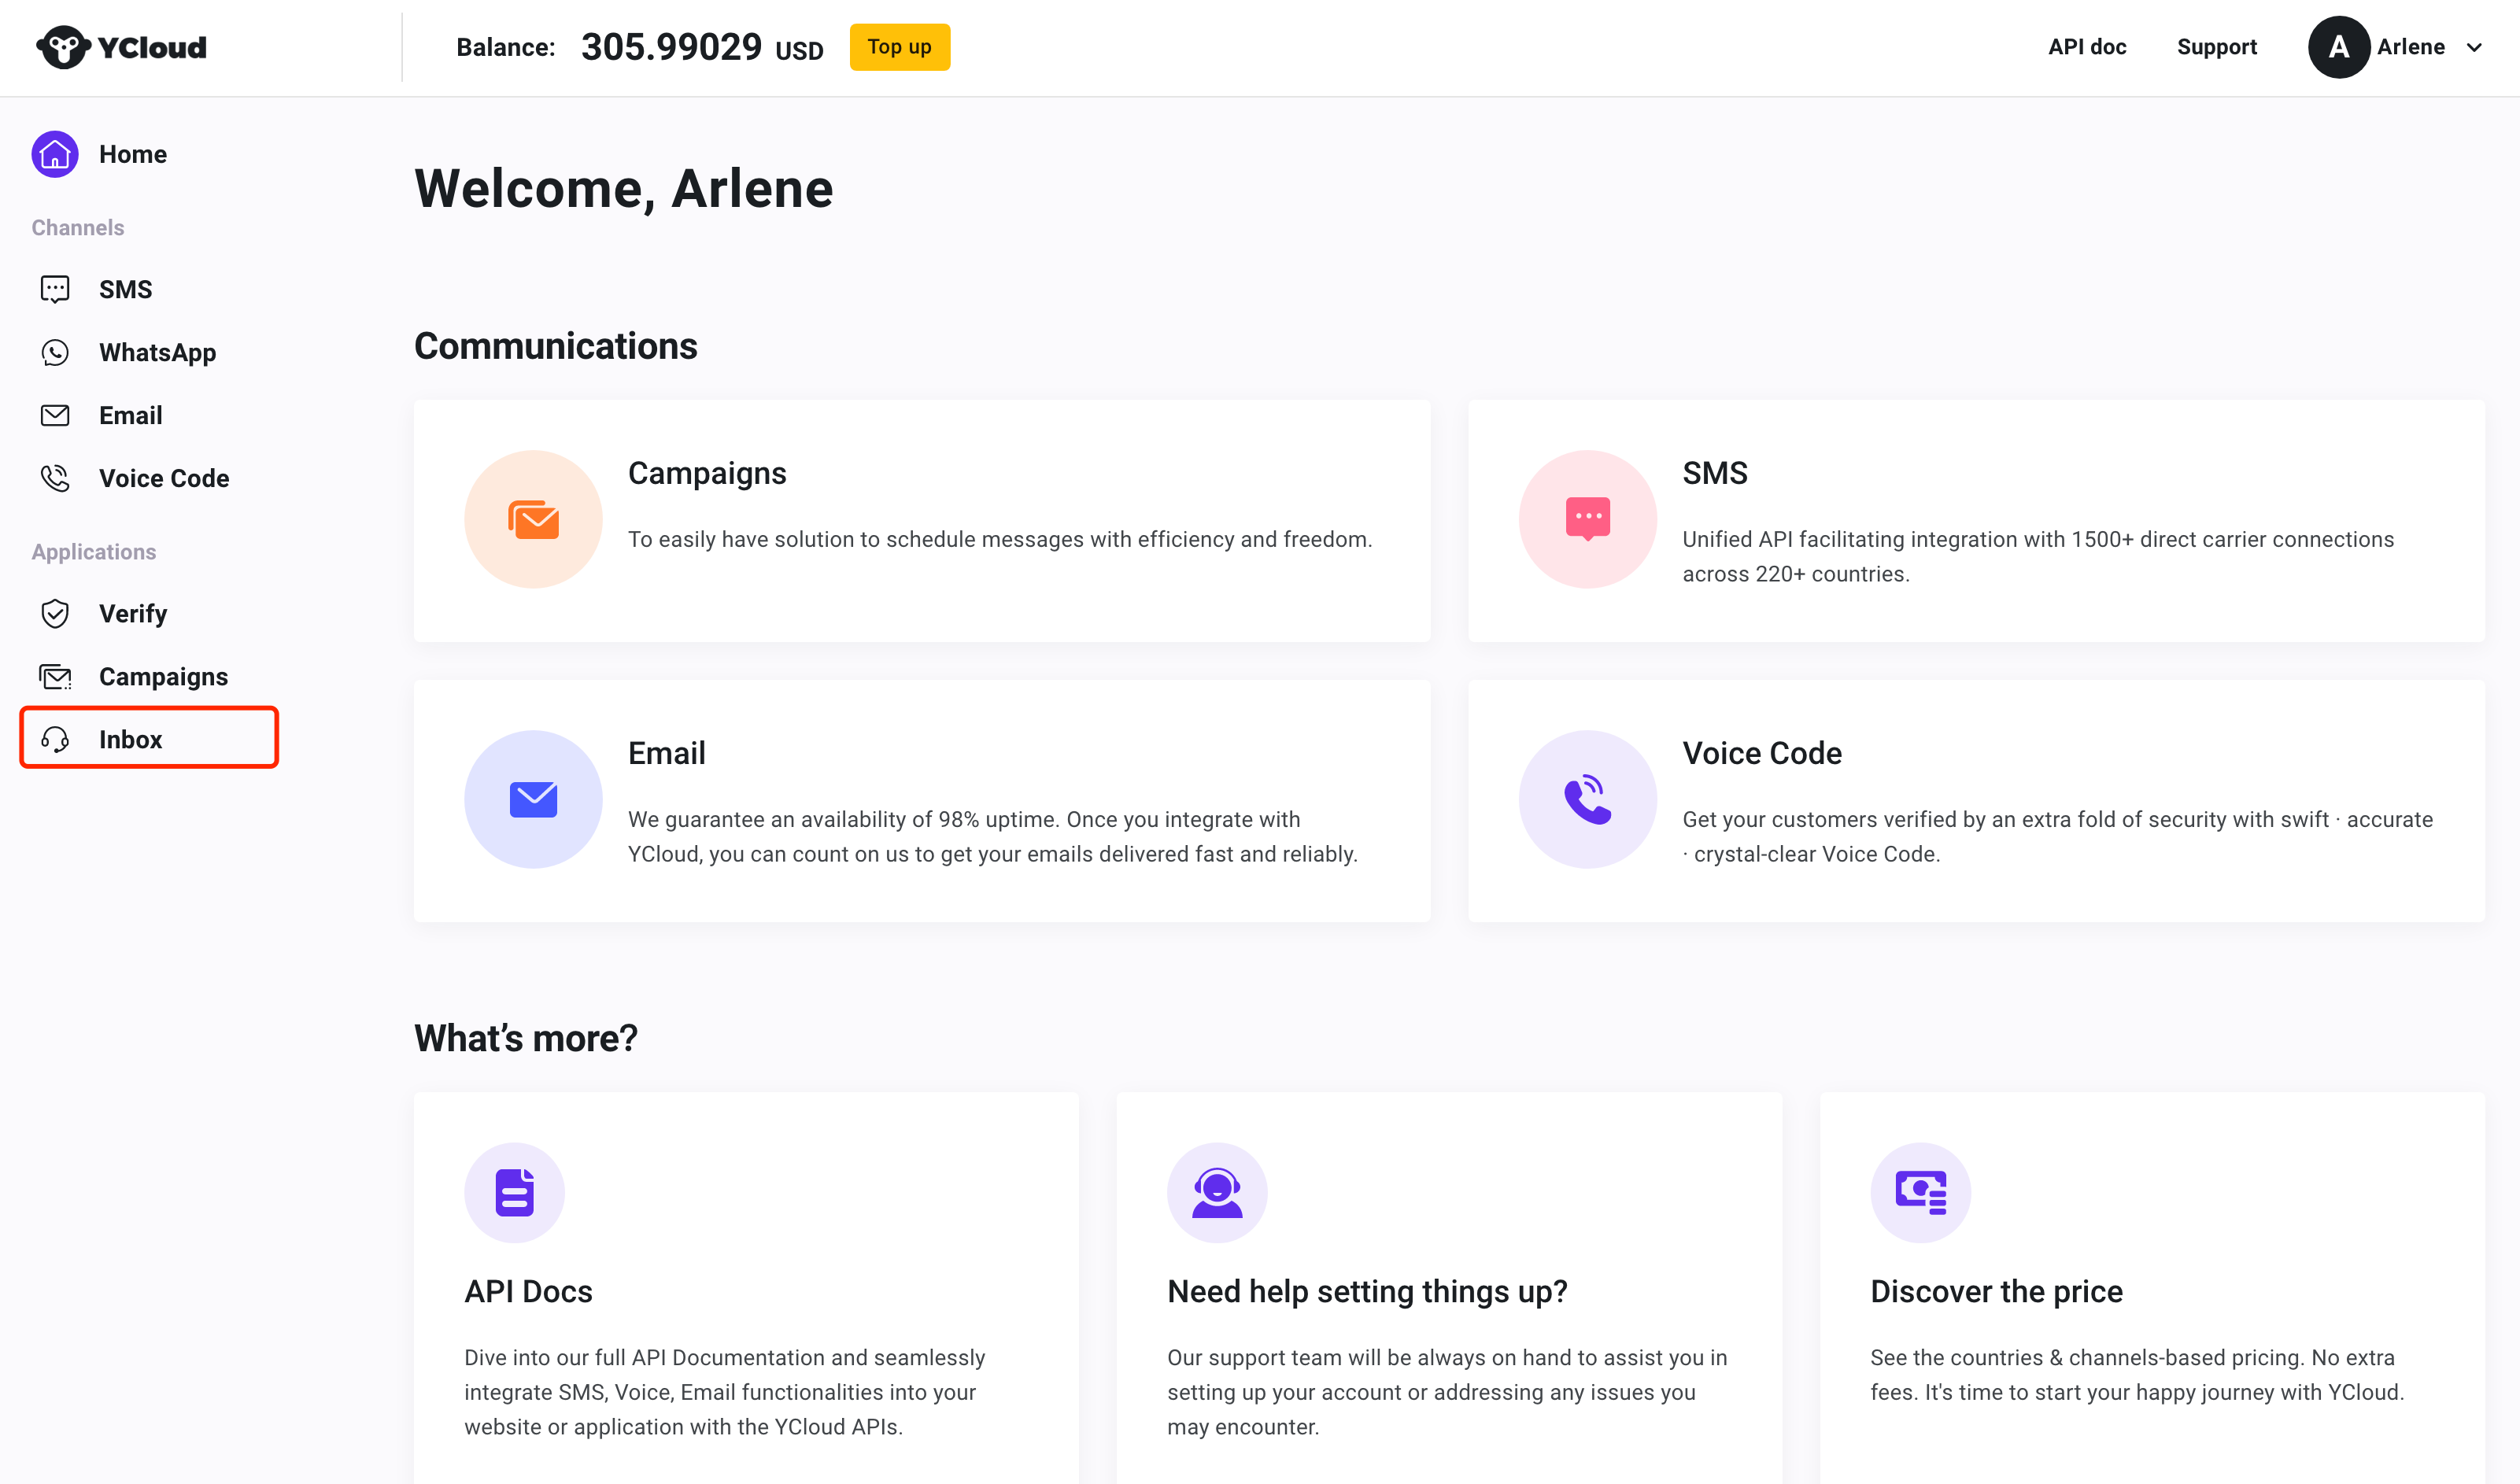
Go to Applications, and navigate to the section called Inbox. You will open your Inbox dashboard through YCloud.
Step 2. Choose WhatsApp Channel
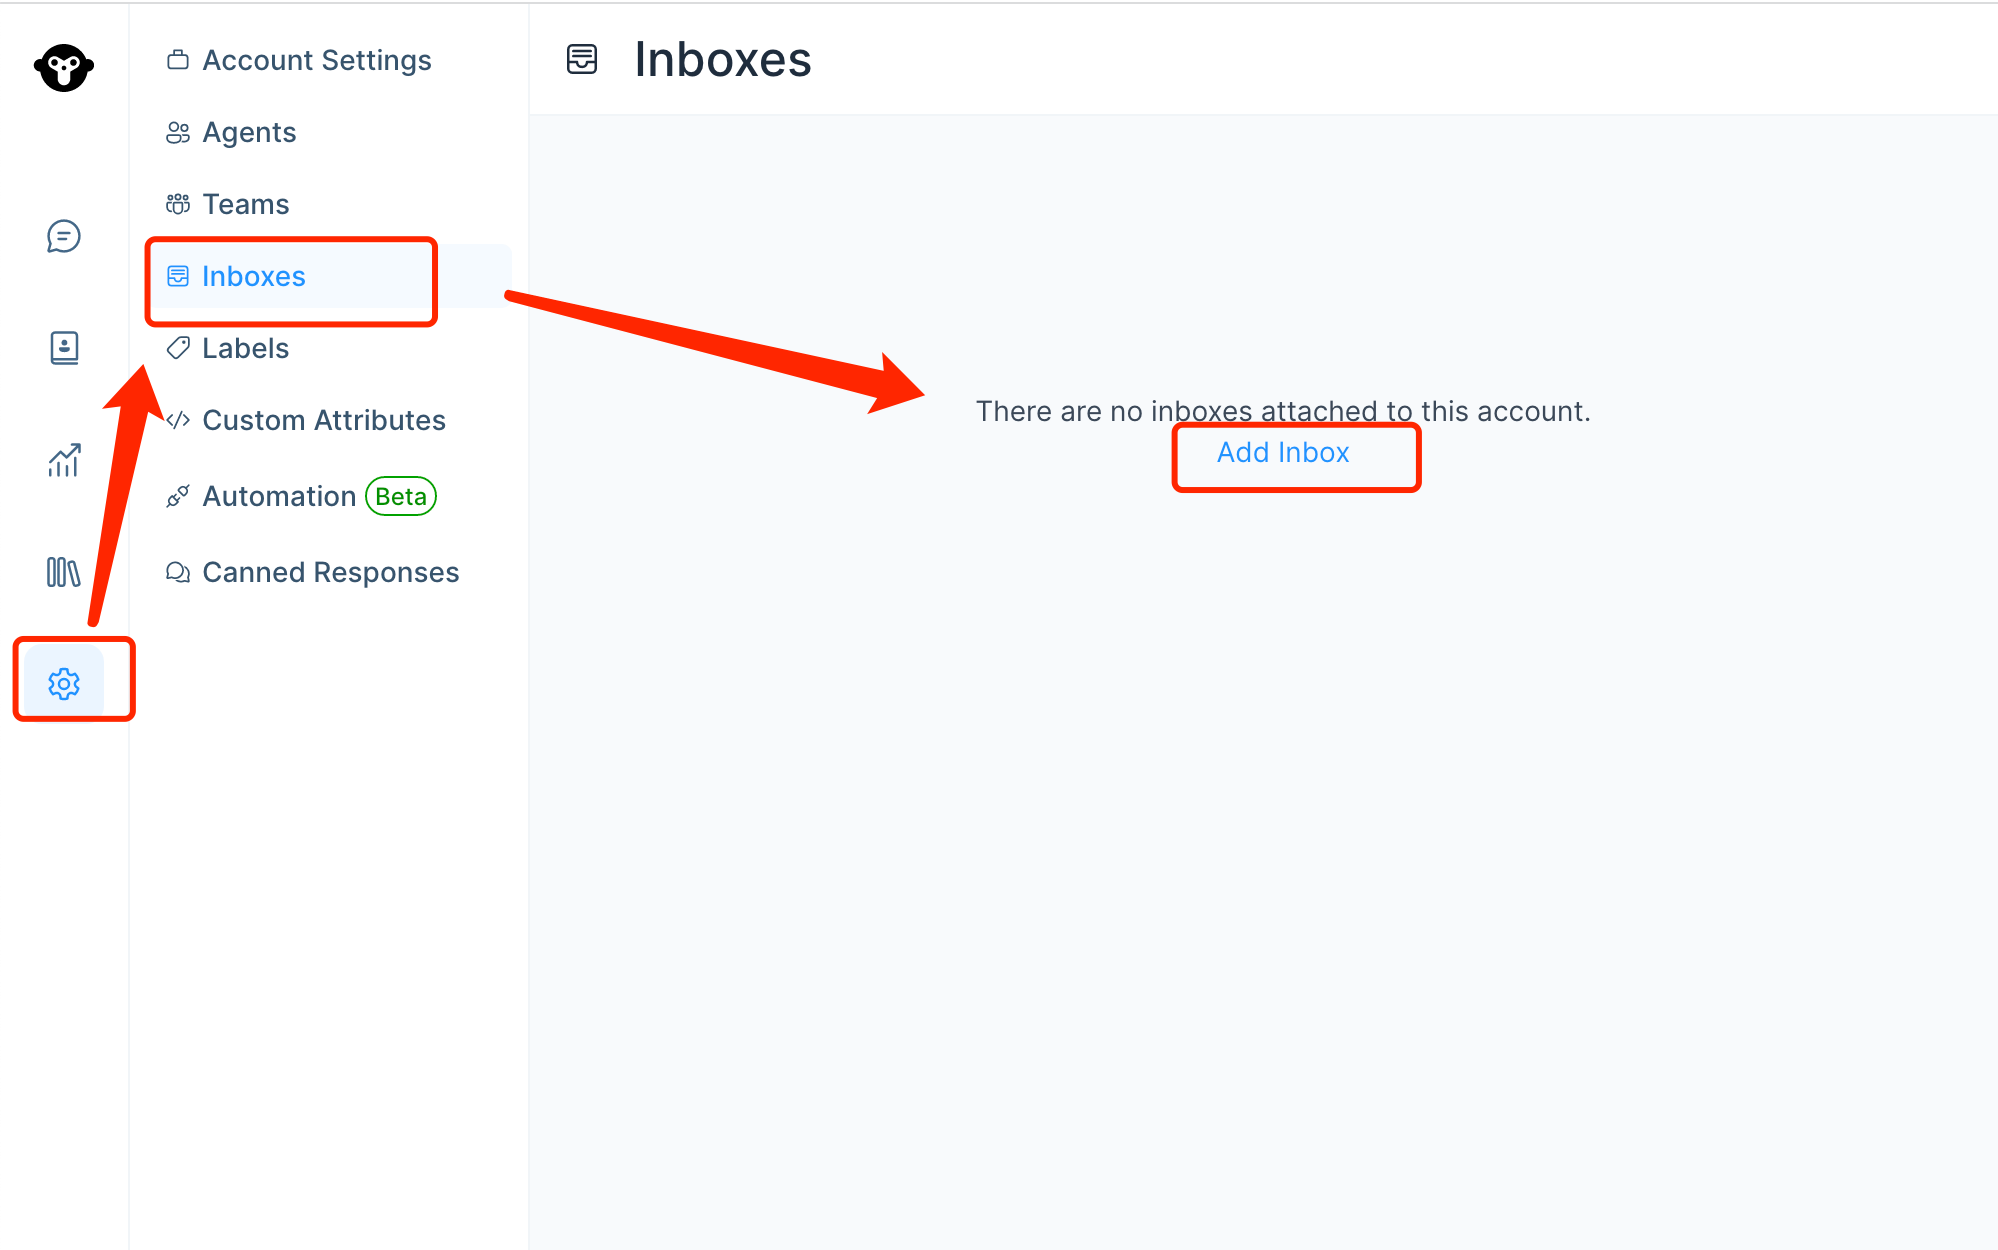
To connect WhatsApp channel, Go to Settings -> Inboxes Then find Add inbox and Click on the "WhatsApp" icon.
Step 3. Create Inbox
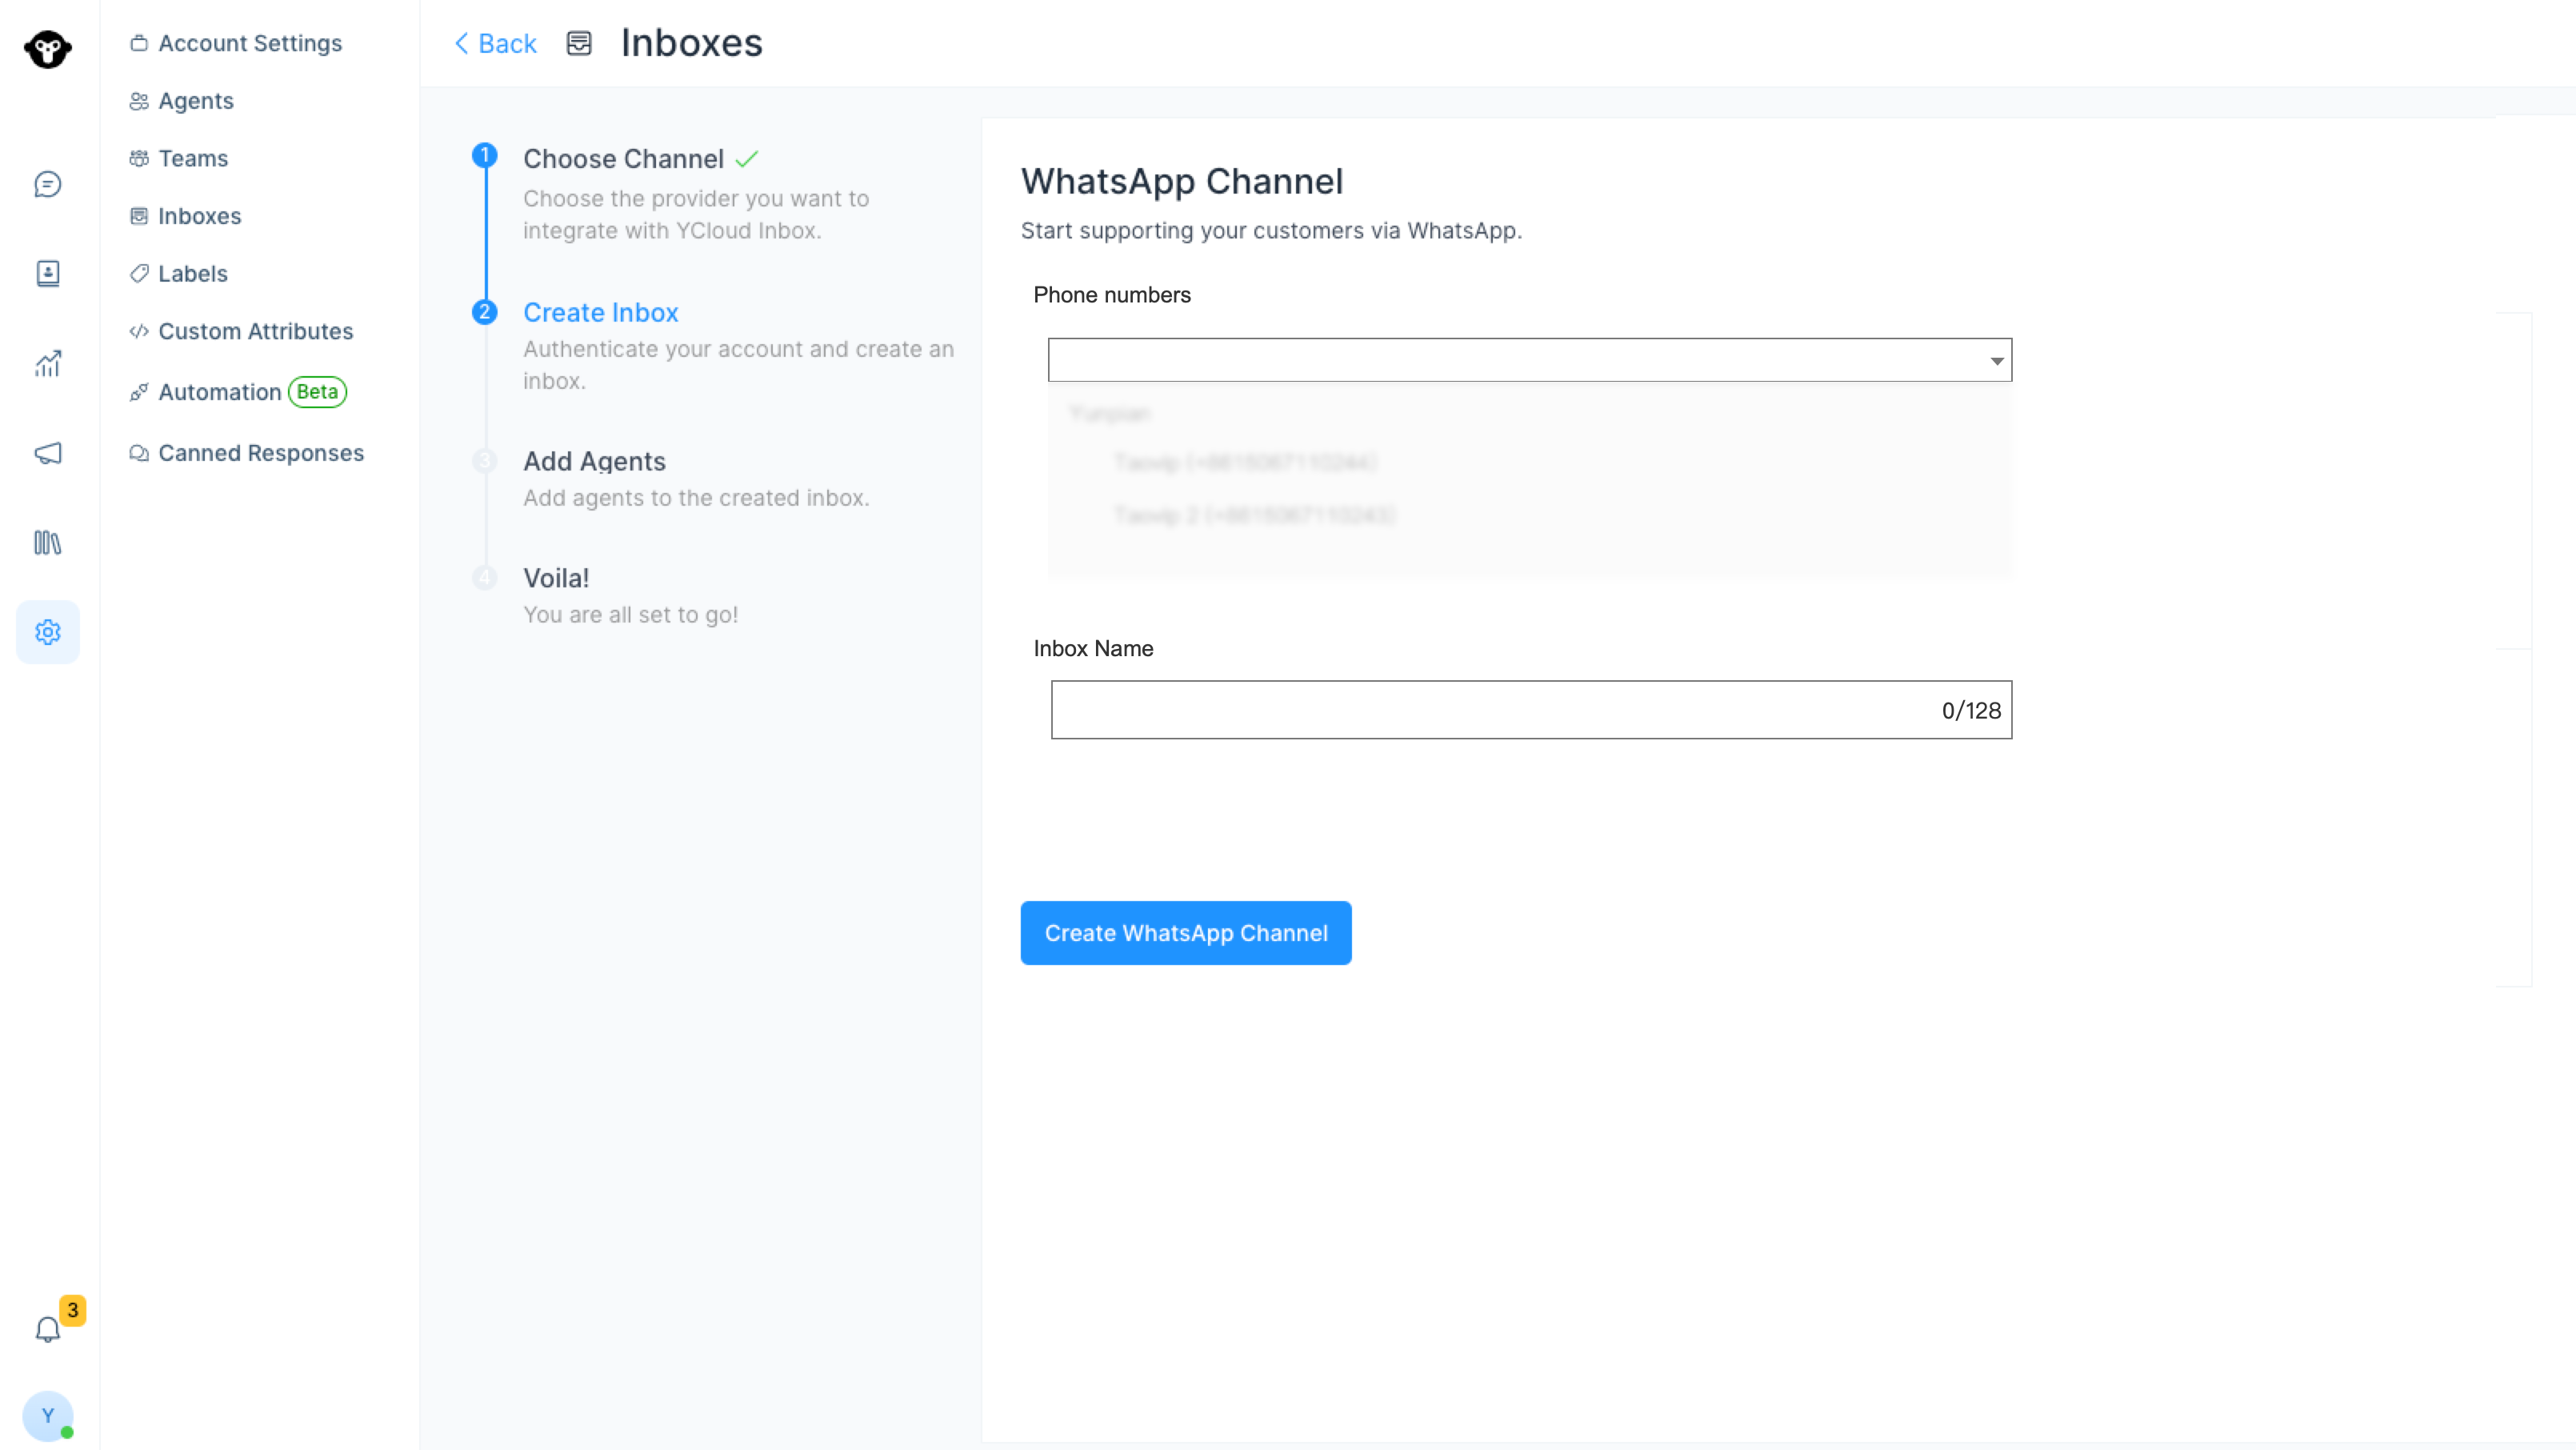
Choose one "Phone number" of your WhatsApp Business Account as the Inbox sender. Fill in the Inbox name.
| Values | Description |
|---|---|
| Phone Number | This is the number you will be using to communicate with your customer. This number has to be verified. |
| Name | Choose a name for your Inbox. Ex: Your Business Name |
Finish the second step by clicking on the Create WhatsApp Channel
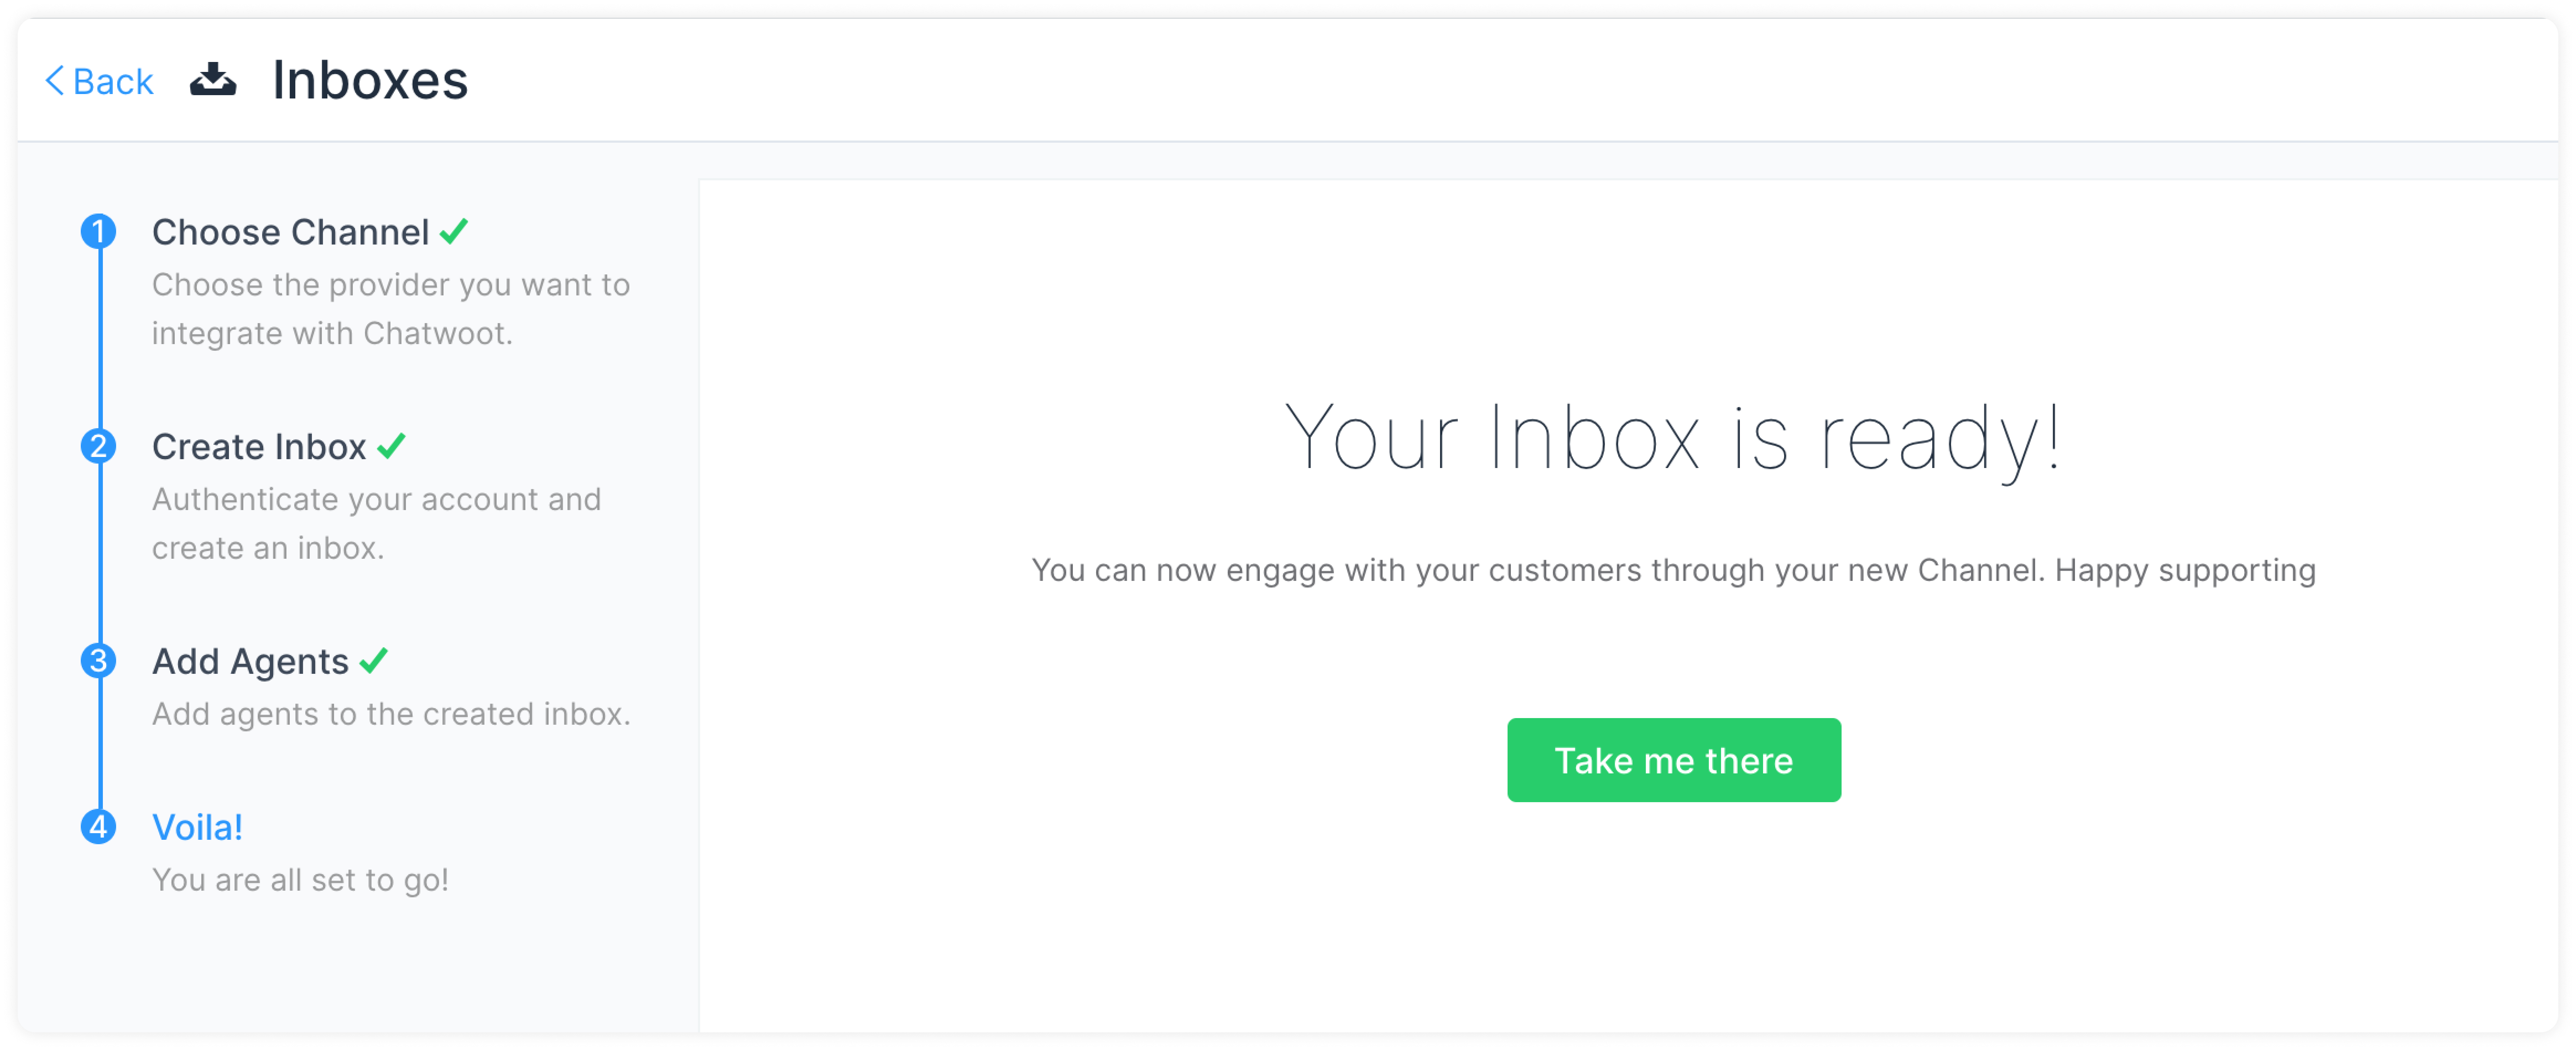
Step 4. Add agents
"Add agents" to your inbox.
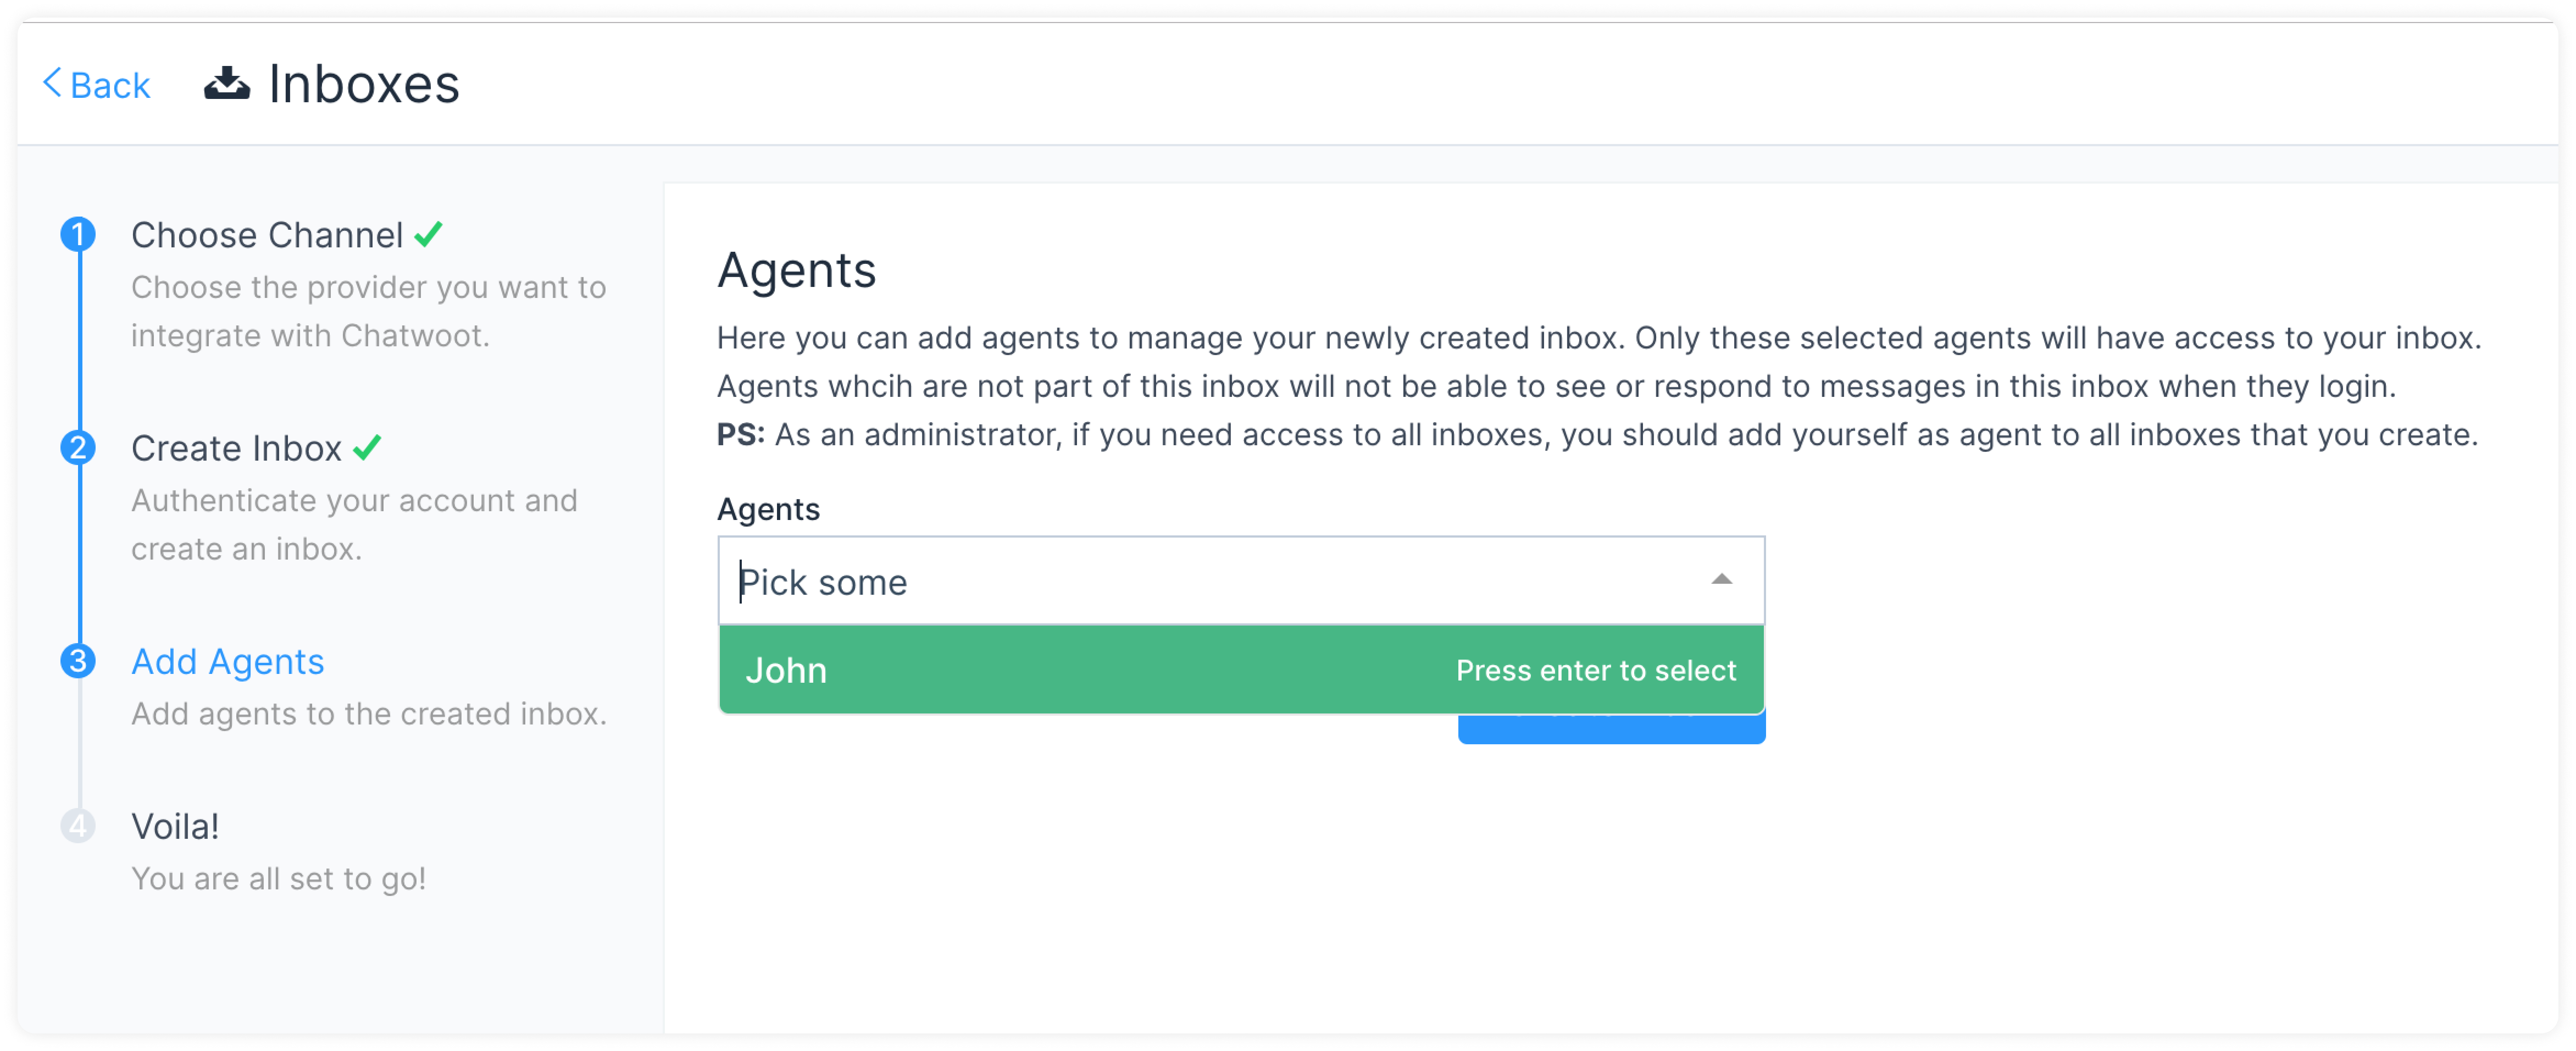
Hooray! You have successfully created a whatsApp inbox.
Additional Inbox settings
Your freshly configured WhatsApp inbox should now appear in your list. To see this and to make additional settings, go to Settings → Inboxes → click the settings icon on the associated Whatsapp Inbox. You will see the following screen:
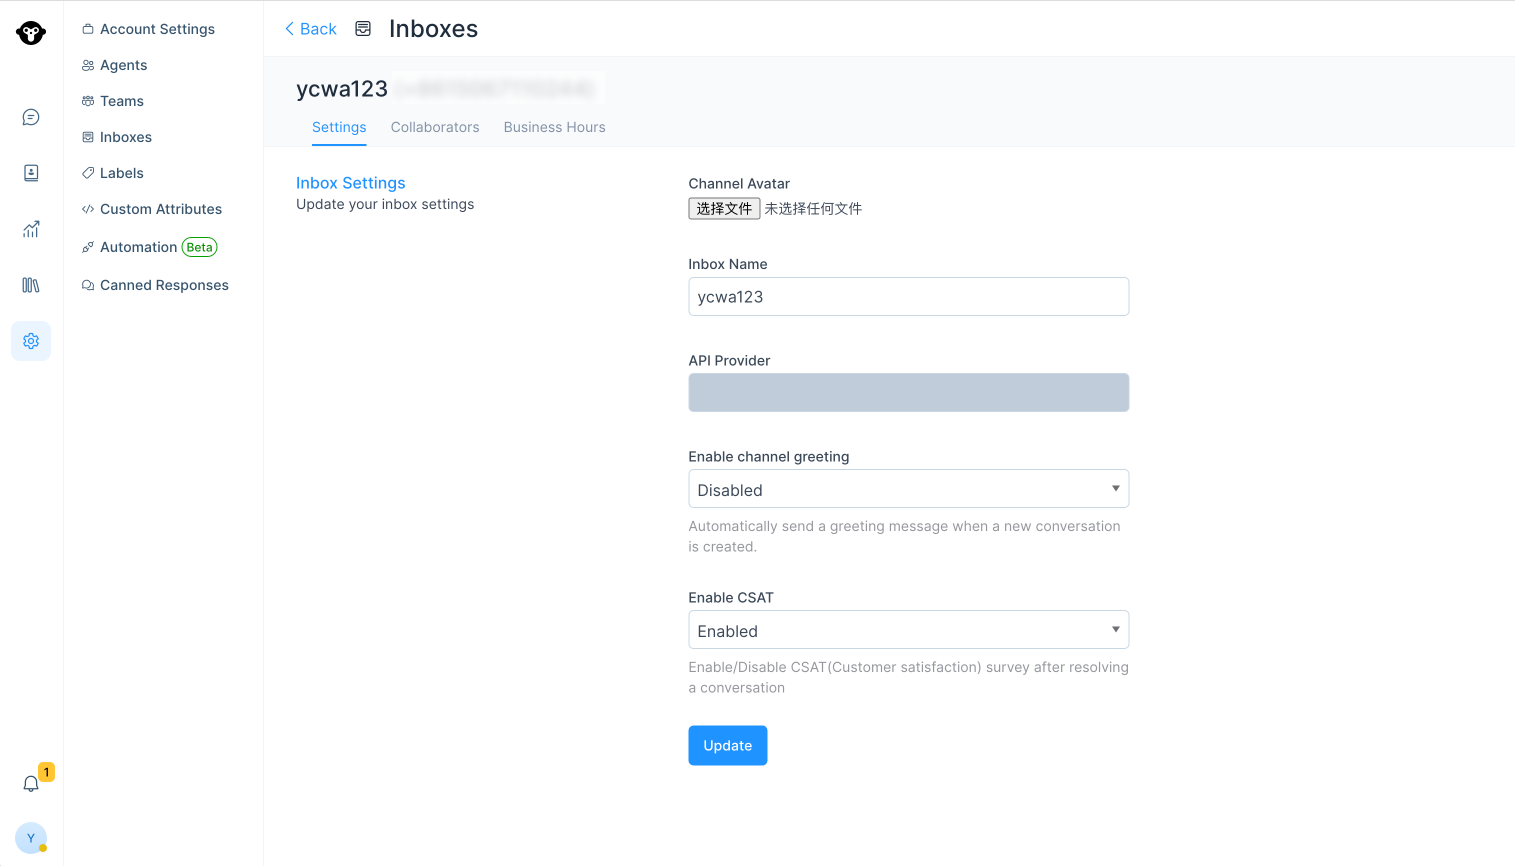
You can make some basic changes here.
Settings tab
Enable channel greeting. Once you enable this, YCloud will send a greeting message to new conversations created through your inbox.
Enable CSAT. Once you enable this, your Customer Satisfaction survey will be launched after resolving a conversation. The CSAT results can be viewed later in the Reports section.
Collaborators tab
Click on the Collaborators tab. Here, you can add Agents to the Inbox or delete Agents who have been already added in the Inbox.
You can also enable or disable the automatic assignment of new conversations to the agents added to this inbox.
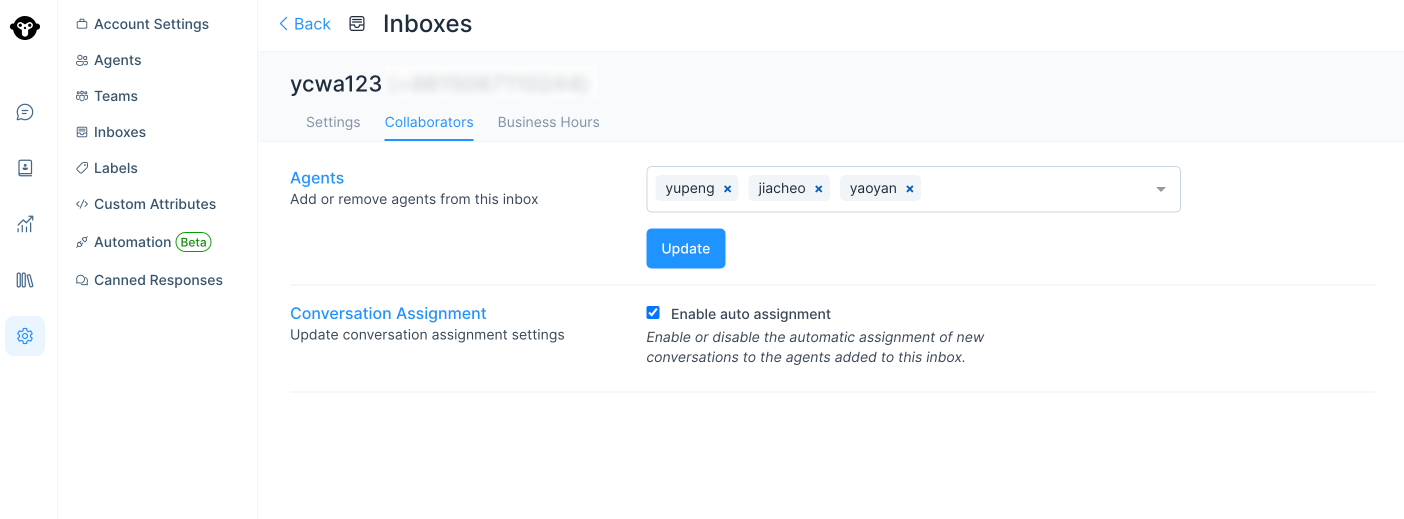
Click on Update to save the changes
Business Hours tab
Click on the Business Hours tab. In this section, you can set the working hours of your team associated with the inbox.

Click on the check box for *Enable business availability for this inbox* if you have well-defined business hours. Once the check box is ticked, the below section opens up. You can write your message to be displayed to the customer during OFF business hours. You can also select the available business hours for each day of the week, along with the proper time zone.
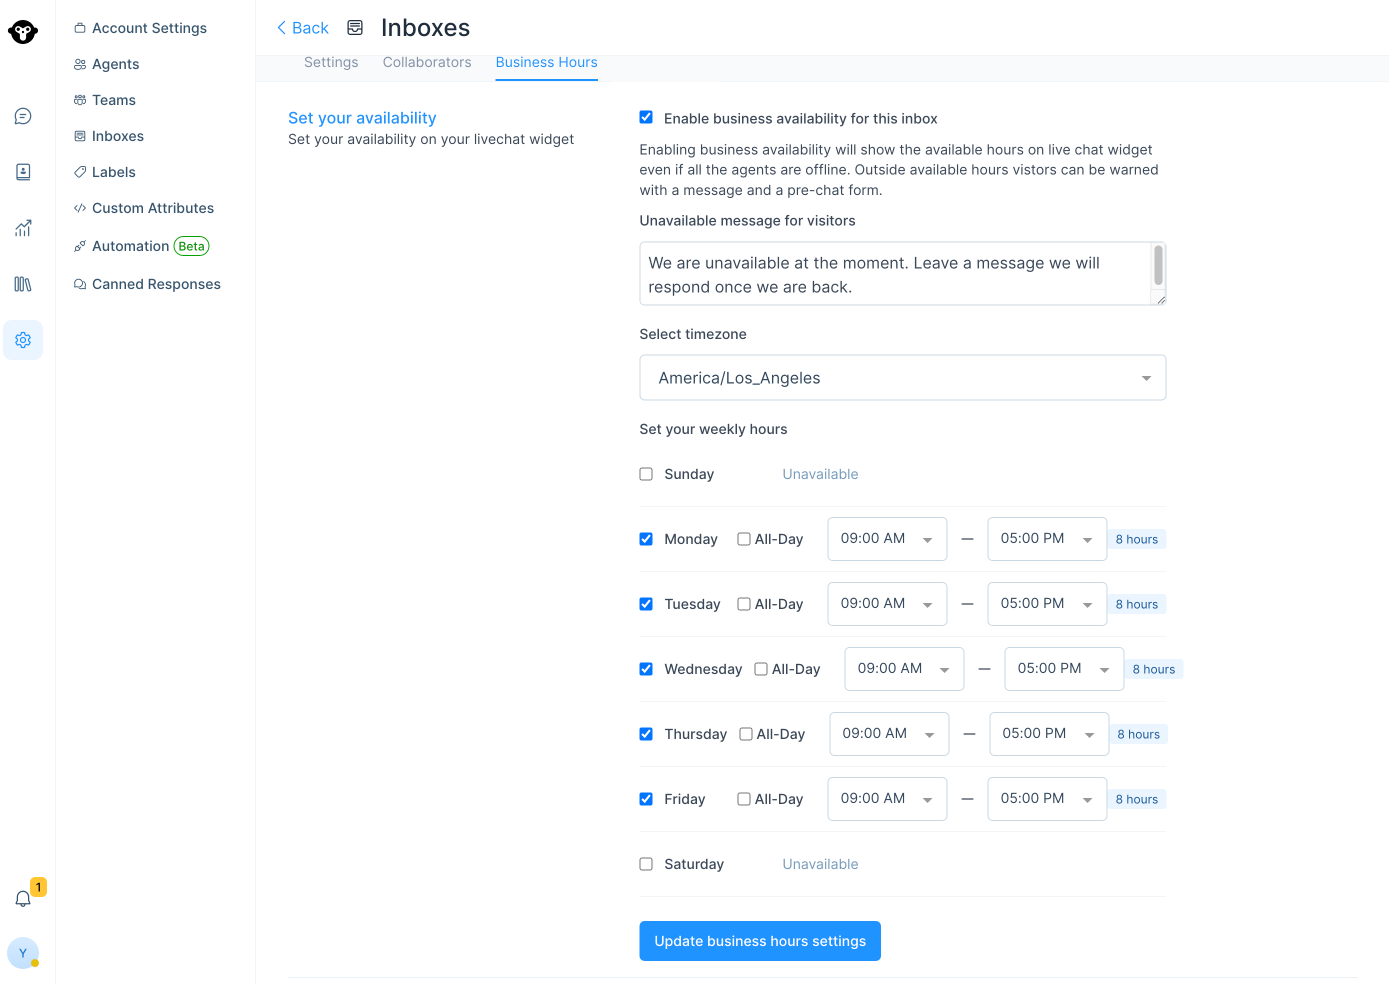
Click on the Update Business Hour Setting Button to save the changes.
Updated 4 months ago
