

Before you begin
Make sure that:- Your account uses a paid YCloud plan. Custom apps are not available on the Free plan.
- Your role can access Developers > Custom apps in the YCloud dashboard.
- The WhatsApp Business phone numbers that the app needs are already available in your YCloud account.
- You know which API permissions the integration needs.
- You have a publicly reachable HTTPS endpoint if the app needs webhook events.
Create an app
- Sign in to the YCloud dashboard.
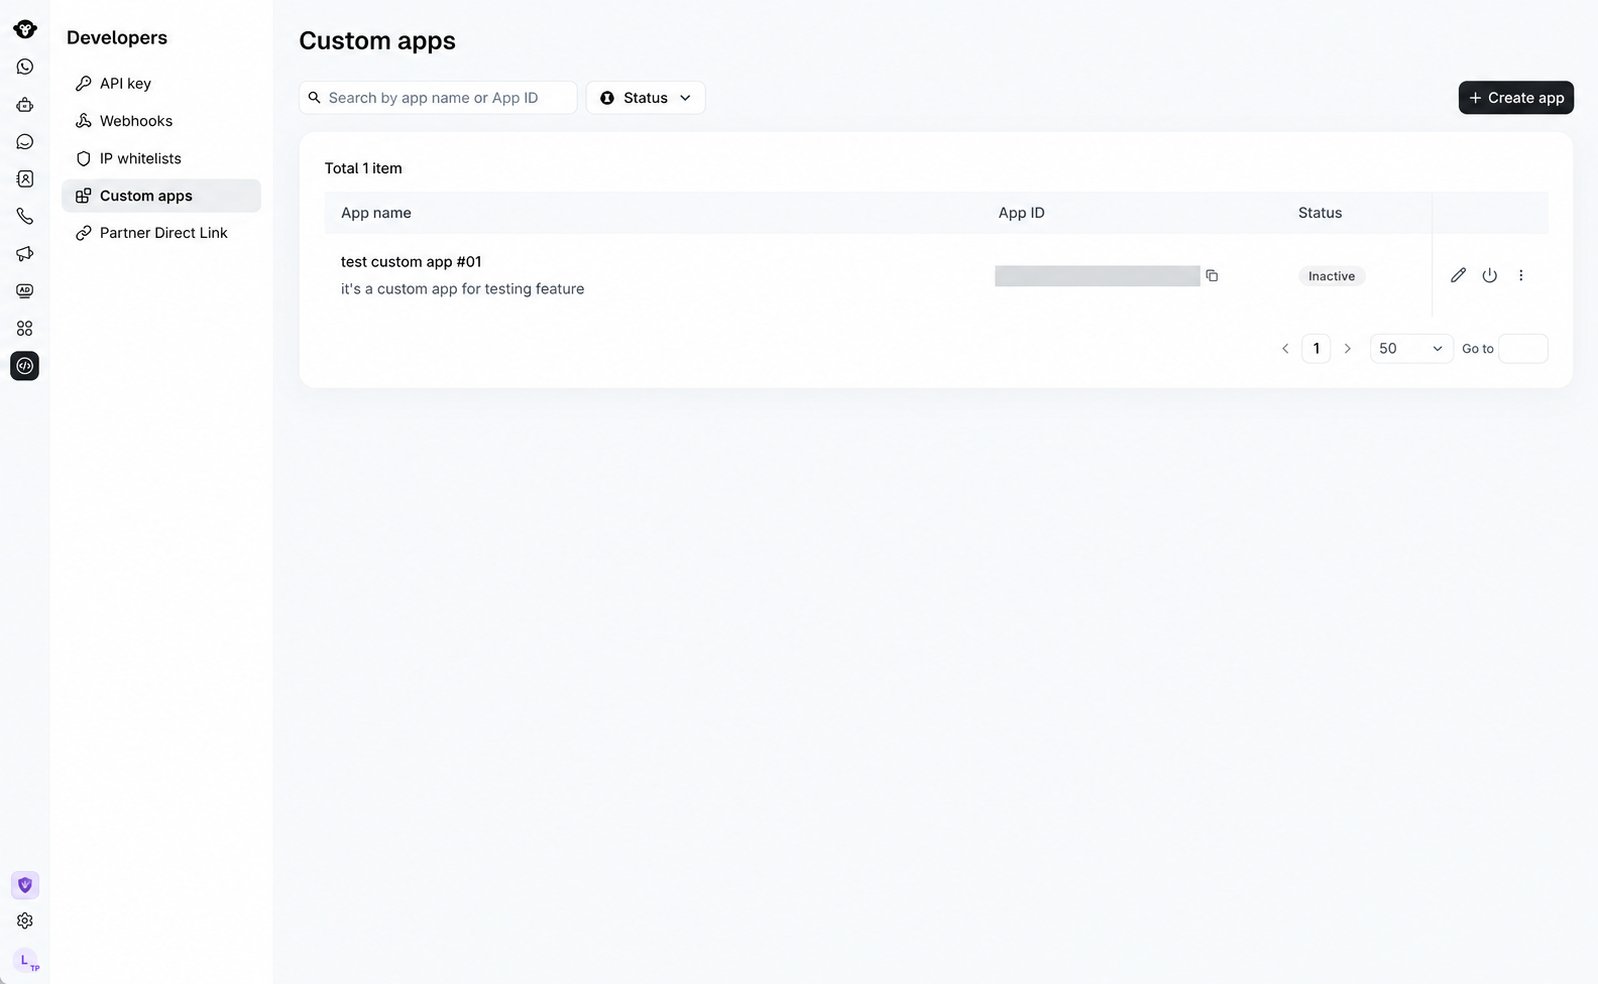
- Go to Developers > Custom apps.
- Click Create app.
- Enter an App name. The name can contain up to 64 characters.
- Optional: Enter a Description of up to 512 characters so your team knows what the app is used for.
- Click Create.
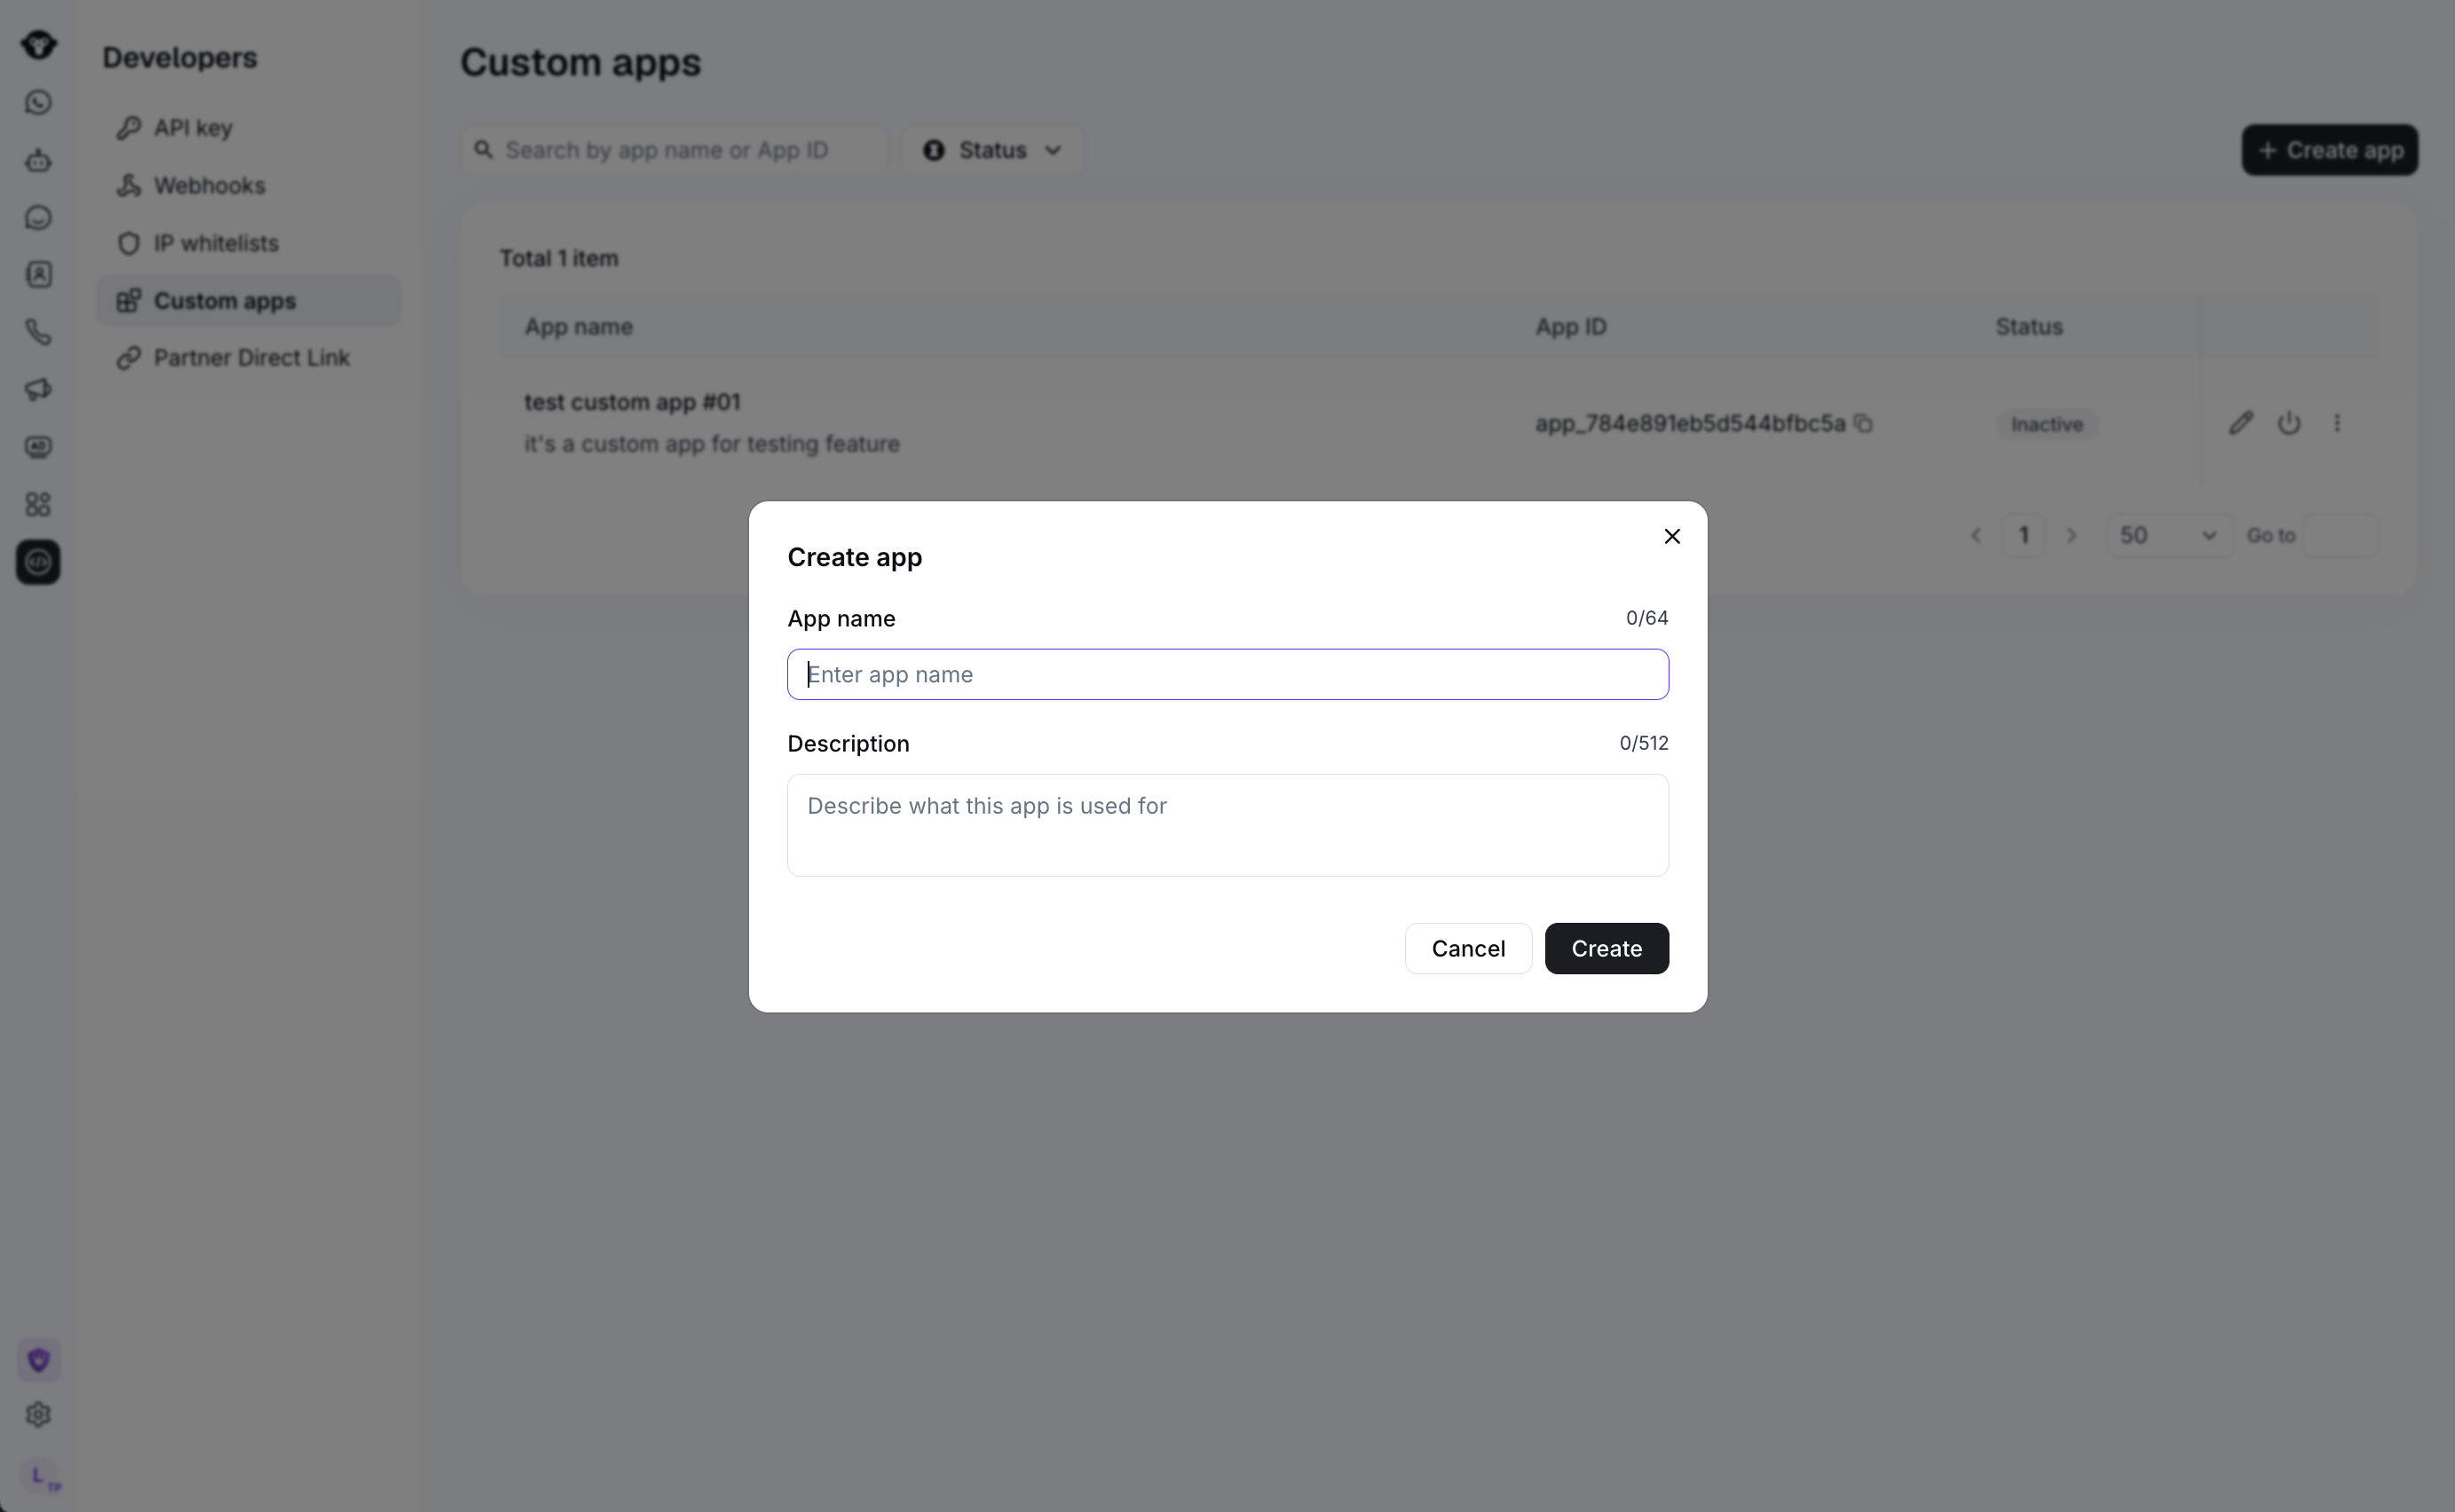
Enter an app name and, optionally, a description before selecting Create.
Assign WhatsApp phone numbers
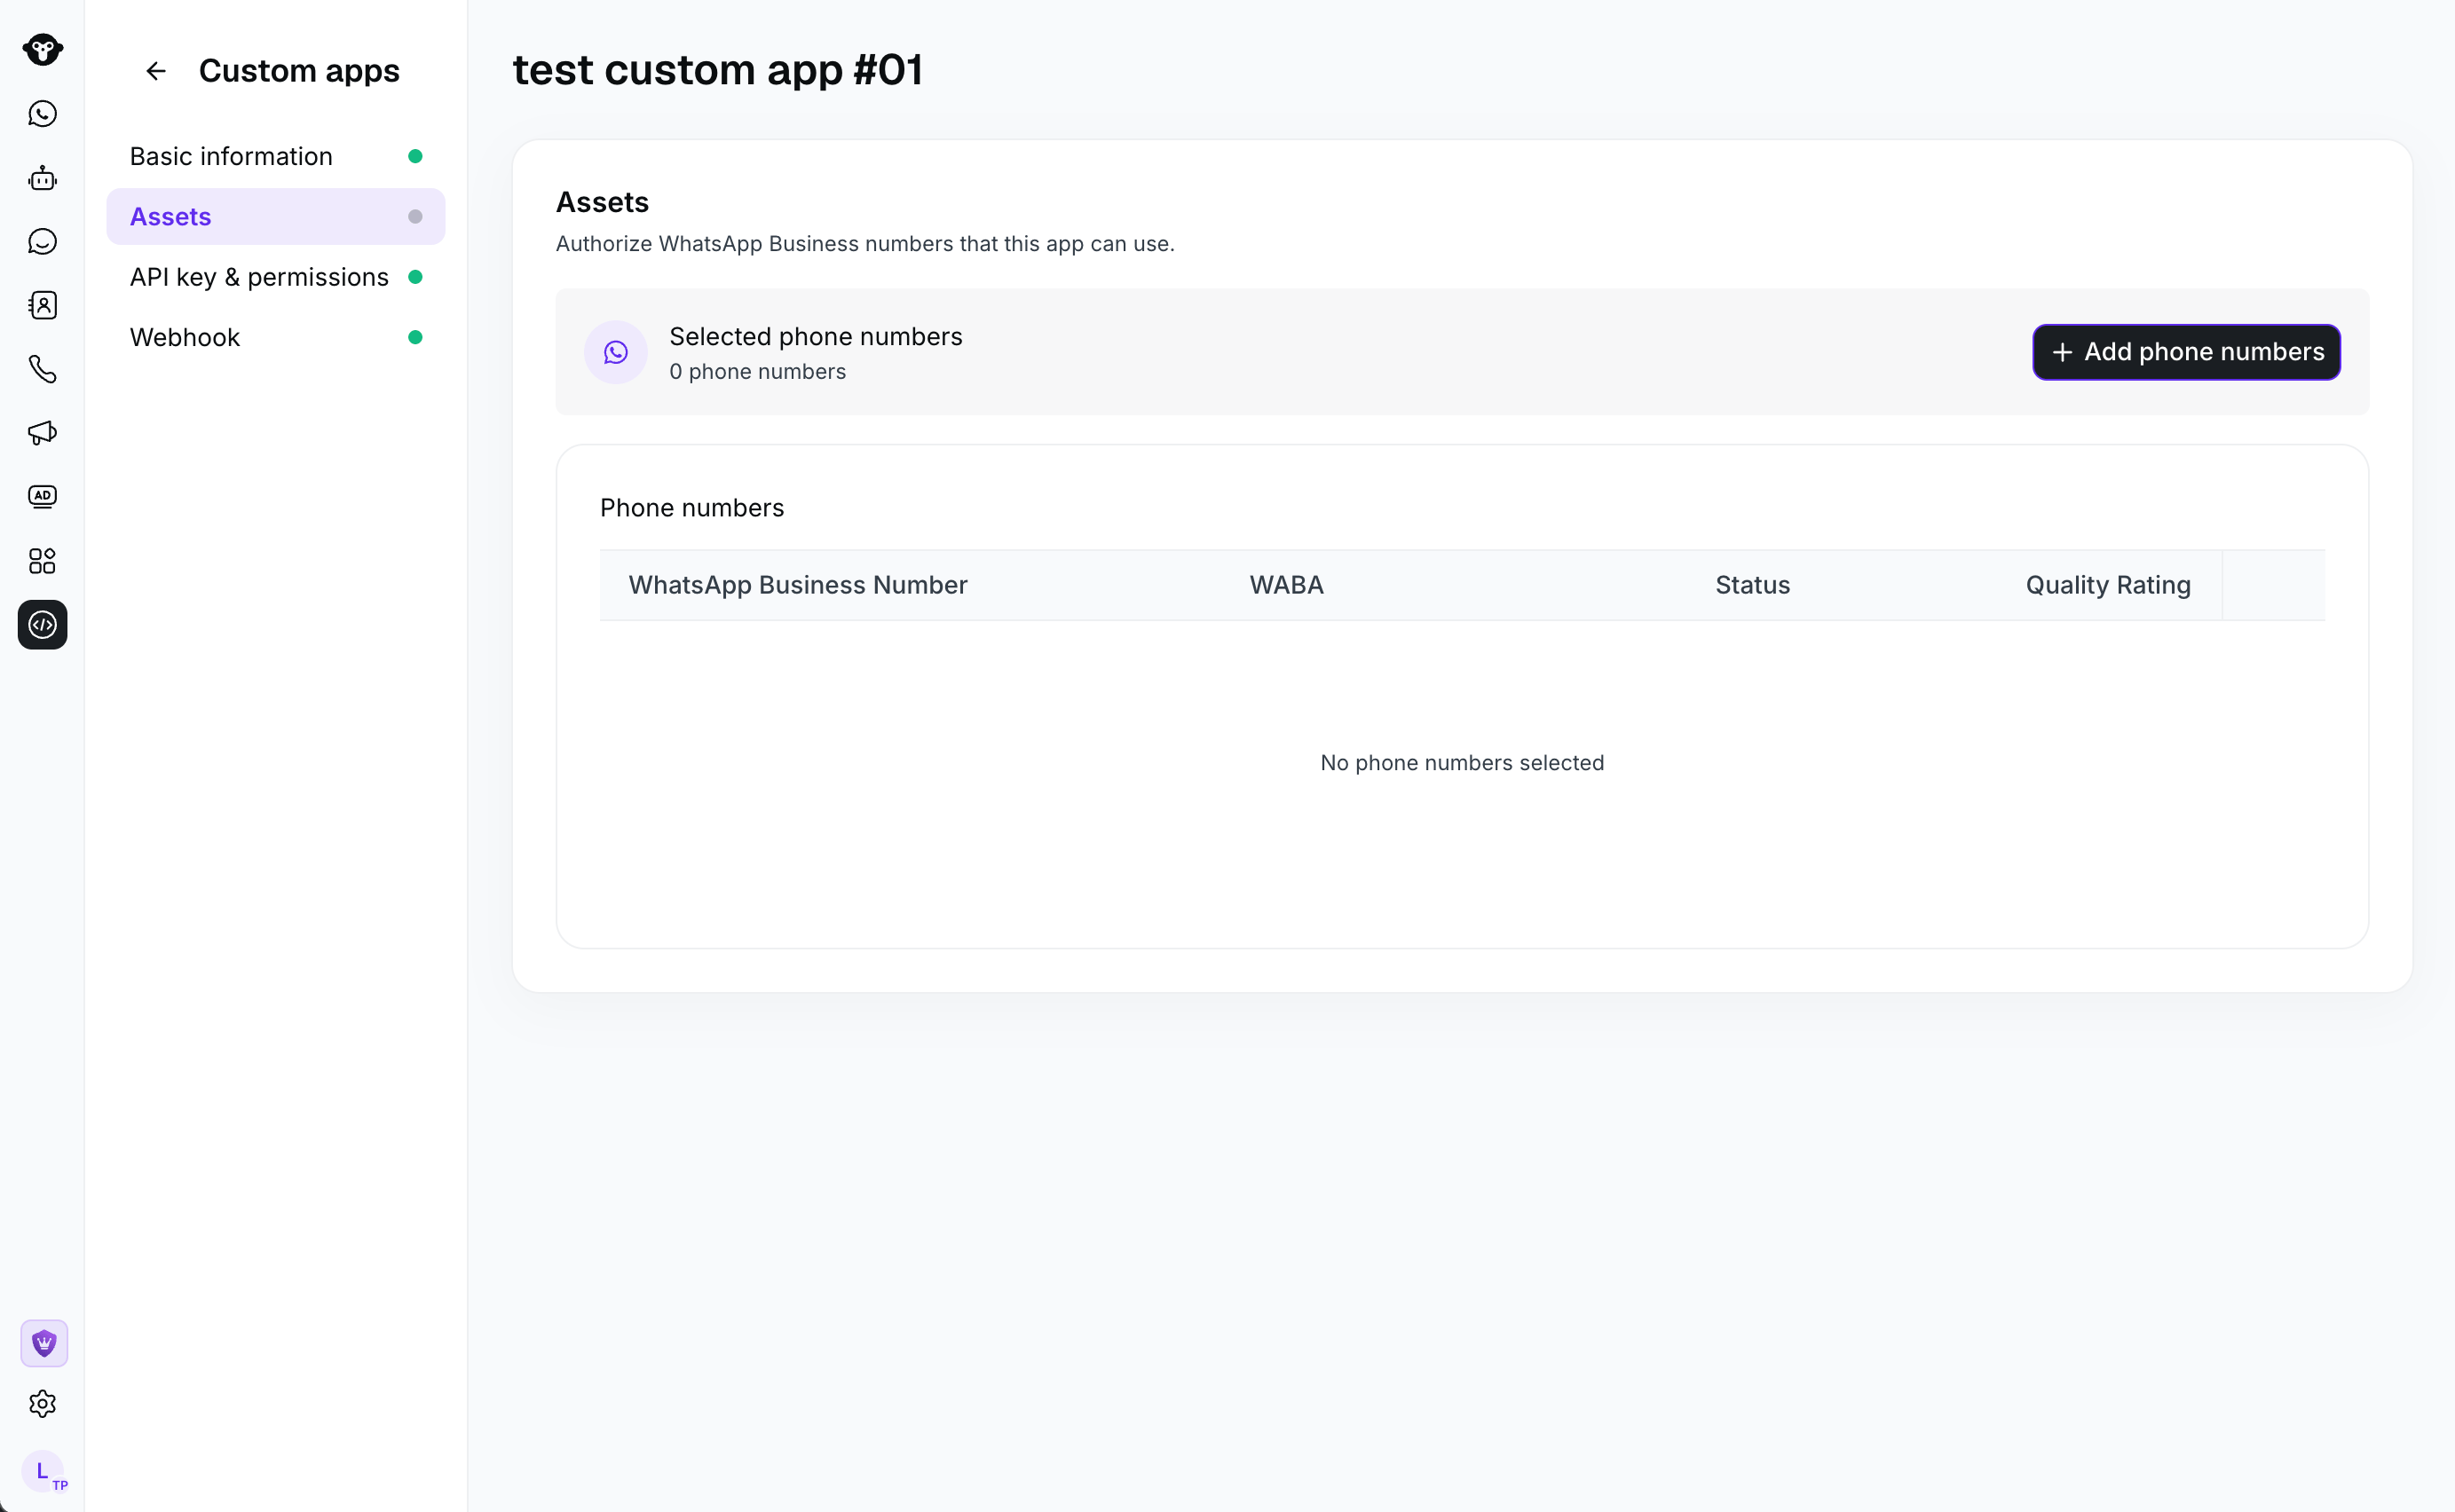
Assign only the phone numbers that the integration needs to access.- Open the app and select Assets.
- Click Add phone numbers.
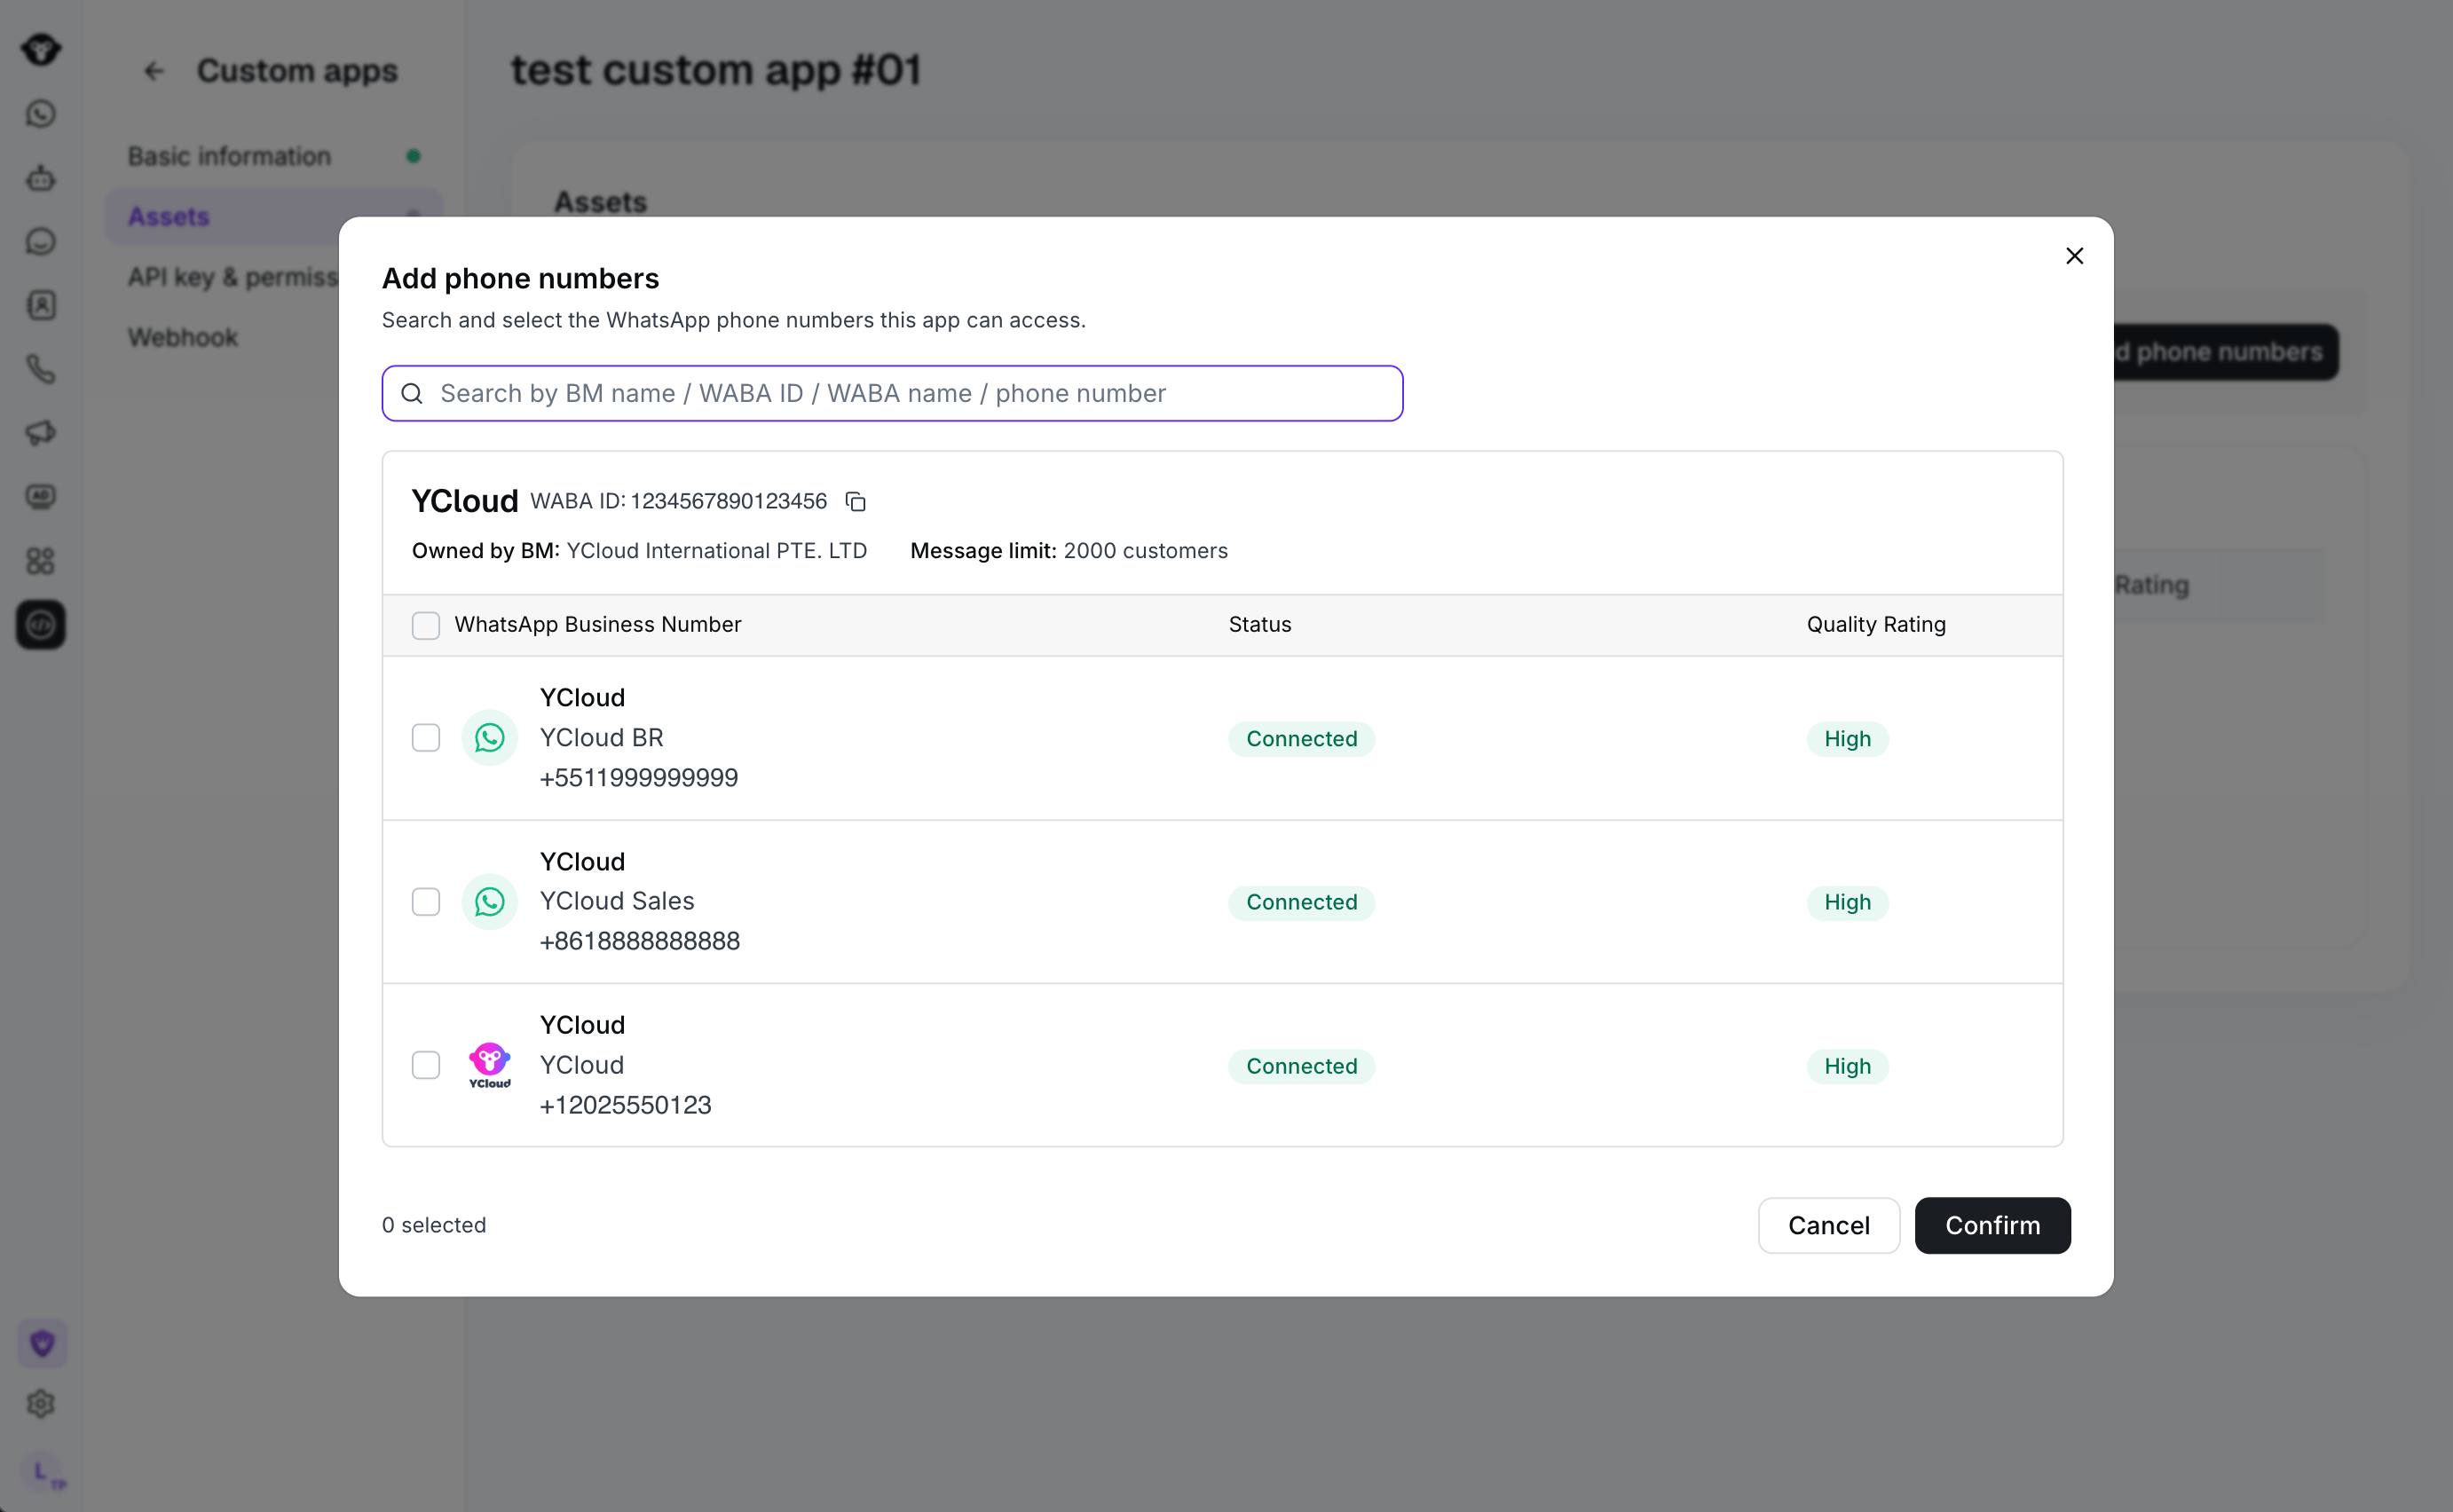
- Find a number by its Business Manager name, WABA ID, WABA name, or phone number.
- Select one or more WhatsApp Business phone numbers.
- Click Confirm.
Configure the API key and permissions
YCloud displays the app’s API key in API key & permissions. Custom app keys start withyc_ak_. Use the copy action to store the key securely, then add only the permissions the integration requires.
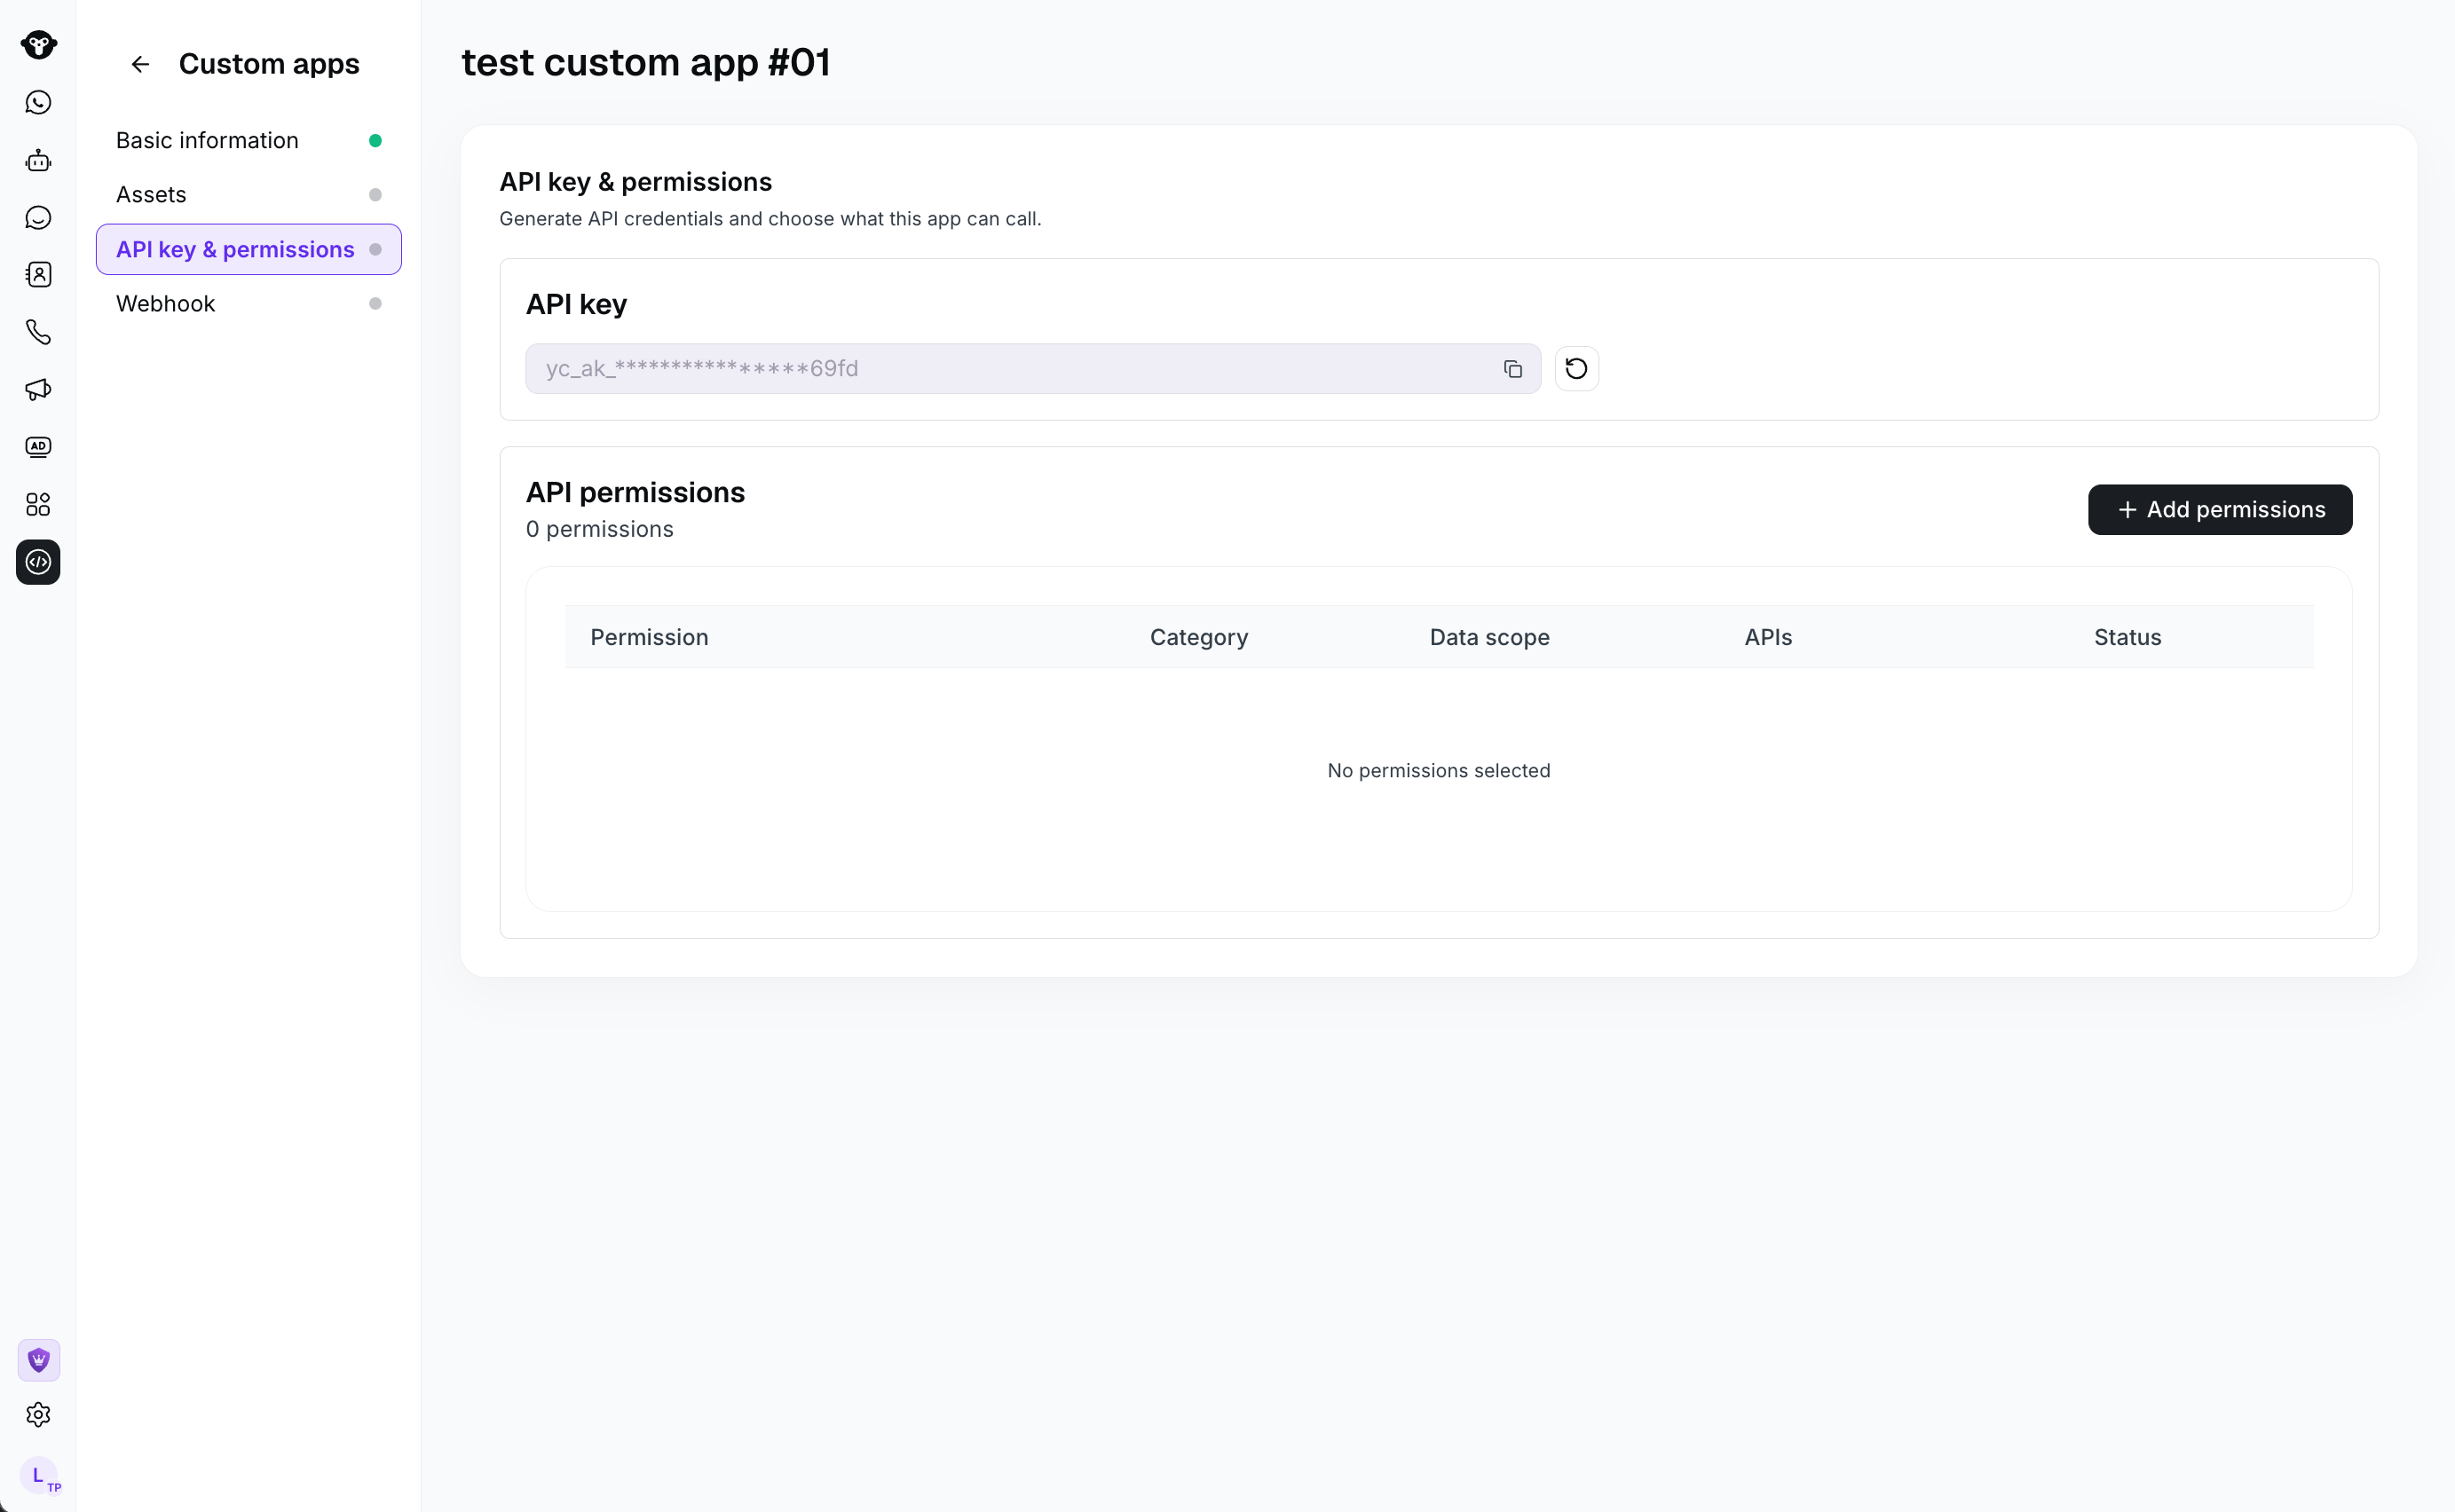
- Select API key & permissions.
- Under API permissions, click Add permissions.
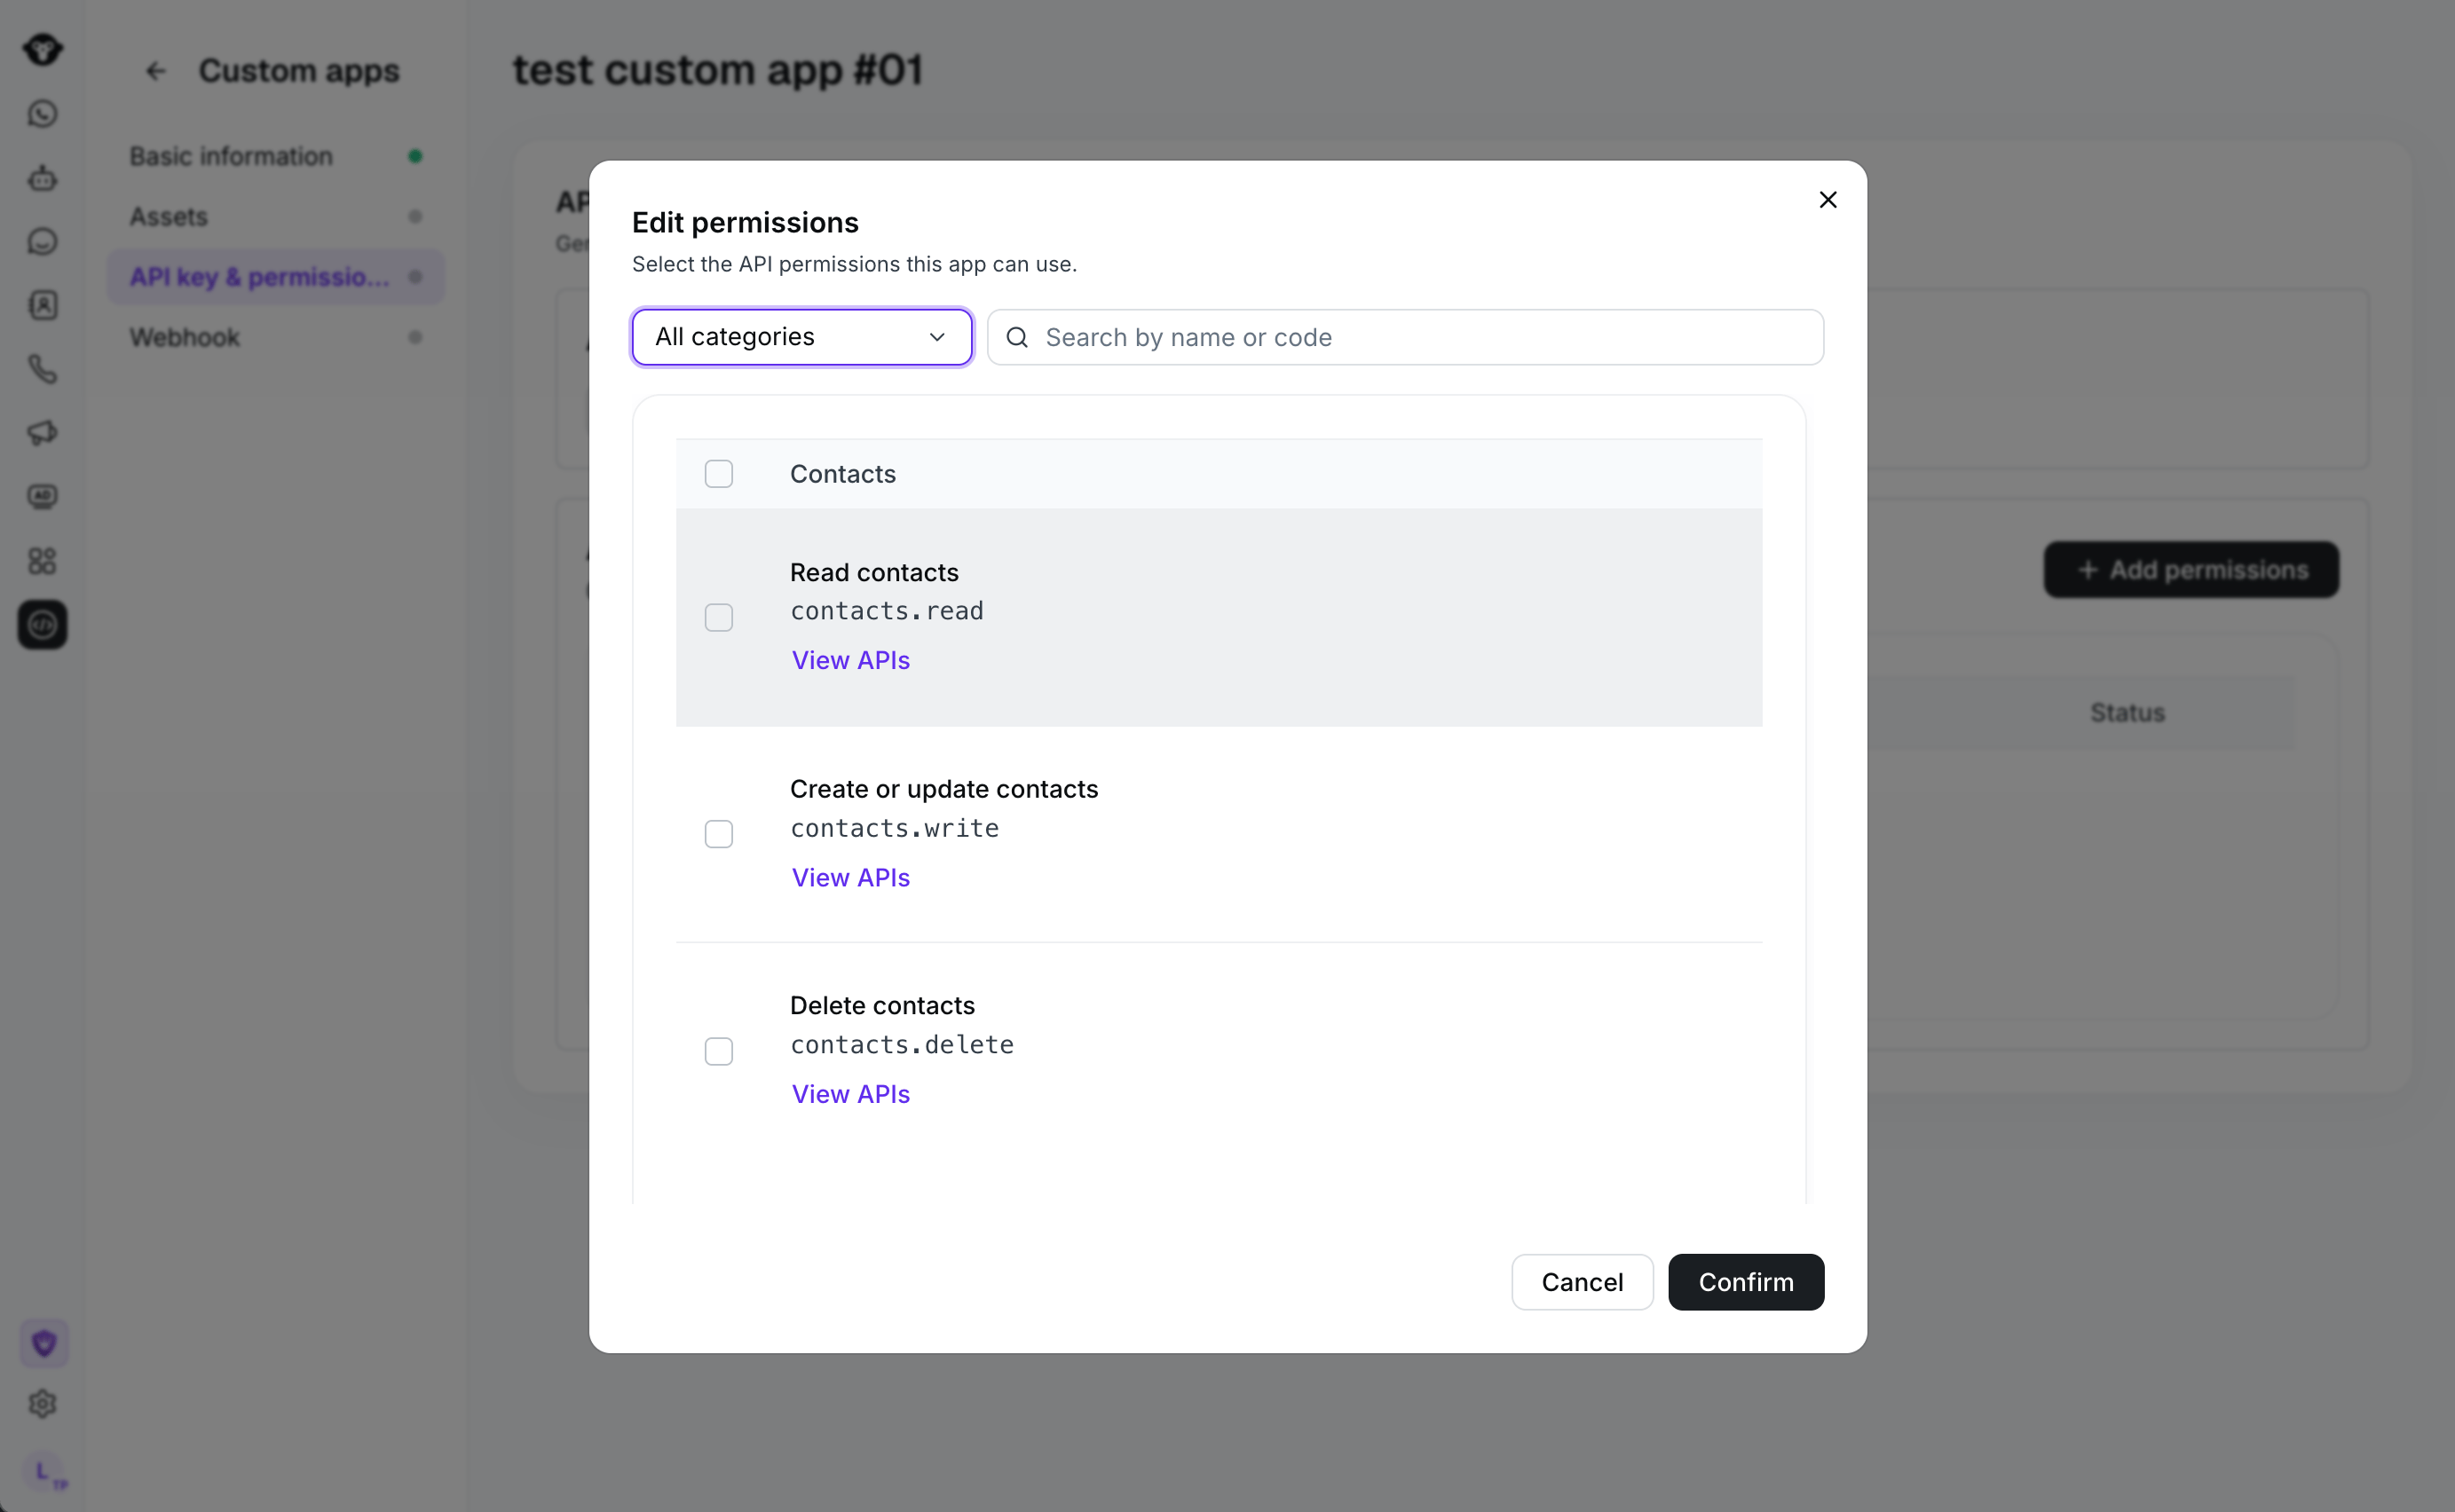
- Filter by category or search by permission name or scope.
- Select each required permission. For example, contact permissions are separated into read, create or update, and delete scopes.
- Click Confirm.
X-API-Key header, and use it only from trusted server-side code. YCloud checks that the app is active and that the request matches one of its selected API permissions. When an API operates on a WhatsApp asset, YCloud also checks that the app can access the relevant phone number or WABA.
Not every YCloud API is available to custom apps. An API that does not appear in the permission selector is denied for a custom app key. Custom app keys also cannot be combined with the X-Managed-Account-ID header.
See Authentication for the request header and credential-handling guidance.
Configure webhooks
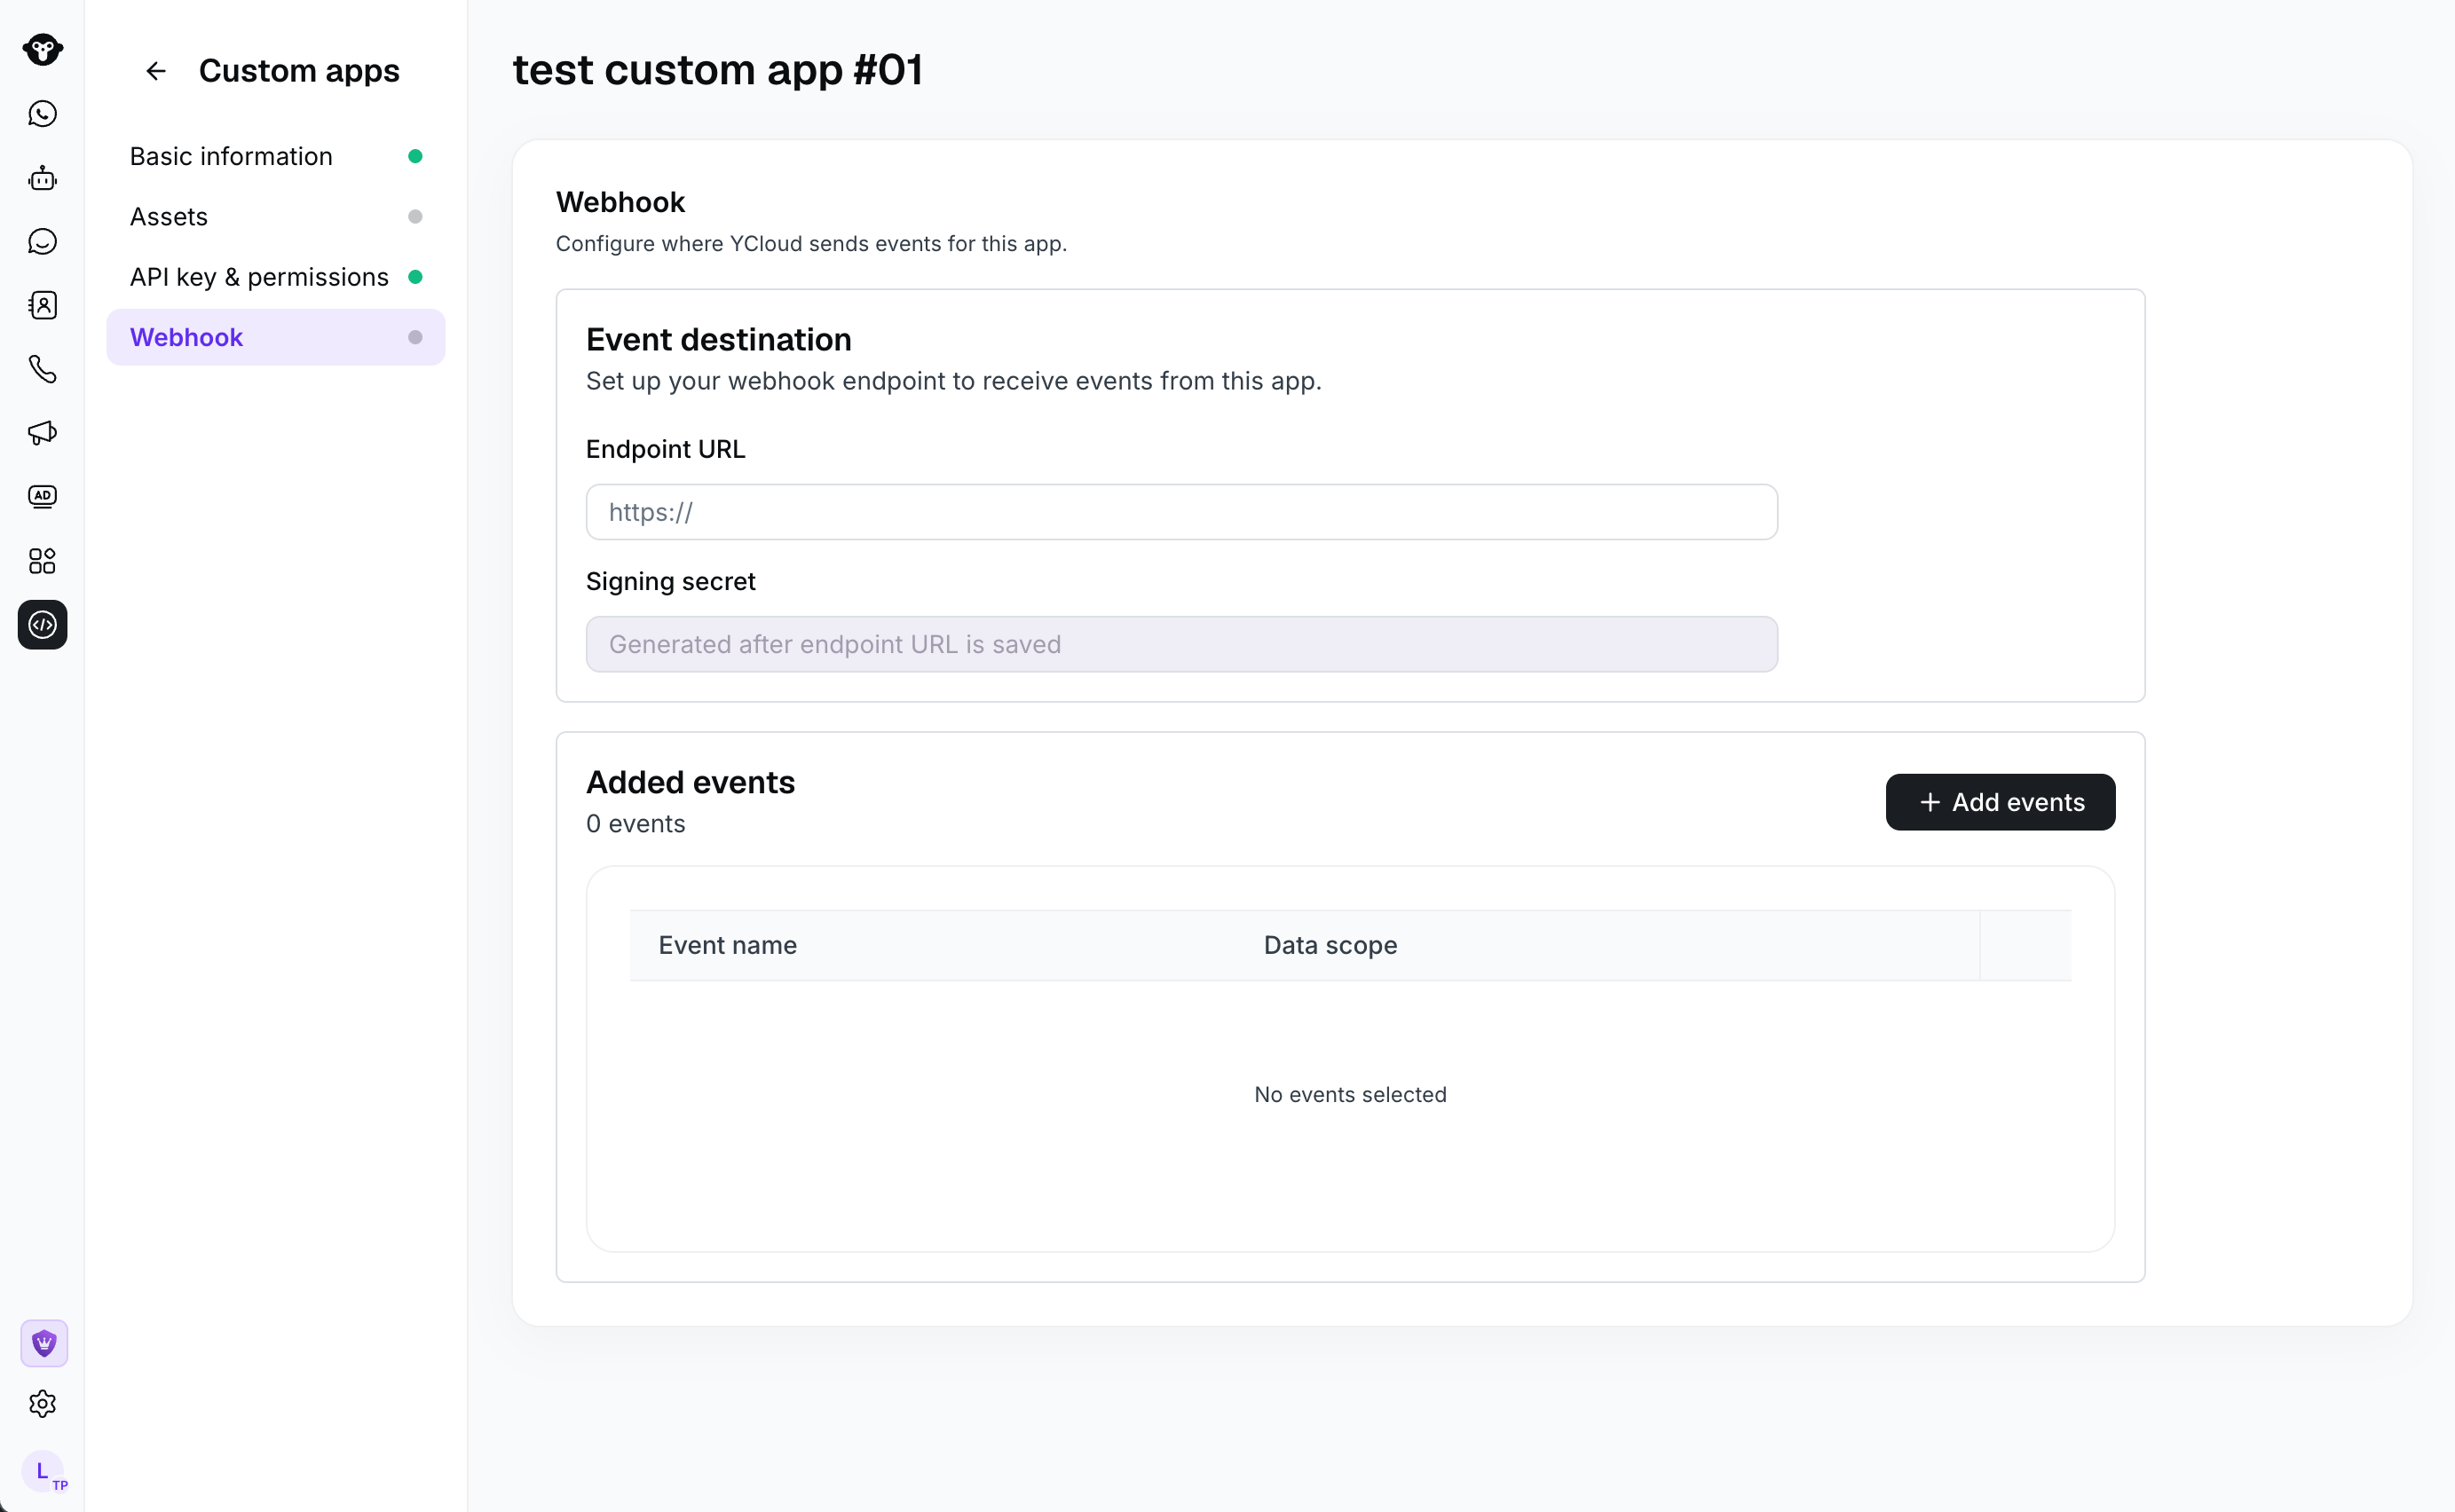
Configure a dedicated destination for the events that this app needs. App webhooks are separate from webhook endpoints configured under Developers > Webhooks.- Select Webhook.
- Enter your public HTTPS endpoint in Endpoint URL and save it.
- Store the generated Signing secret securely.
- Under Added events, click Add events.
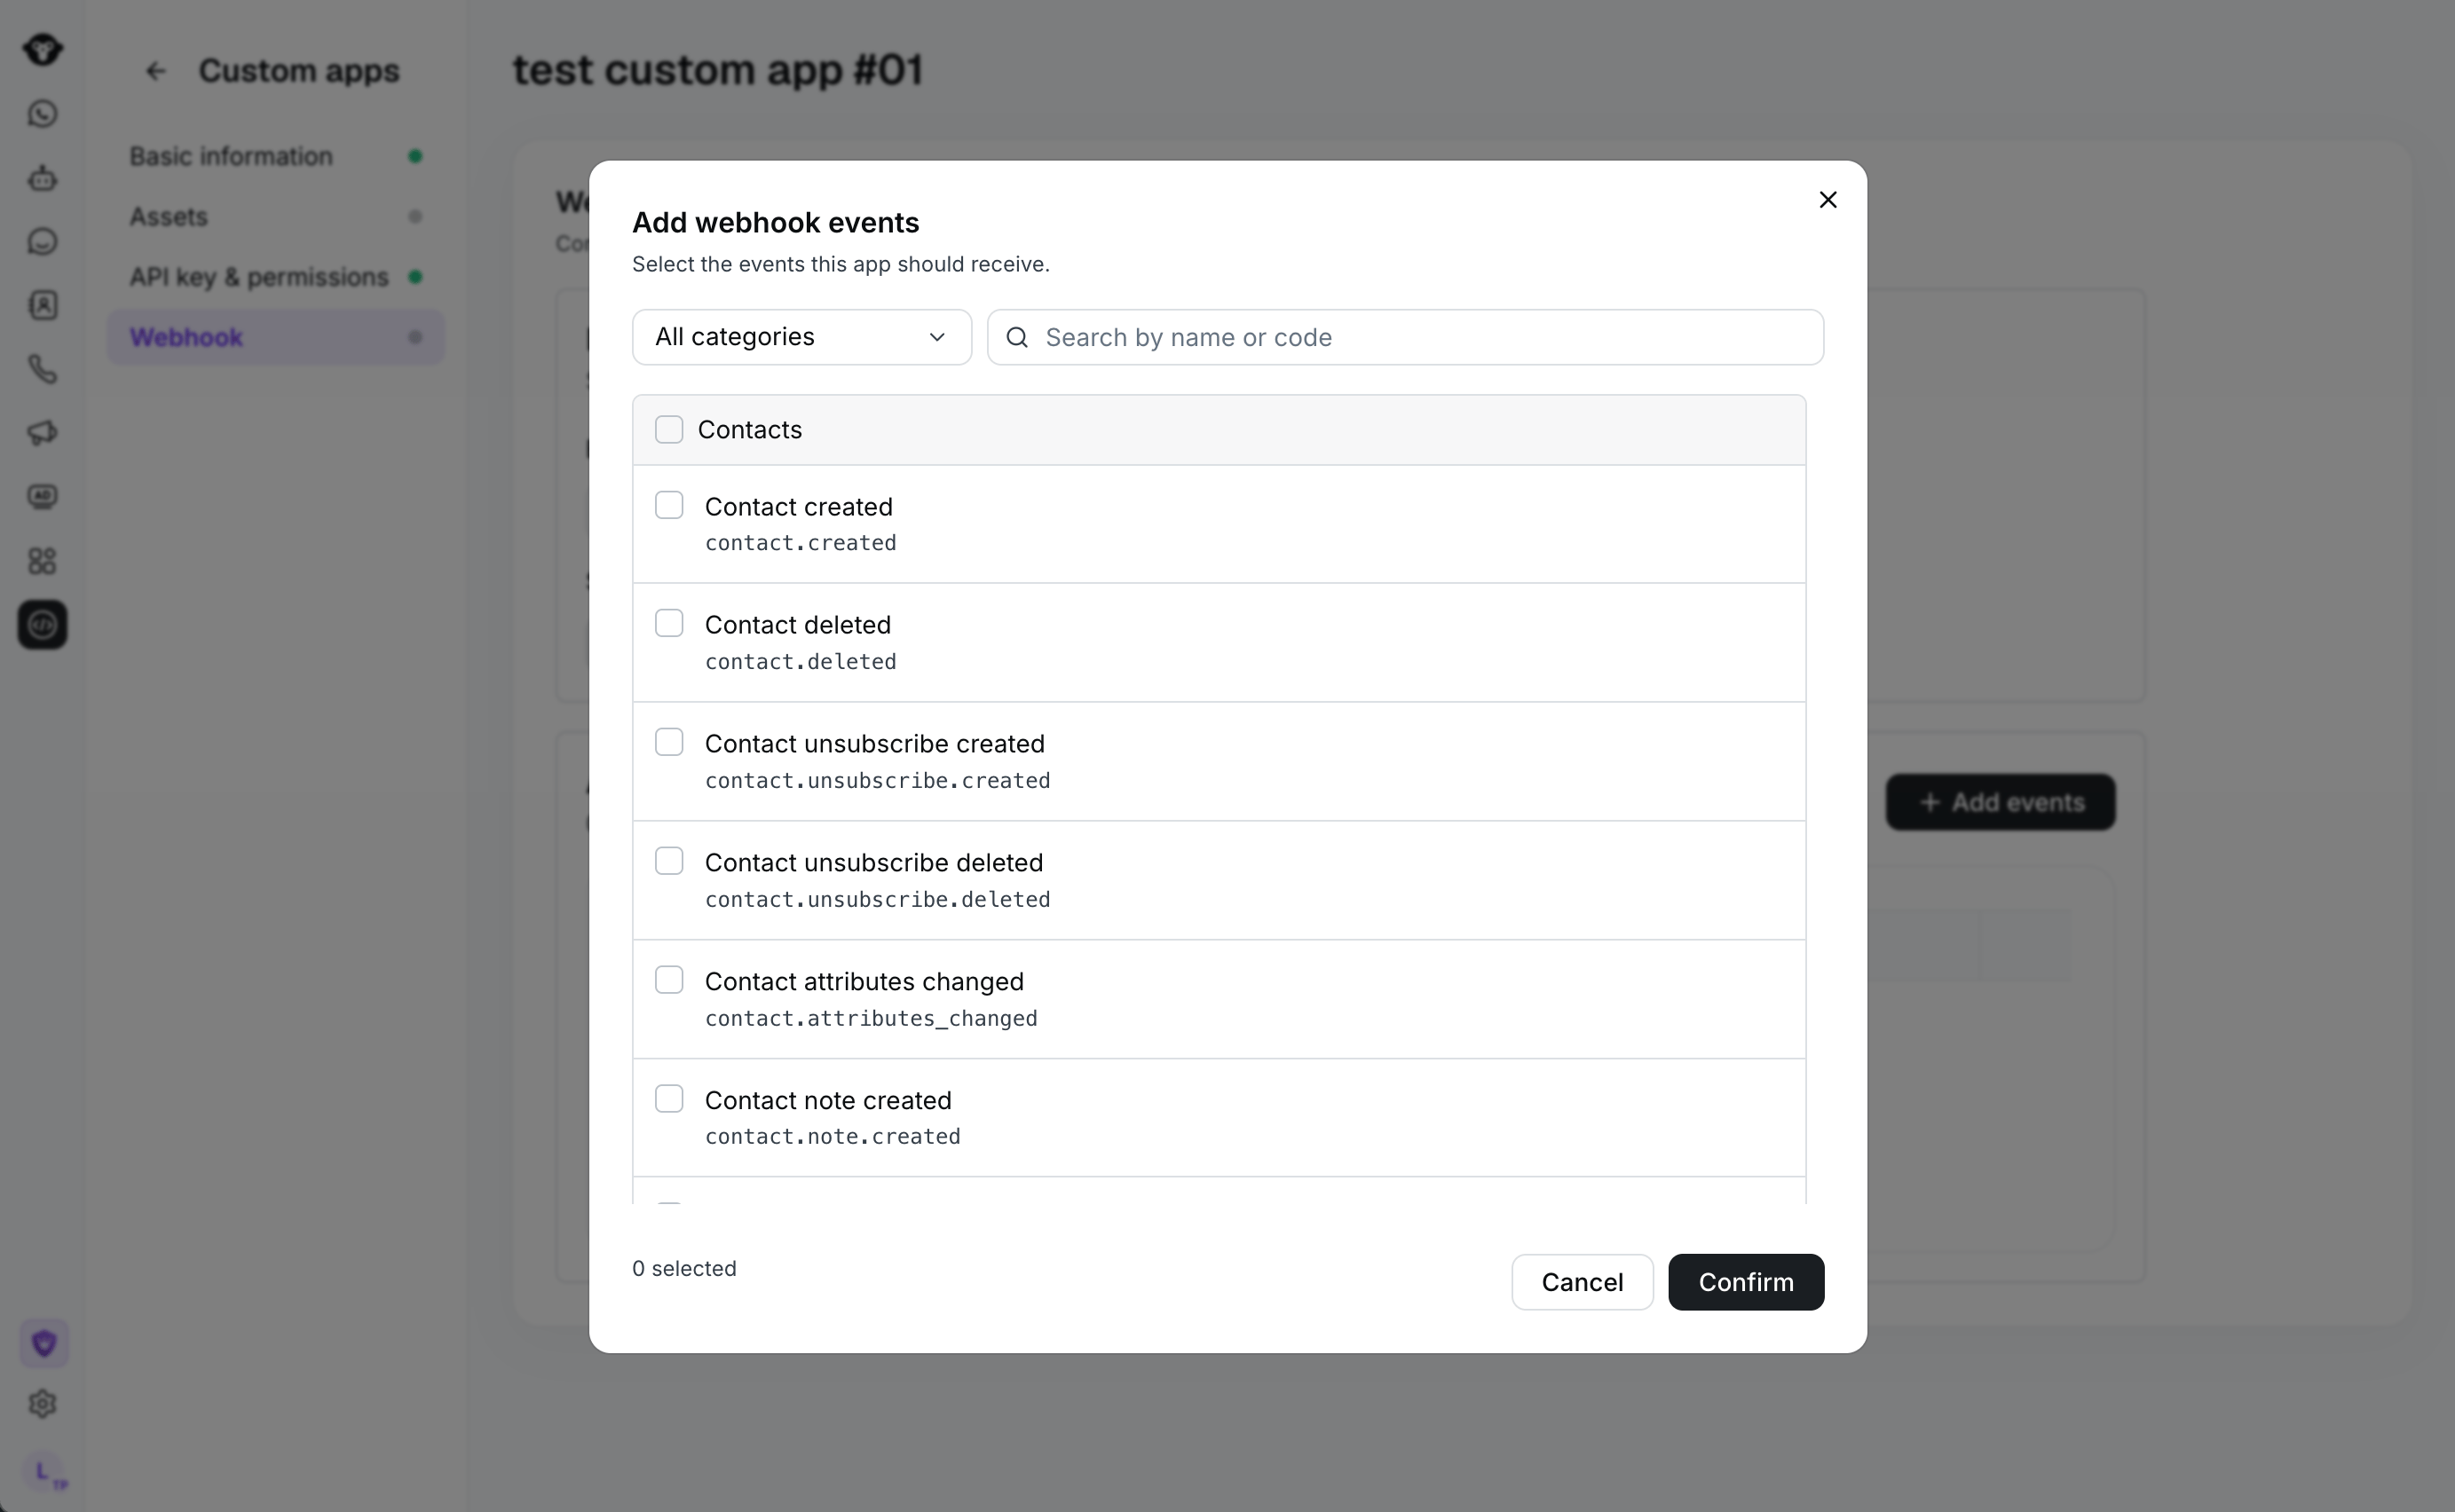
- Filter by category or search by event name or event type.
- Select the events that your endpoint must receive.
- If an event offers data-scope options, choose the scope that matches your integration.
- Click Confirm.
2xx response promptly. See Configure webhooks for signature validation, delivery handling, and security guidance. See Webhook event payloads for event schemas.
Enable and verify the app
Before using the app in production:- Confirm that the app contains the expected WhatsApp Business phone numbers.
- Review every API permission and remove access the integration does not need.
- Return to Developers > Custom apps and enable the app from its actions menu.
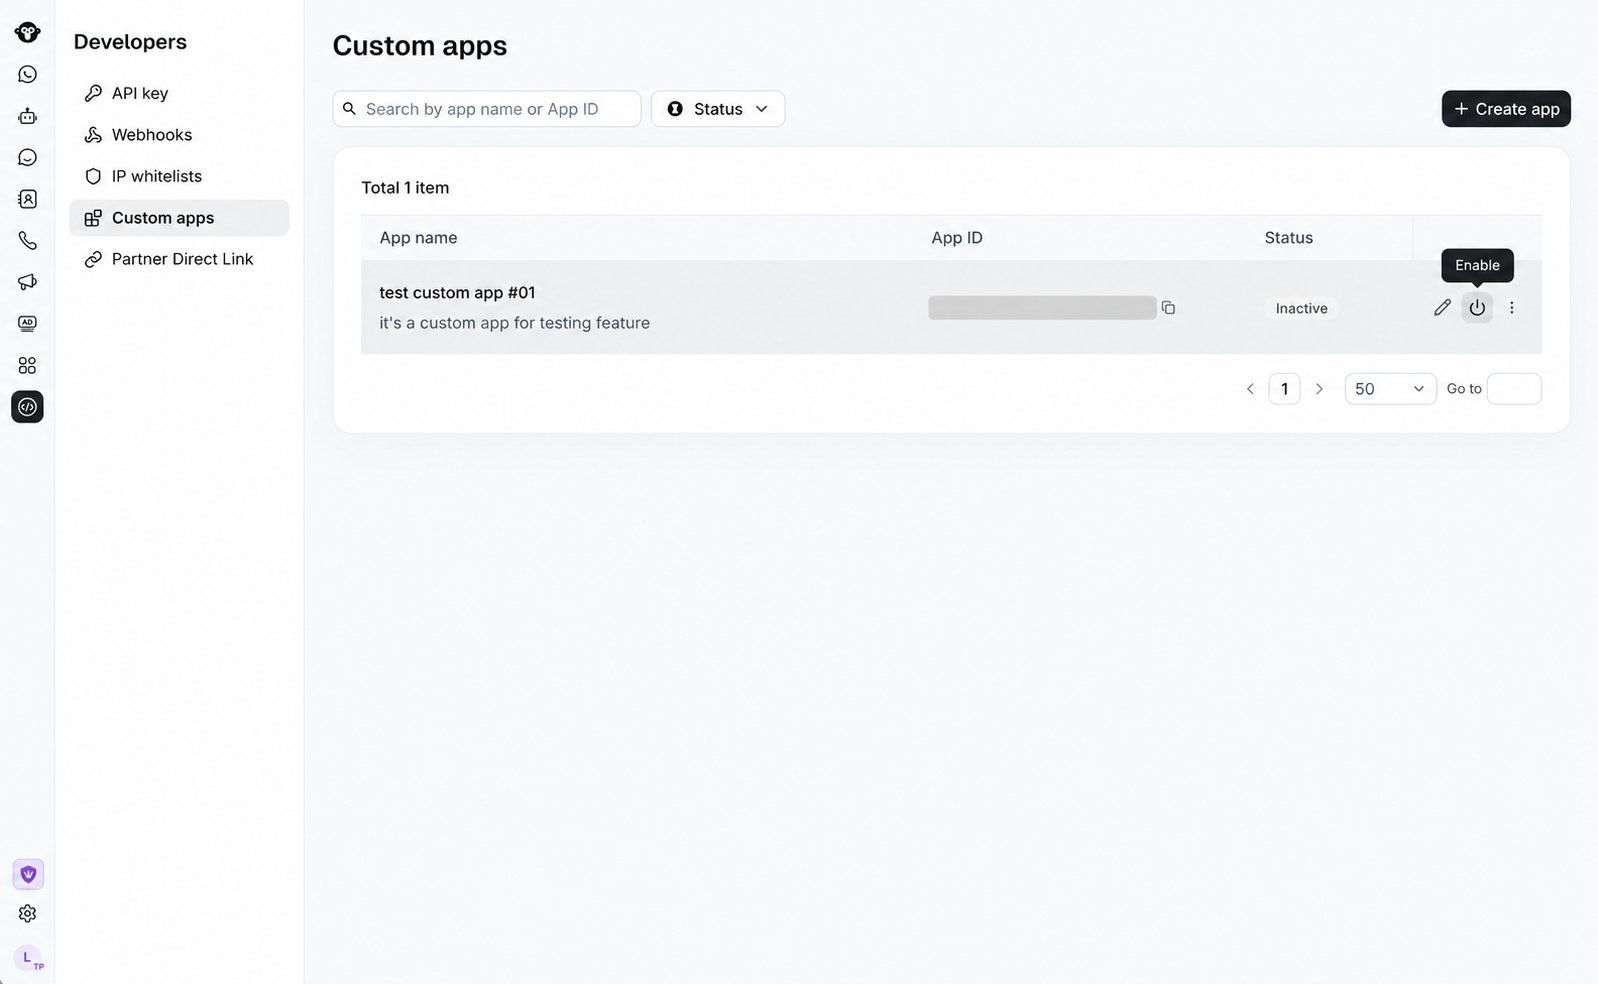
- Confirm that the app status is Active.
- Send a test request with the app API key from a secure server-side environment.
- Trigger a selected event and confirm that your endpoint validates and processes it.