

- Phone number
- Business-scoped User ID (BSUID)
How unsubscribe filtering works
When sending messages, you can choose whether users on the Unsubscribe List should be excluded.
To exclude unsubscribed users when sending through the API, set the following request parameter:
Add users to the Unsubscribe List
There are three ways to add a user.1. Add users manually
You can add a single user or multiple users directly from the Unsubscribe page.Add by phone number
- Go to Contact > Unsubscribe.
- Select the Phone tab.
- Click Add Phone Number.
- Select the channel.
- Enter one or more phone numbers with international prefixes. Separate multiple numbers with commas or new lines.
- Click Add.
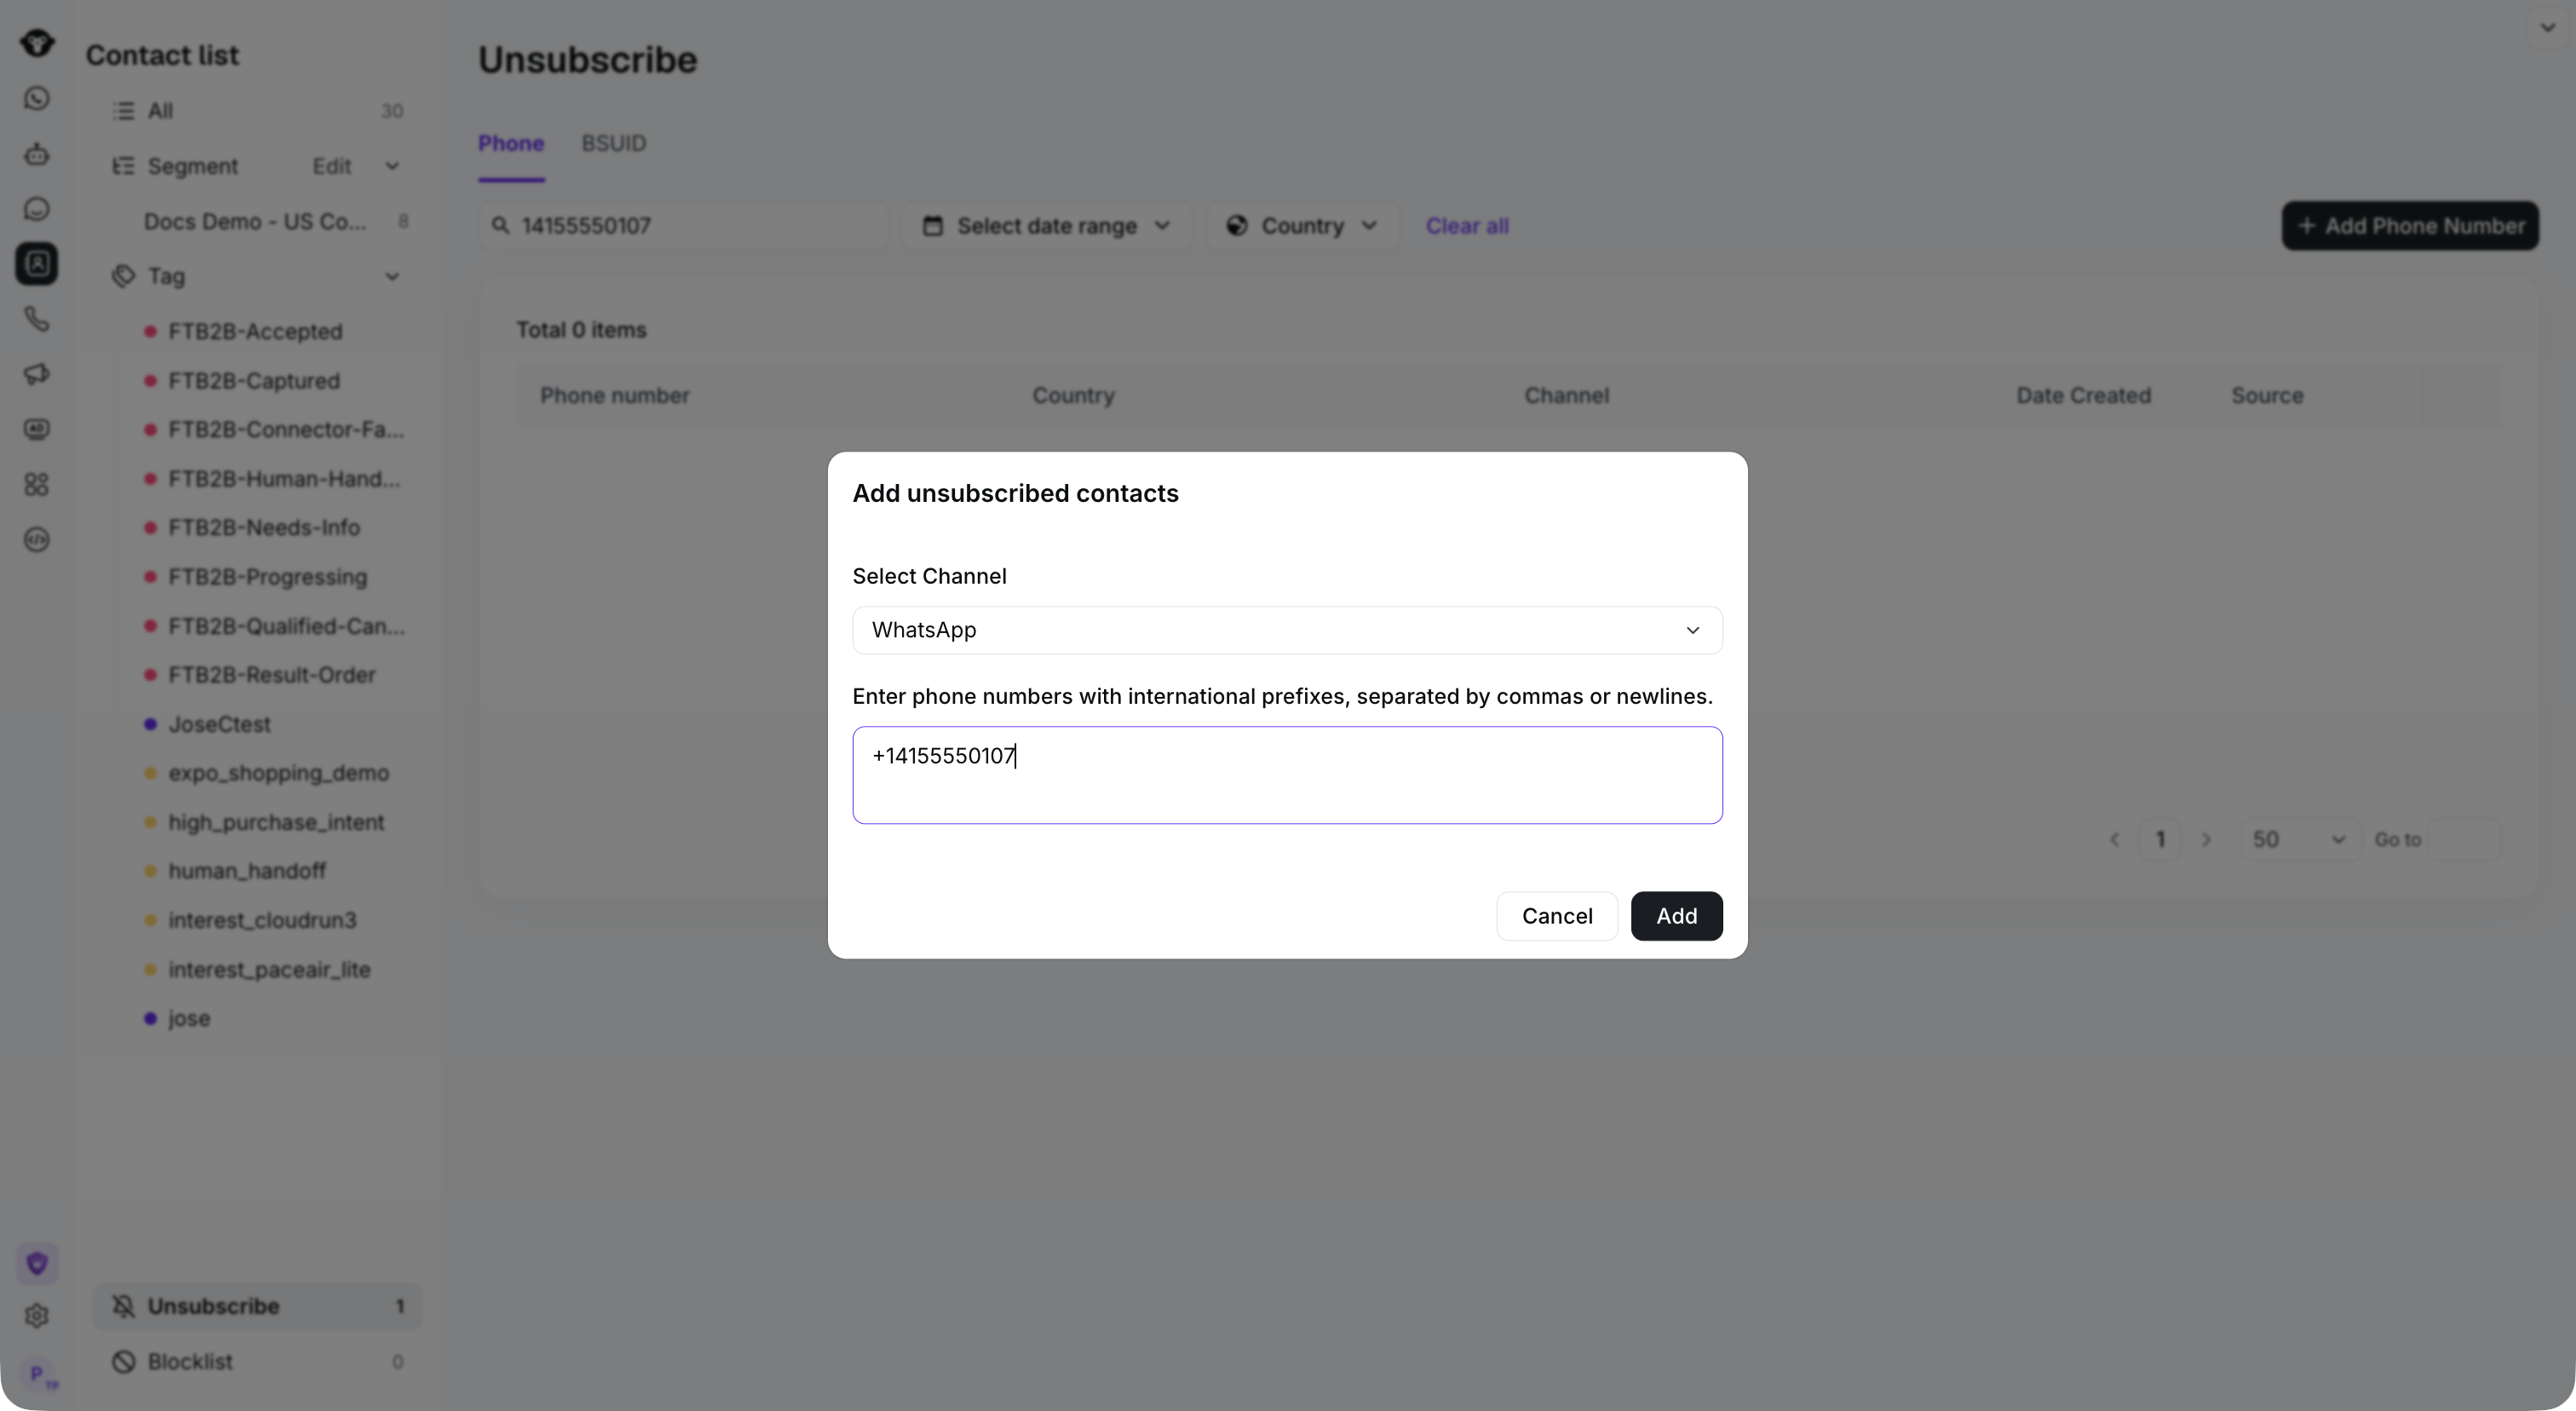
Select the channel and enter phone numbers with international prefixes. This example is not submitted.
Add by BSUID
- Go to Contact > Unsubscribe.
- Select the BSUID tab.
- Click Add BSUID.
- Enter the required BSUID information.
- Click Add.
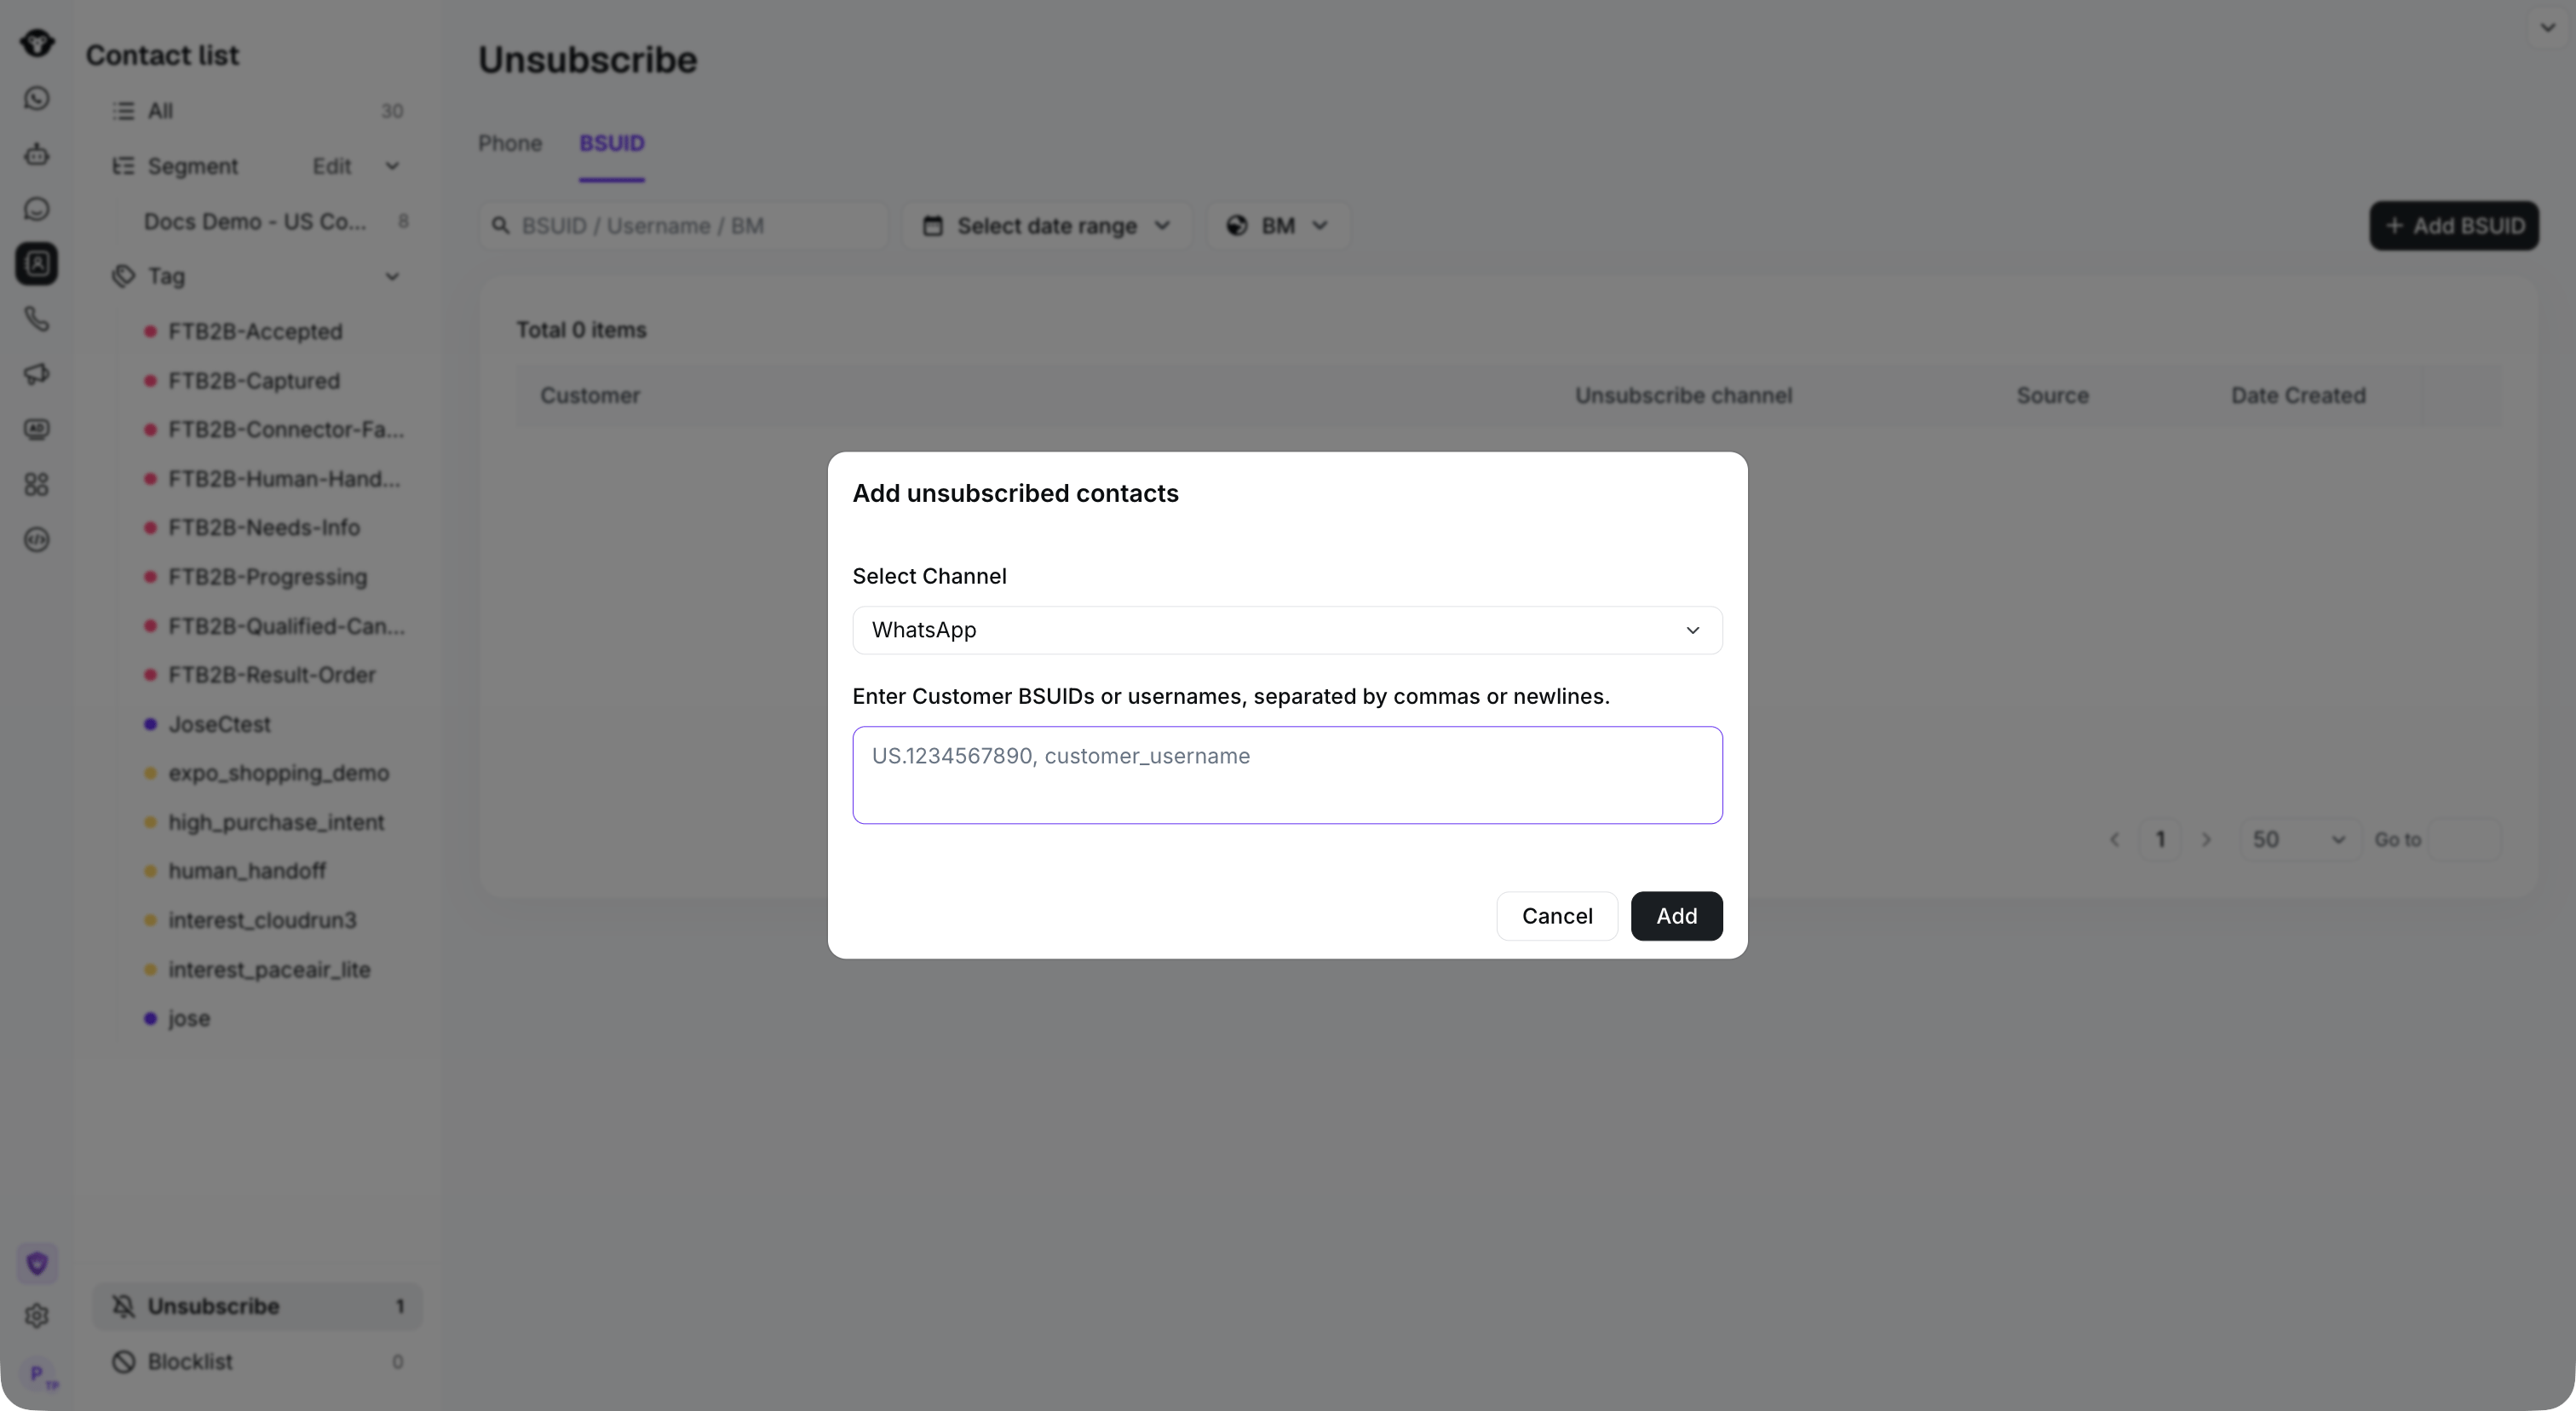
Use the BSUID tab to add customer BSUIDs or usernames to the unsubscribe list.
2. Add users through the API
Use the YCloud Unsubscriber API to add a phone number or supported user identifier programmatically. This is suitable for synchronizing consent preferences from your website, CRM, or another internal system. See Create an unsubscriber for the request format and supported parameters.3. Add users through an AI Agent
An AI Agent can add a customer to the Unsubscribe List when it identifies and confirms an unsubscribe request during a conversation. Configure the appropriate unsubscribe behavior under the AI Agent’s Actions. See Create and Configure an AI Agent for information about configuring actions.Before adding a customer automatically, design the Agent to confirm the customer’s intent. This helps prevent accidental opt-outs.