

If you are building an application, then you will primarily interact with the Web API, which is the fastest, most flexible, and most secure option we offer. Once you have integrated with our Web API, you will see fast email delivery, highly configurable settings, data capabilities, and account security through your API key.
Before You Start
To understand the pricing for emails, please check the prices on our website: https://www.ycloud.com/en/priceGetting Started
To use any YCloud product, you need to register for a free account. To activate the Email feature, click the Enable button on the Integrations page.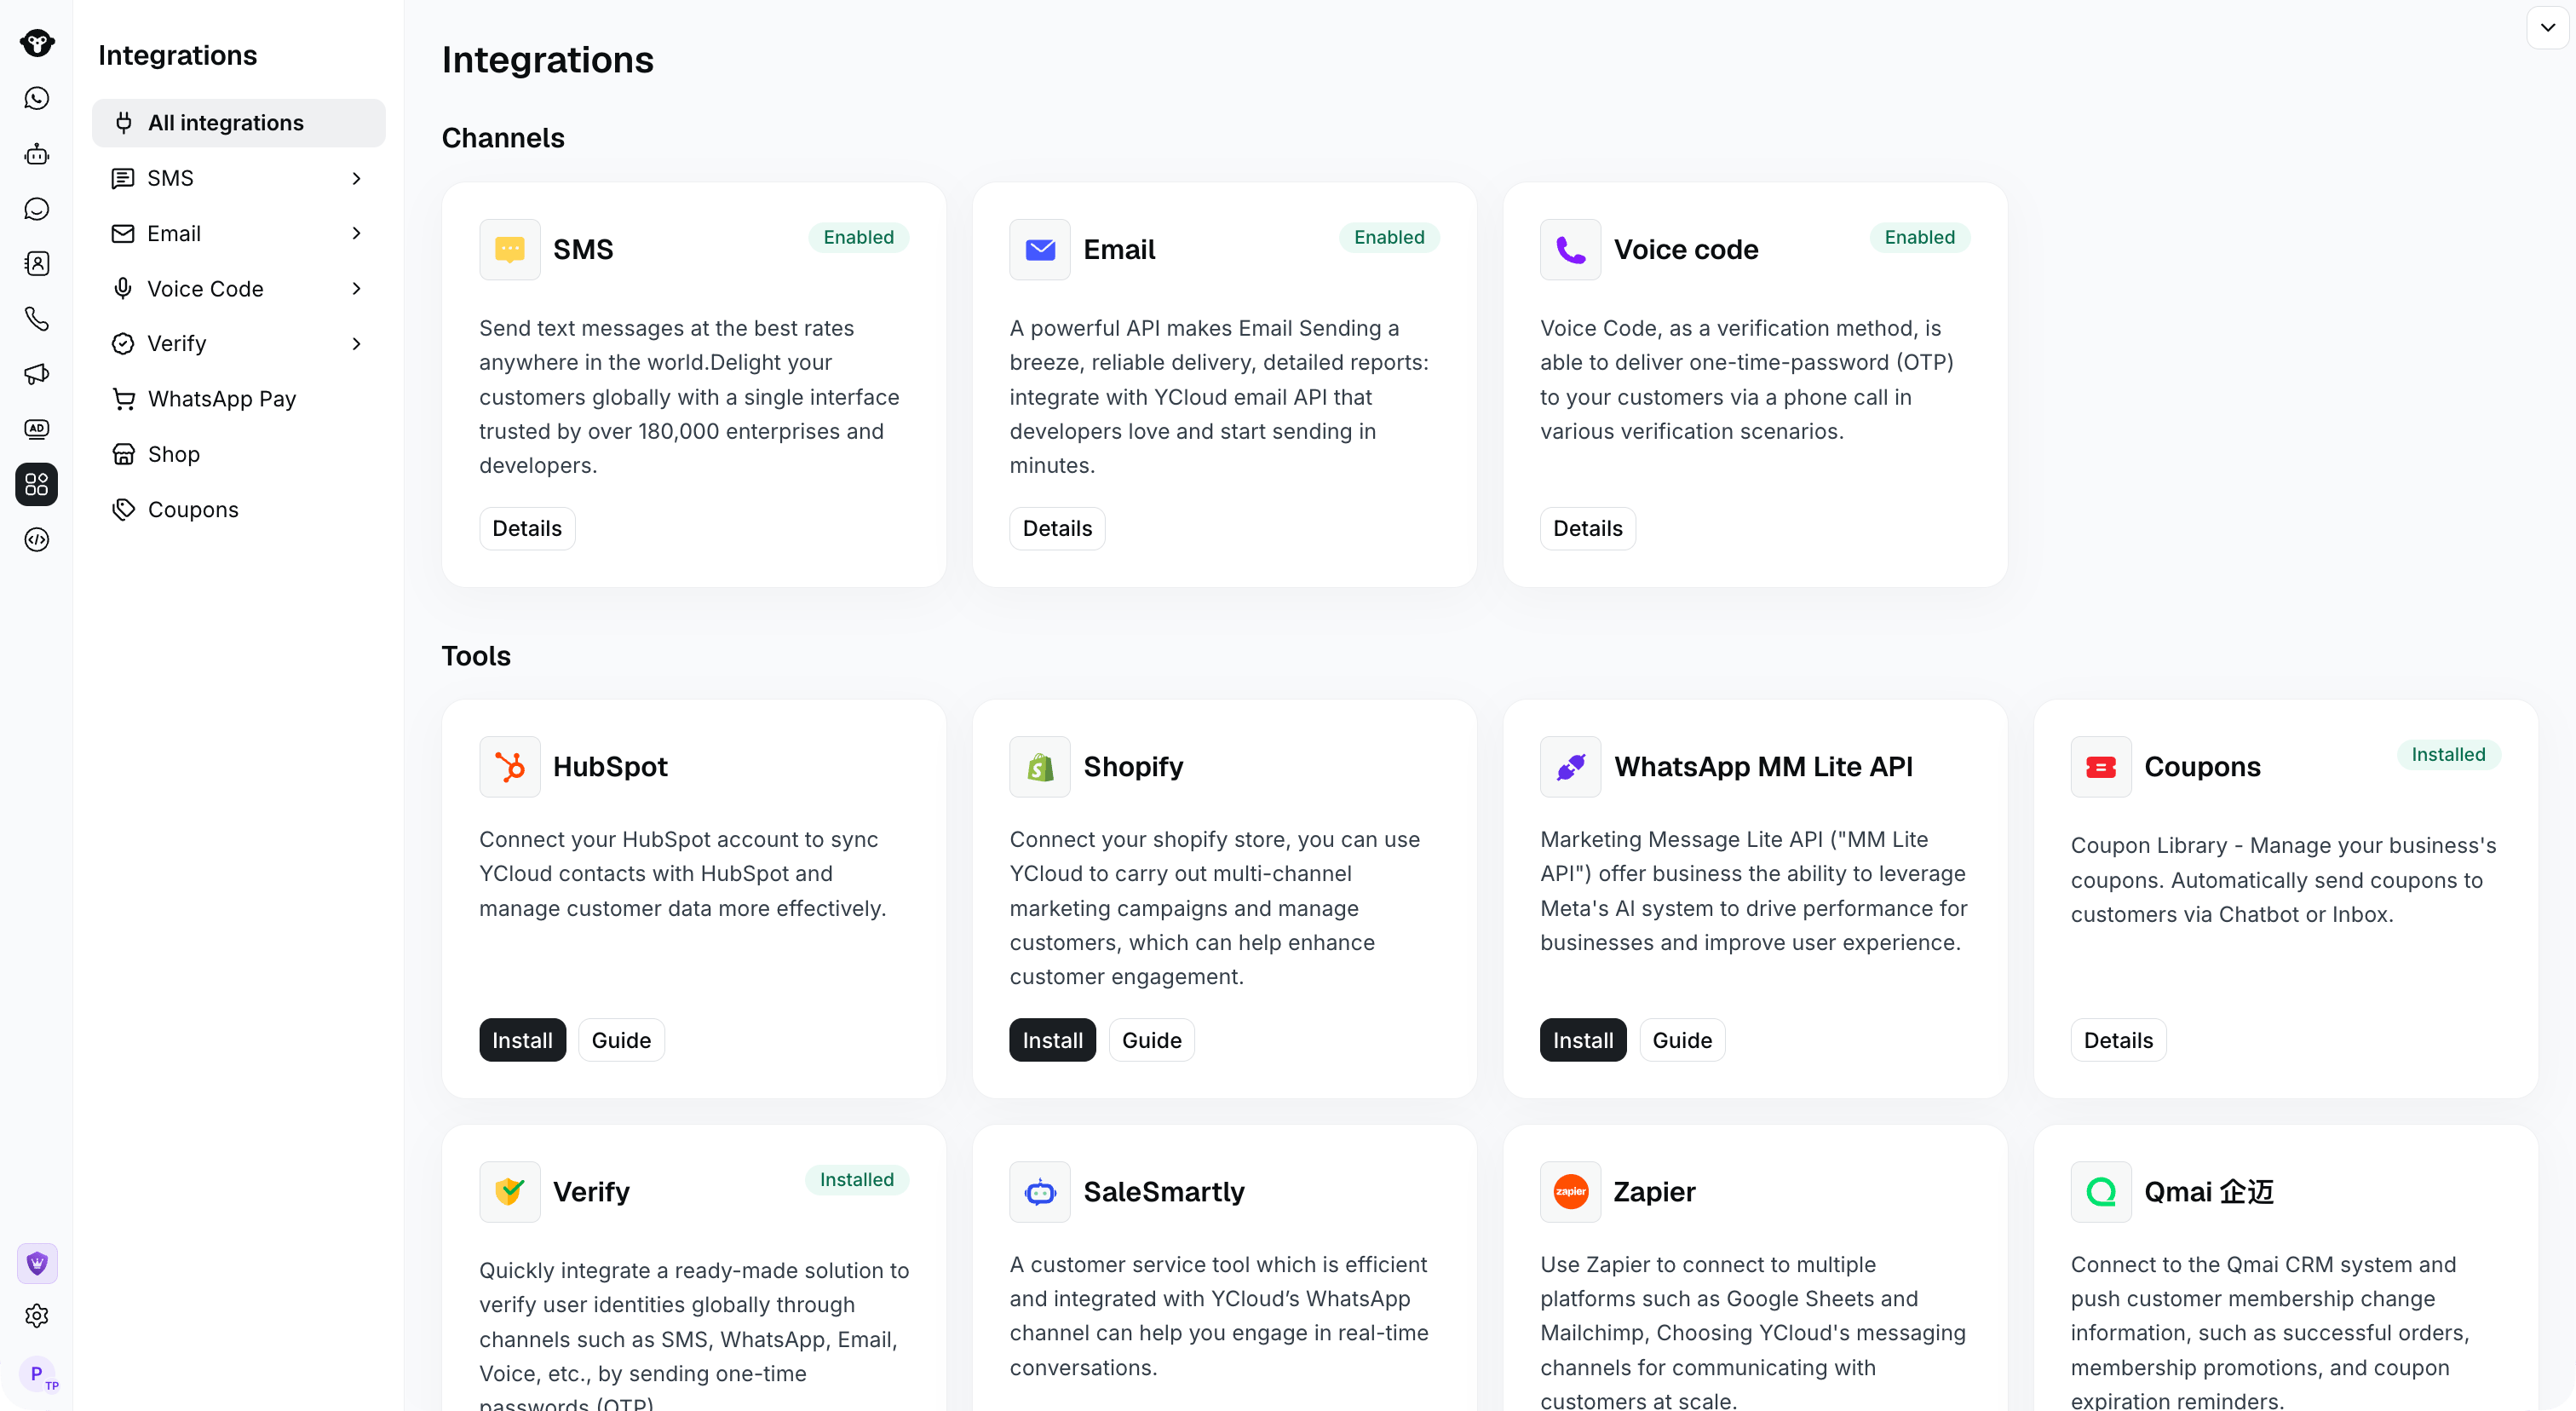
Find Email in Integrations. This example shows the enabled state.
For Trial Accounts
You should be aware of some limitations:- Trial accounts only support sending to your own registered email.
- The maximum daily delivery is 50 emails.
- YCloud provides an address ycloud@ycloud-mail.com for testing, but this address only supports sending to your own registered email, regardless of whether you upgrade your account.
Setting Up Your Domain
Add and verify your official domain. You need to prepare a domain for sending emails. Through your DNS provider (such as GoDaddy, Rackspace, Cloudflare, Route53, etc.). You can add the DNS records provided by YCloud to your DNS entries. These entries are called SPF and DKIM records.This domain will be the address displayed in the recipient field.