

Sales Manager
Create the WABA account and invite Sales
- Create a WABA account
- Assign a Phone number to each Sales and add it to the WABA account
- Invite Sales with the Sales role
Set assignment rules
- If your contacts already has been assigned to specific agents (which means, already have owners), select the assignment rule “Assign to owner”, so their conversations will automatically be assigned to their owner agents.

Enable Assign to owner in the business number's Inbox Assignment settings.
- If contacts are new, and you want to assign them evenly to your sales agents, then create a sales team and add your members. Choose the way you want the conversations be assigned among them and go back to the phone number settings, assign to this team.

Choose Team as the target under Assign to when routing new conversations to a sales team.
- Enable advanced assignment rules: when a conversation comes in, the system will check whether the customer has an Owner. If there is an Owner, this conversation will be forcibly assigned to that Owner
Set up automation (optional)
Configure automated welcome messages and automatic message replies for the number according to business needs. For details, see AutomationSet the number name
It is recommended to name each number: xxx brand - Sales xxx This gives a professional and trustworthy impression.Set tags
Set company-wide tags to help manage and classify customers. You can classify customers based on factors such as lead source, purchase intent, and communication stage. Set corresponding tags for different customer categories, such as “high intent”, “medium intent”, and “low intent”. At the same time, set reply priorities based on customer classification to ensure that high-intent customers receive the most timely responses.Set Contact attributes
Define the information that the team focuses on tracking and add it as Contact attributes. For example: define “Notes” with the field type “Text”. Sales can record this information in chat. Better understand customer information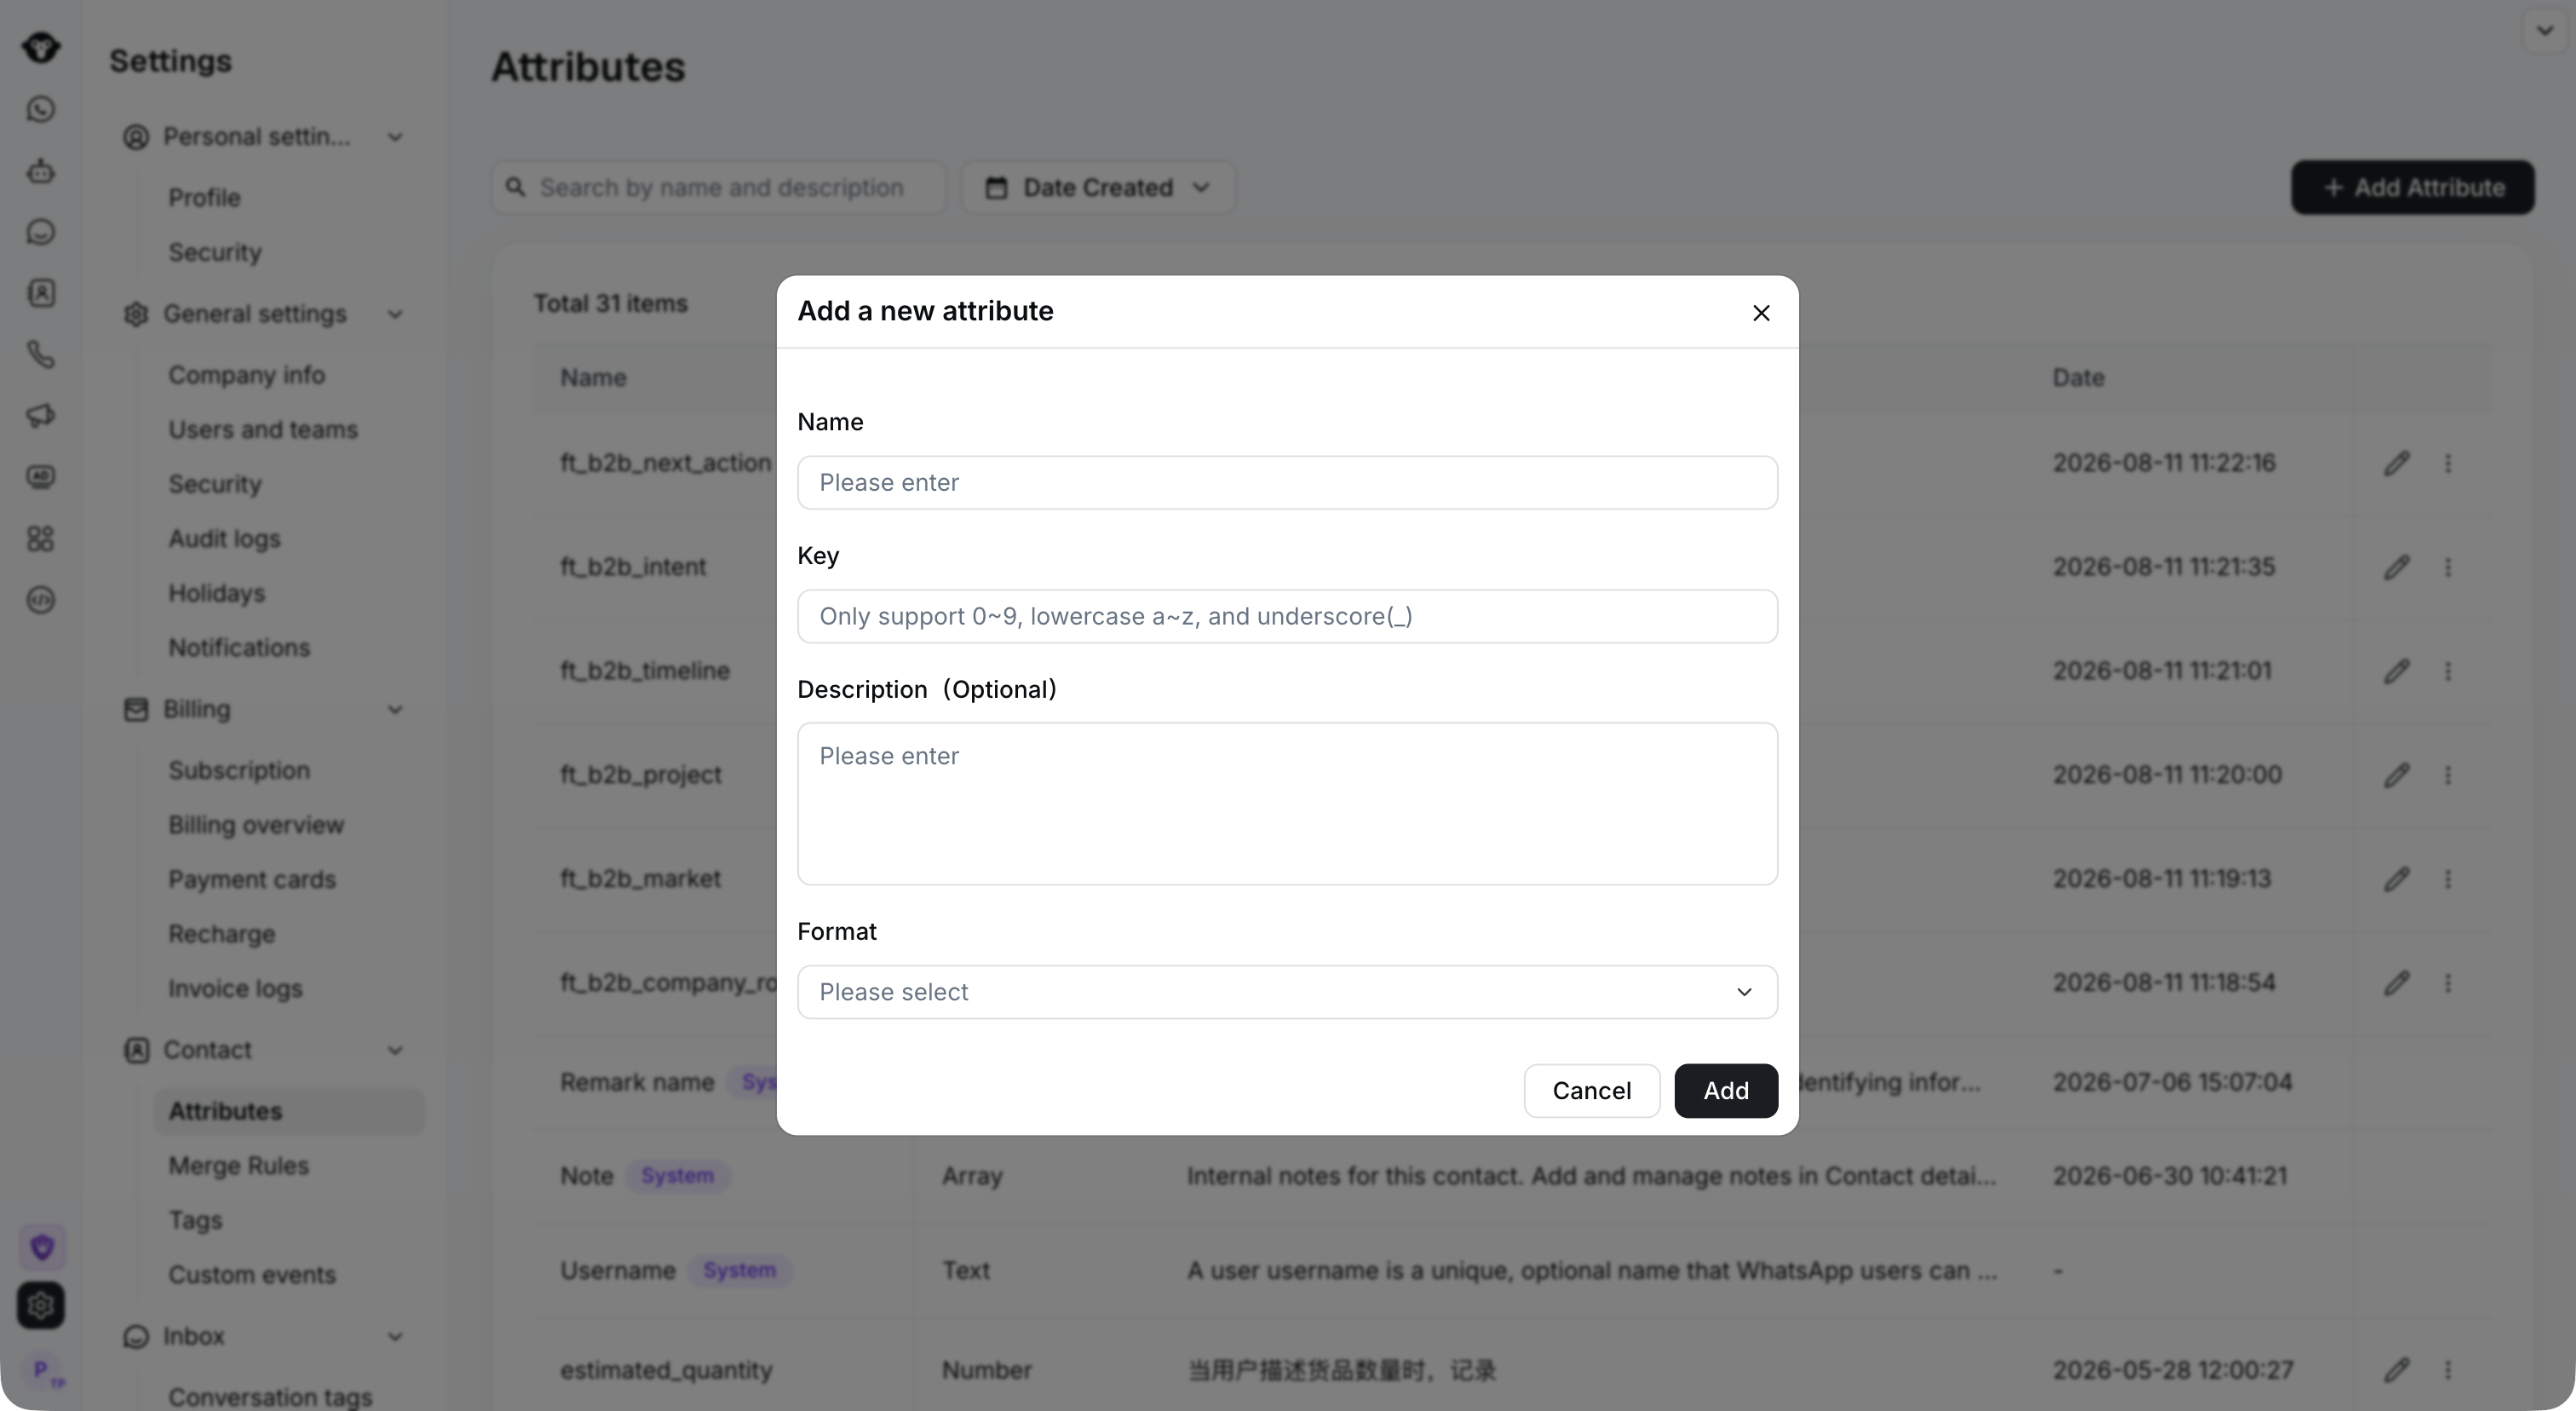
Define the attribute name, unique key, and format for information your team needs to collect.
Import customers
Import customers in bulk and assign them to the corresponding Sales by configuring the owner fieldSales
Add your own customers in Contact
Add customers manually or through bulk import PS: Sales can only see conversations assigned to them and those whose Owner belongs to them.
After importing contacts, open a contact and confirm its Owner is the intended sales agent.