

1. Agent welcome message
- After entering Inbox, click the Inbox settings gear beside your status.

Open Inbox settings using the gear beside your status.
- Select Welcome Message to manage your welcome messages.
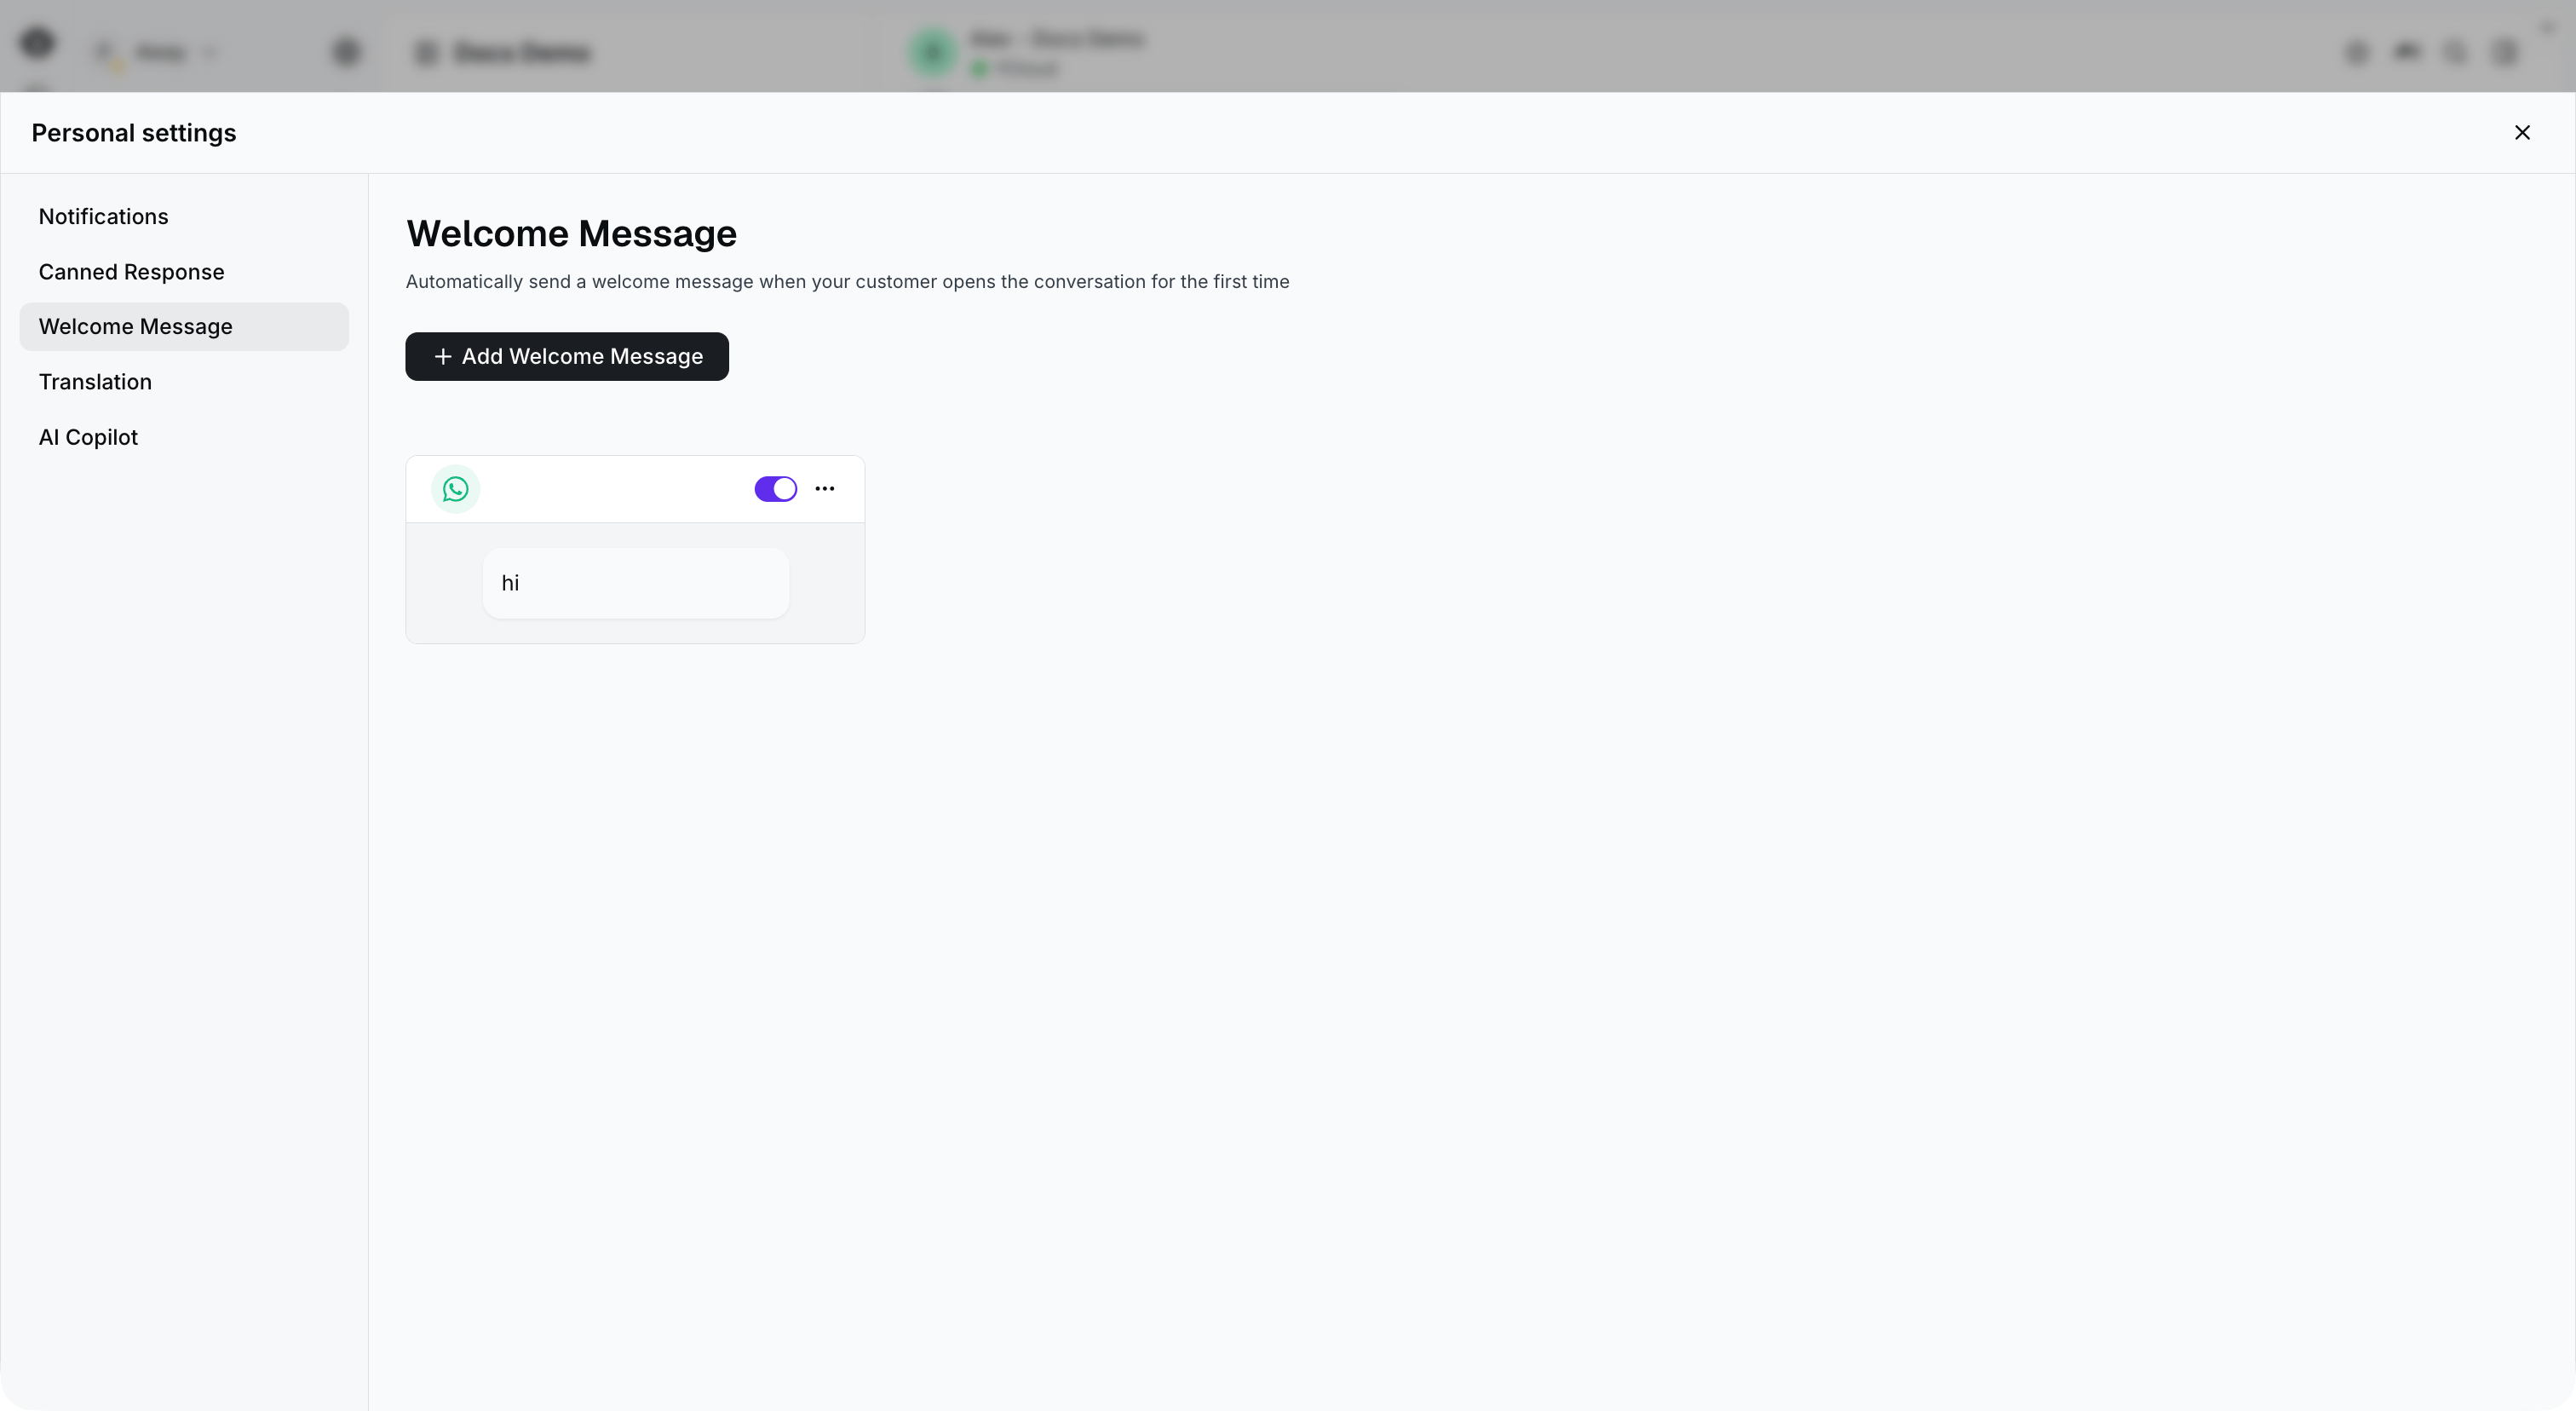
Select Welcome Message in Personal settings, then select Add Welcome Message.
- Click the Add Welcome Message button to create a new welcome message, then choose which business numbers it applies to. Three different types of welcome messages are supported: text, media, and interactive messages
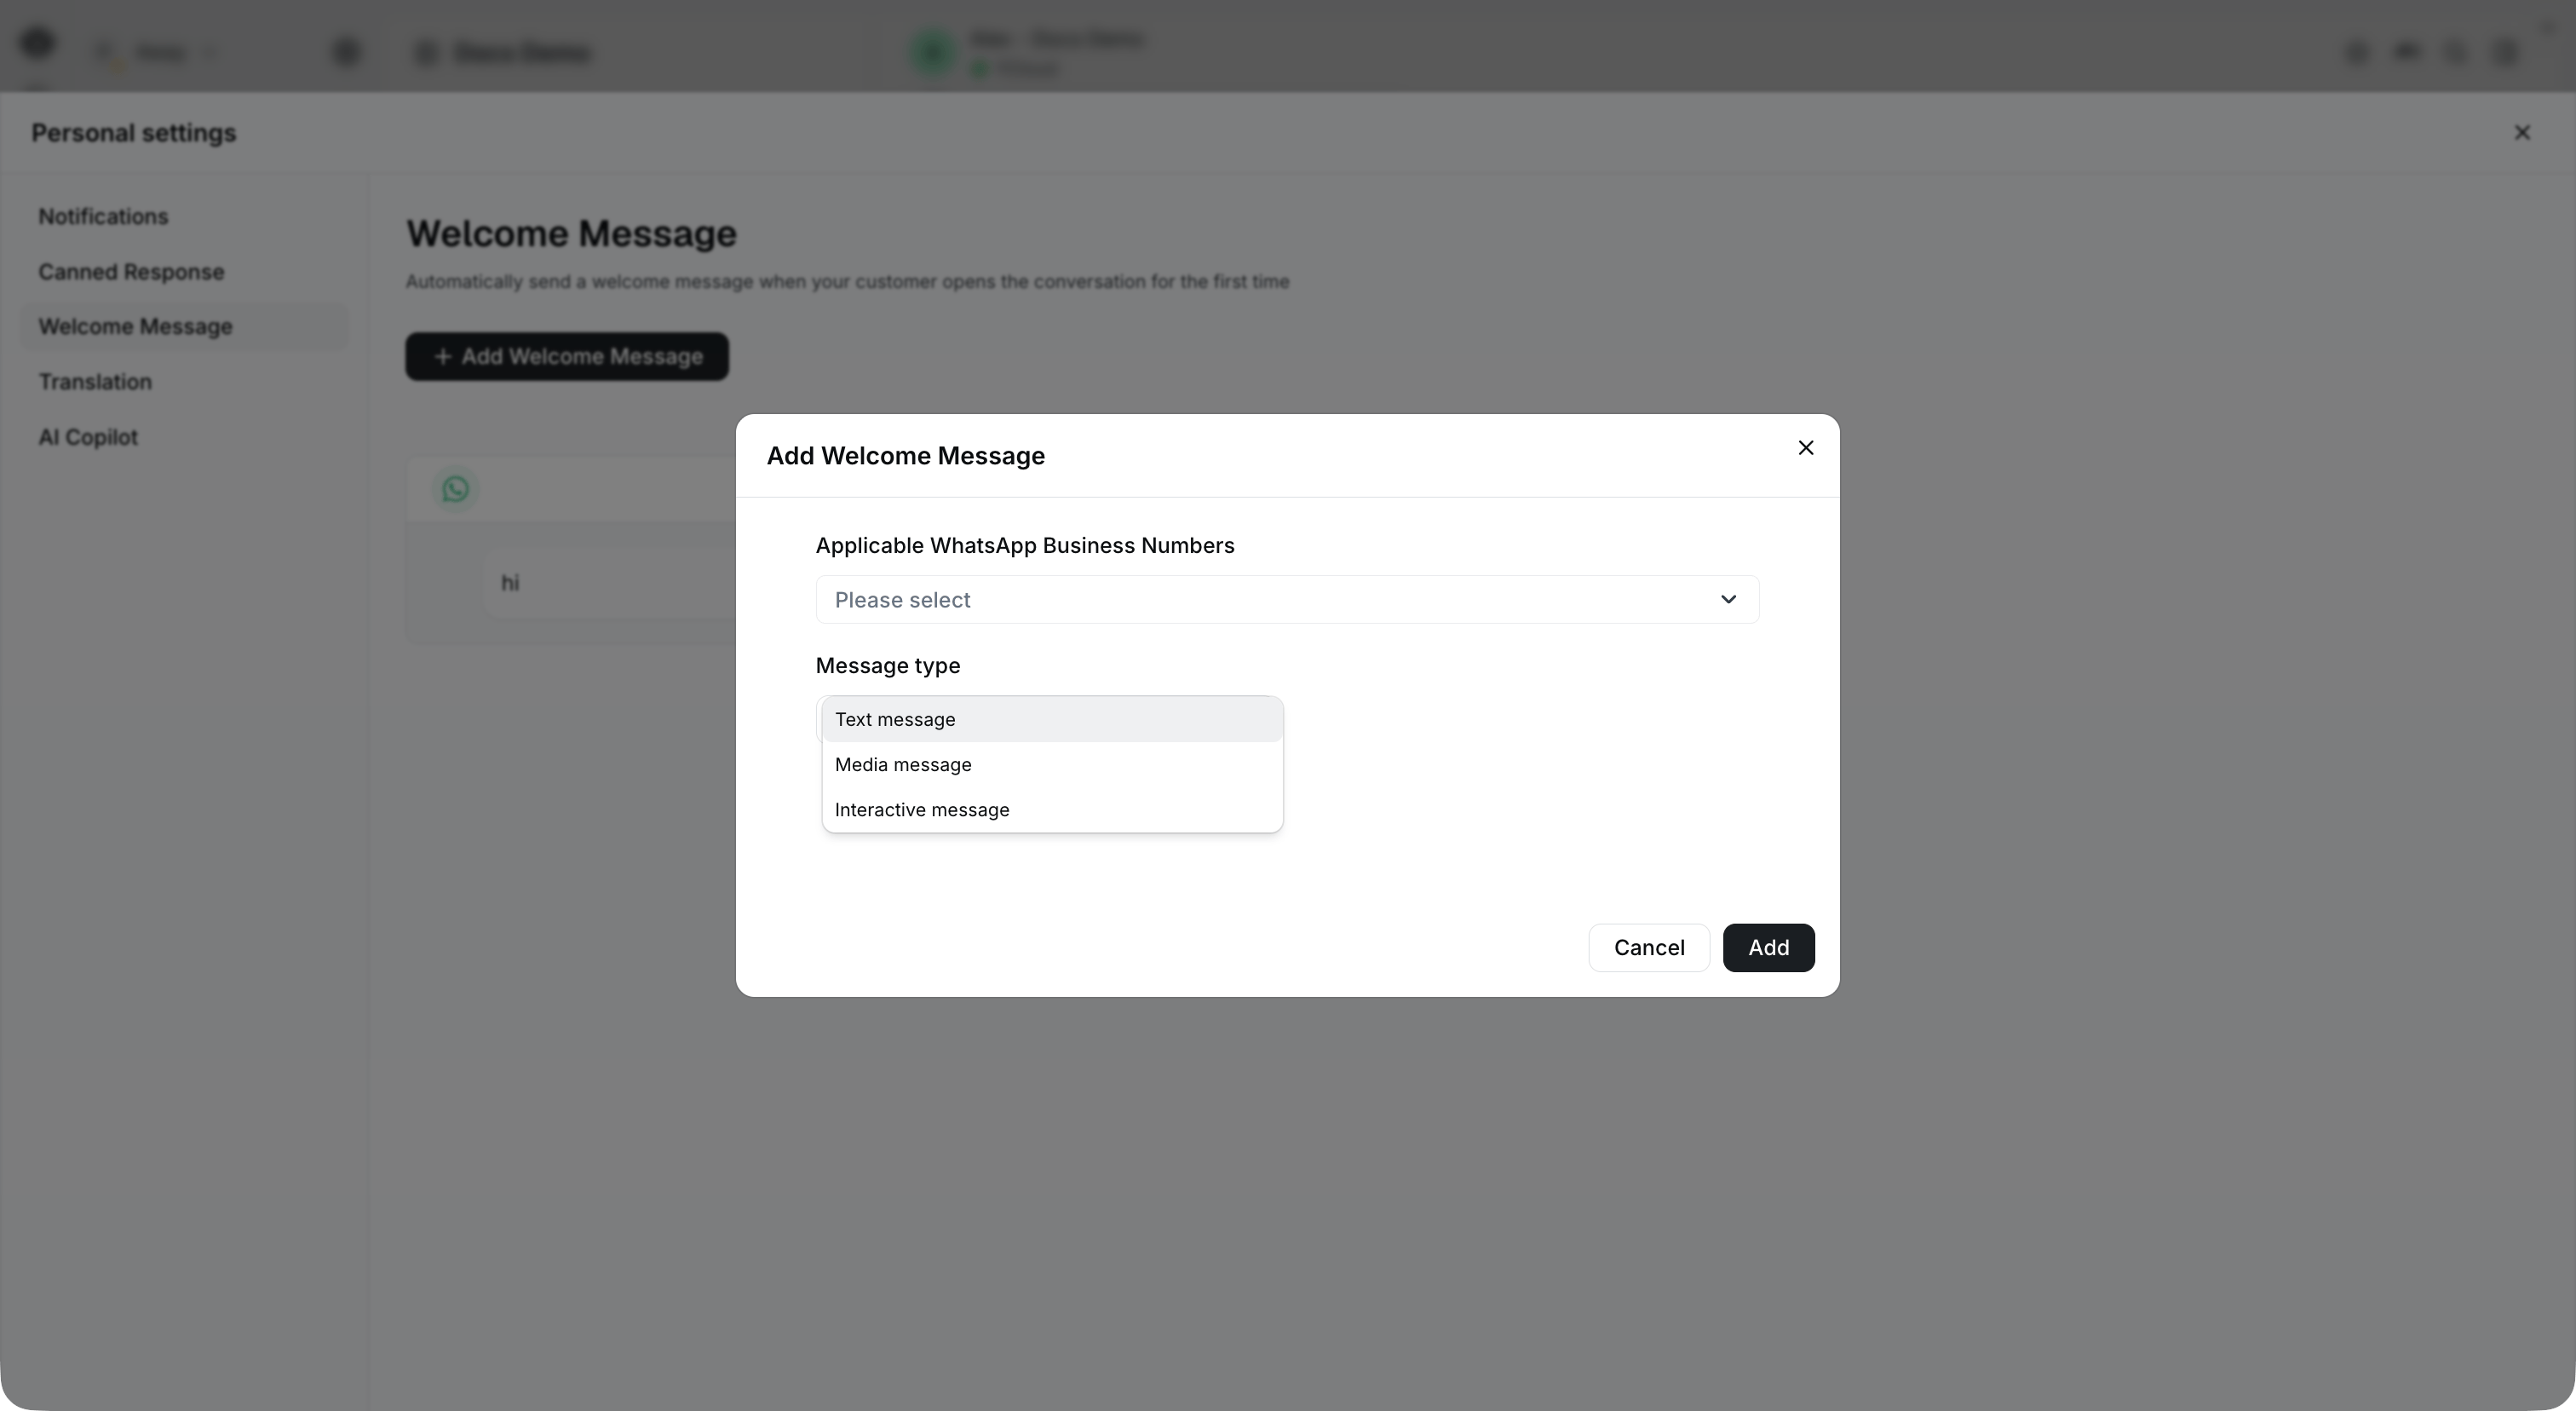
Choose the applicable business numbers and select a message type.
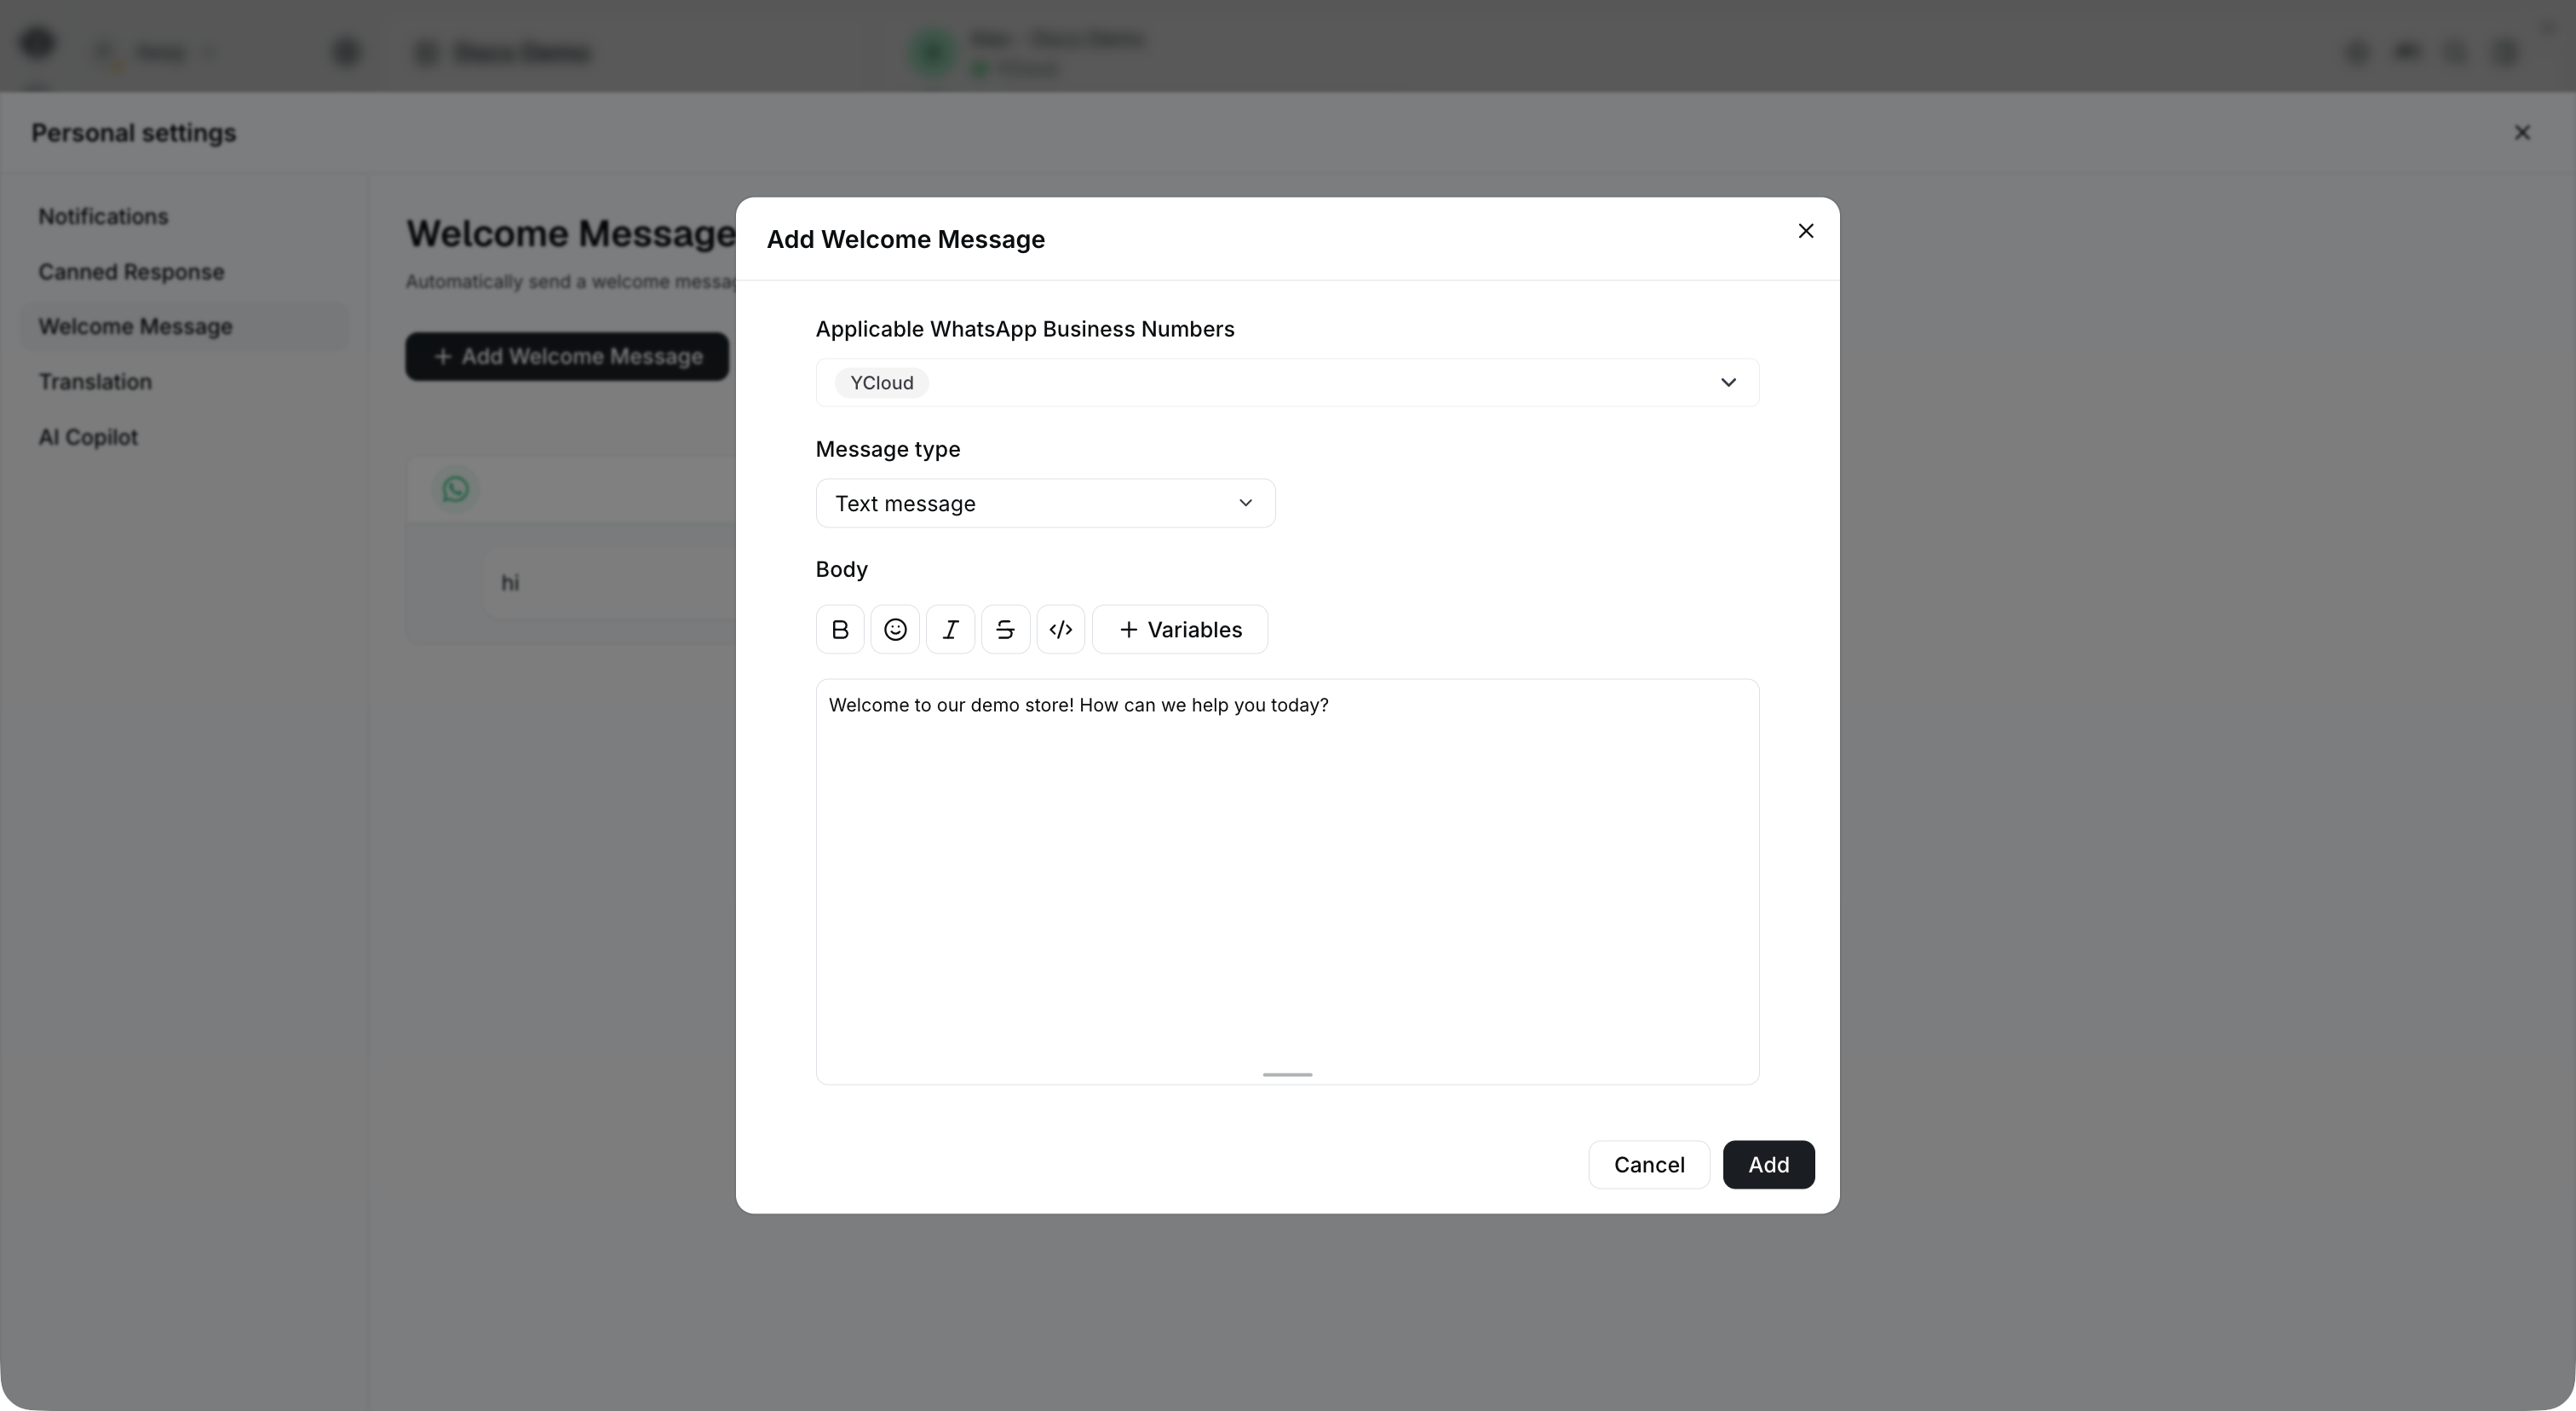
For a text message, enter the welcome text in Body. This example has not been saved.
- Turn on the switch to activate the welcome message. You can also edit or delete the welcome message by clicking the button in the upper-right corner
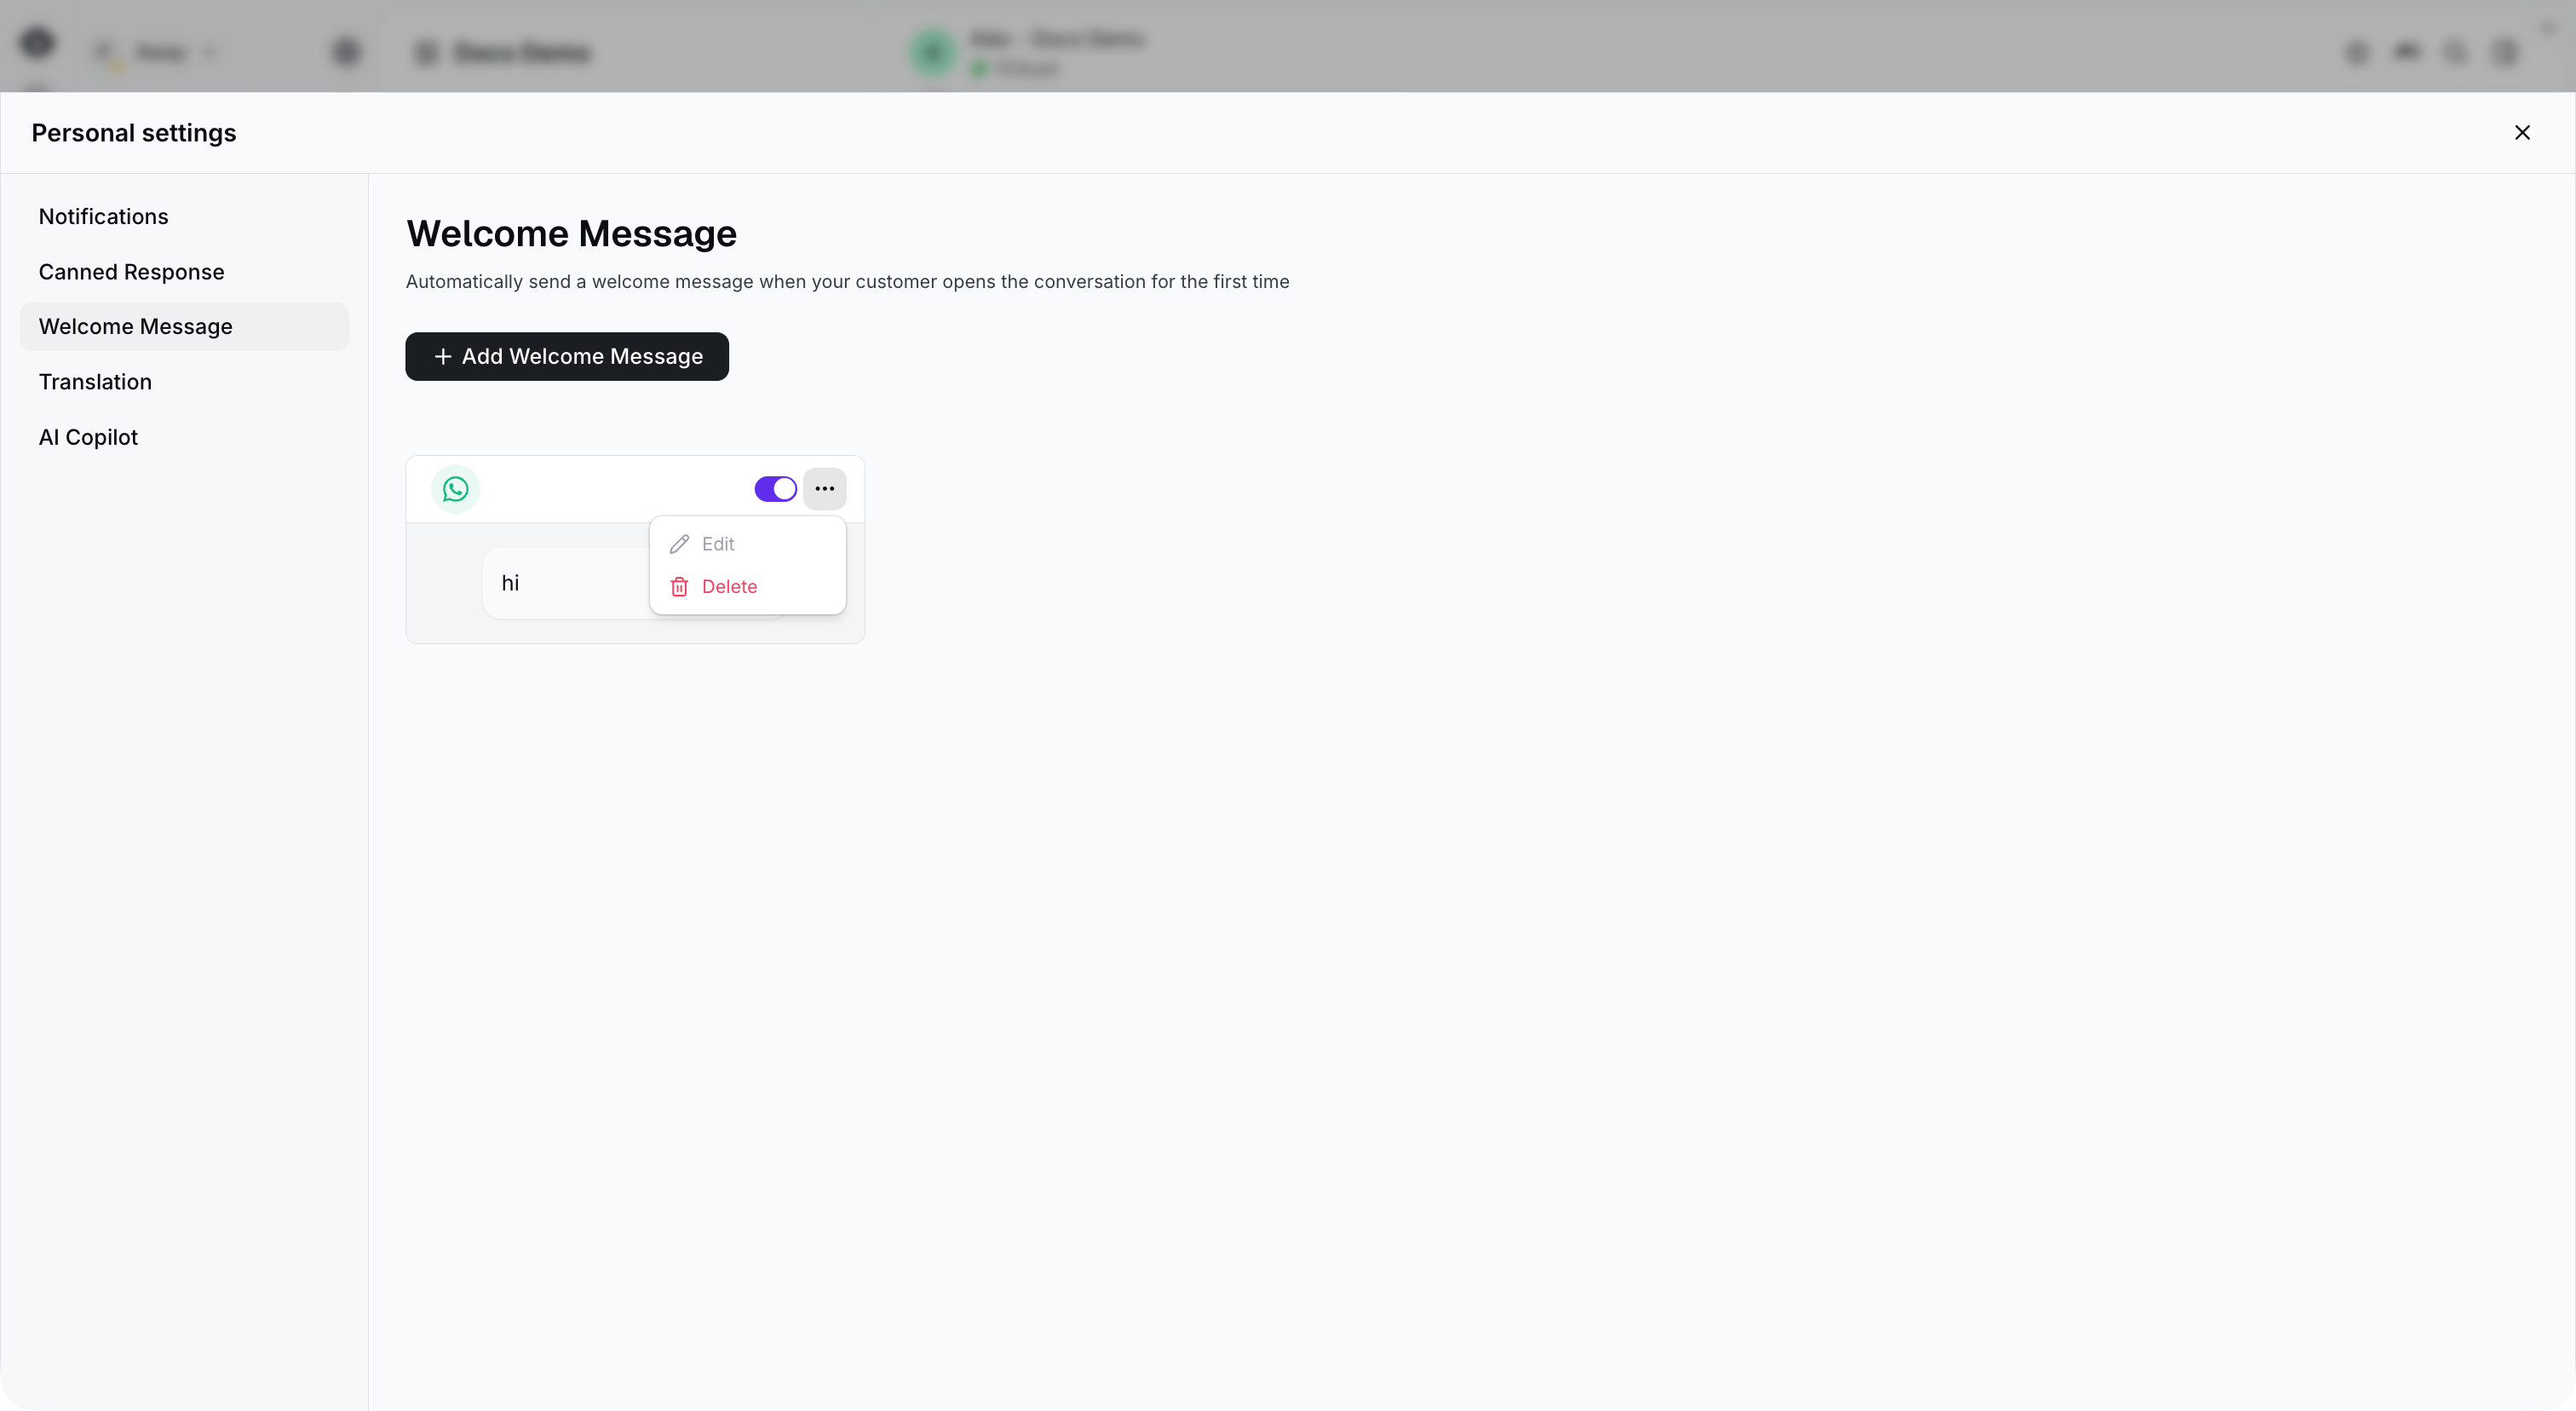
The switch and actions menu appear at the top right of each welcome message card.
2. Rule-based agent welcome message
To configure a welcome message for a rule-based agent, open AI Agent, select the Rule-based Agent tab and your agent, then go to General > Profile > Welcome Message. The screenshot shows the setting turned off in the demo agent; turn it on to configure the message for your agent.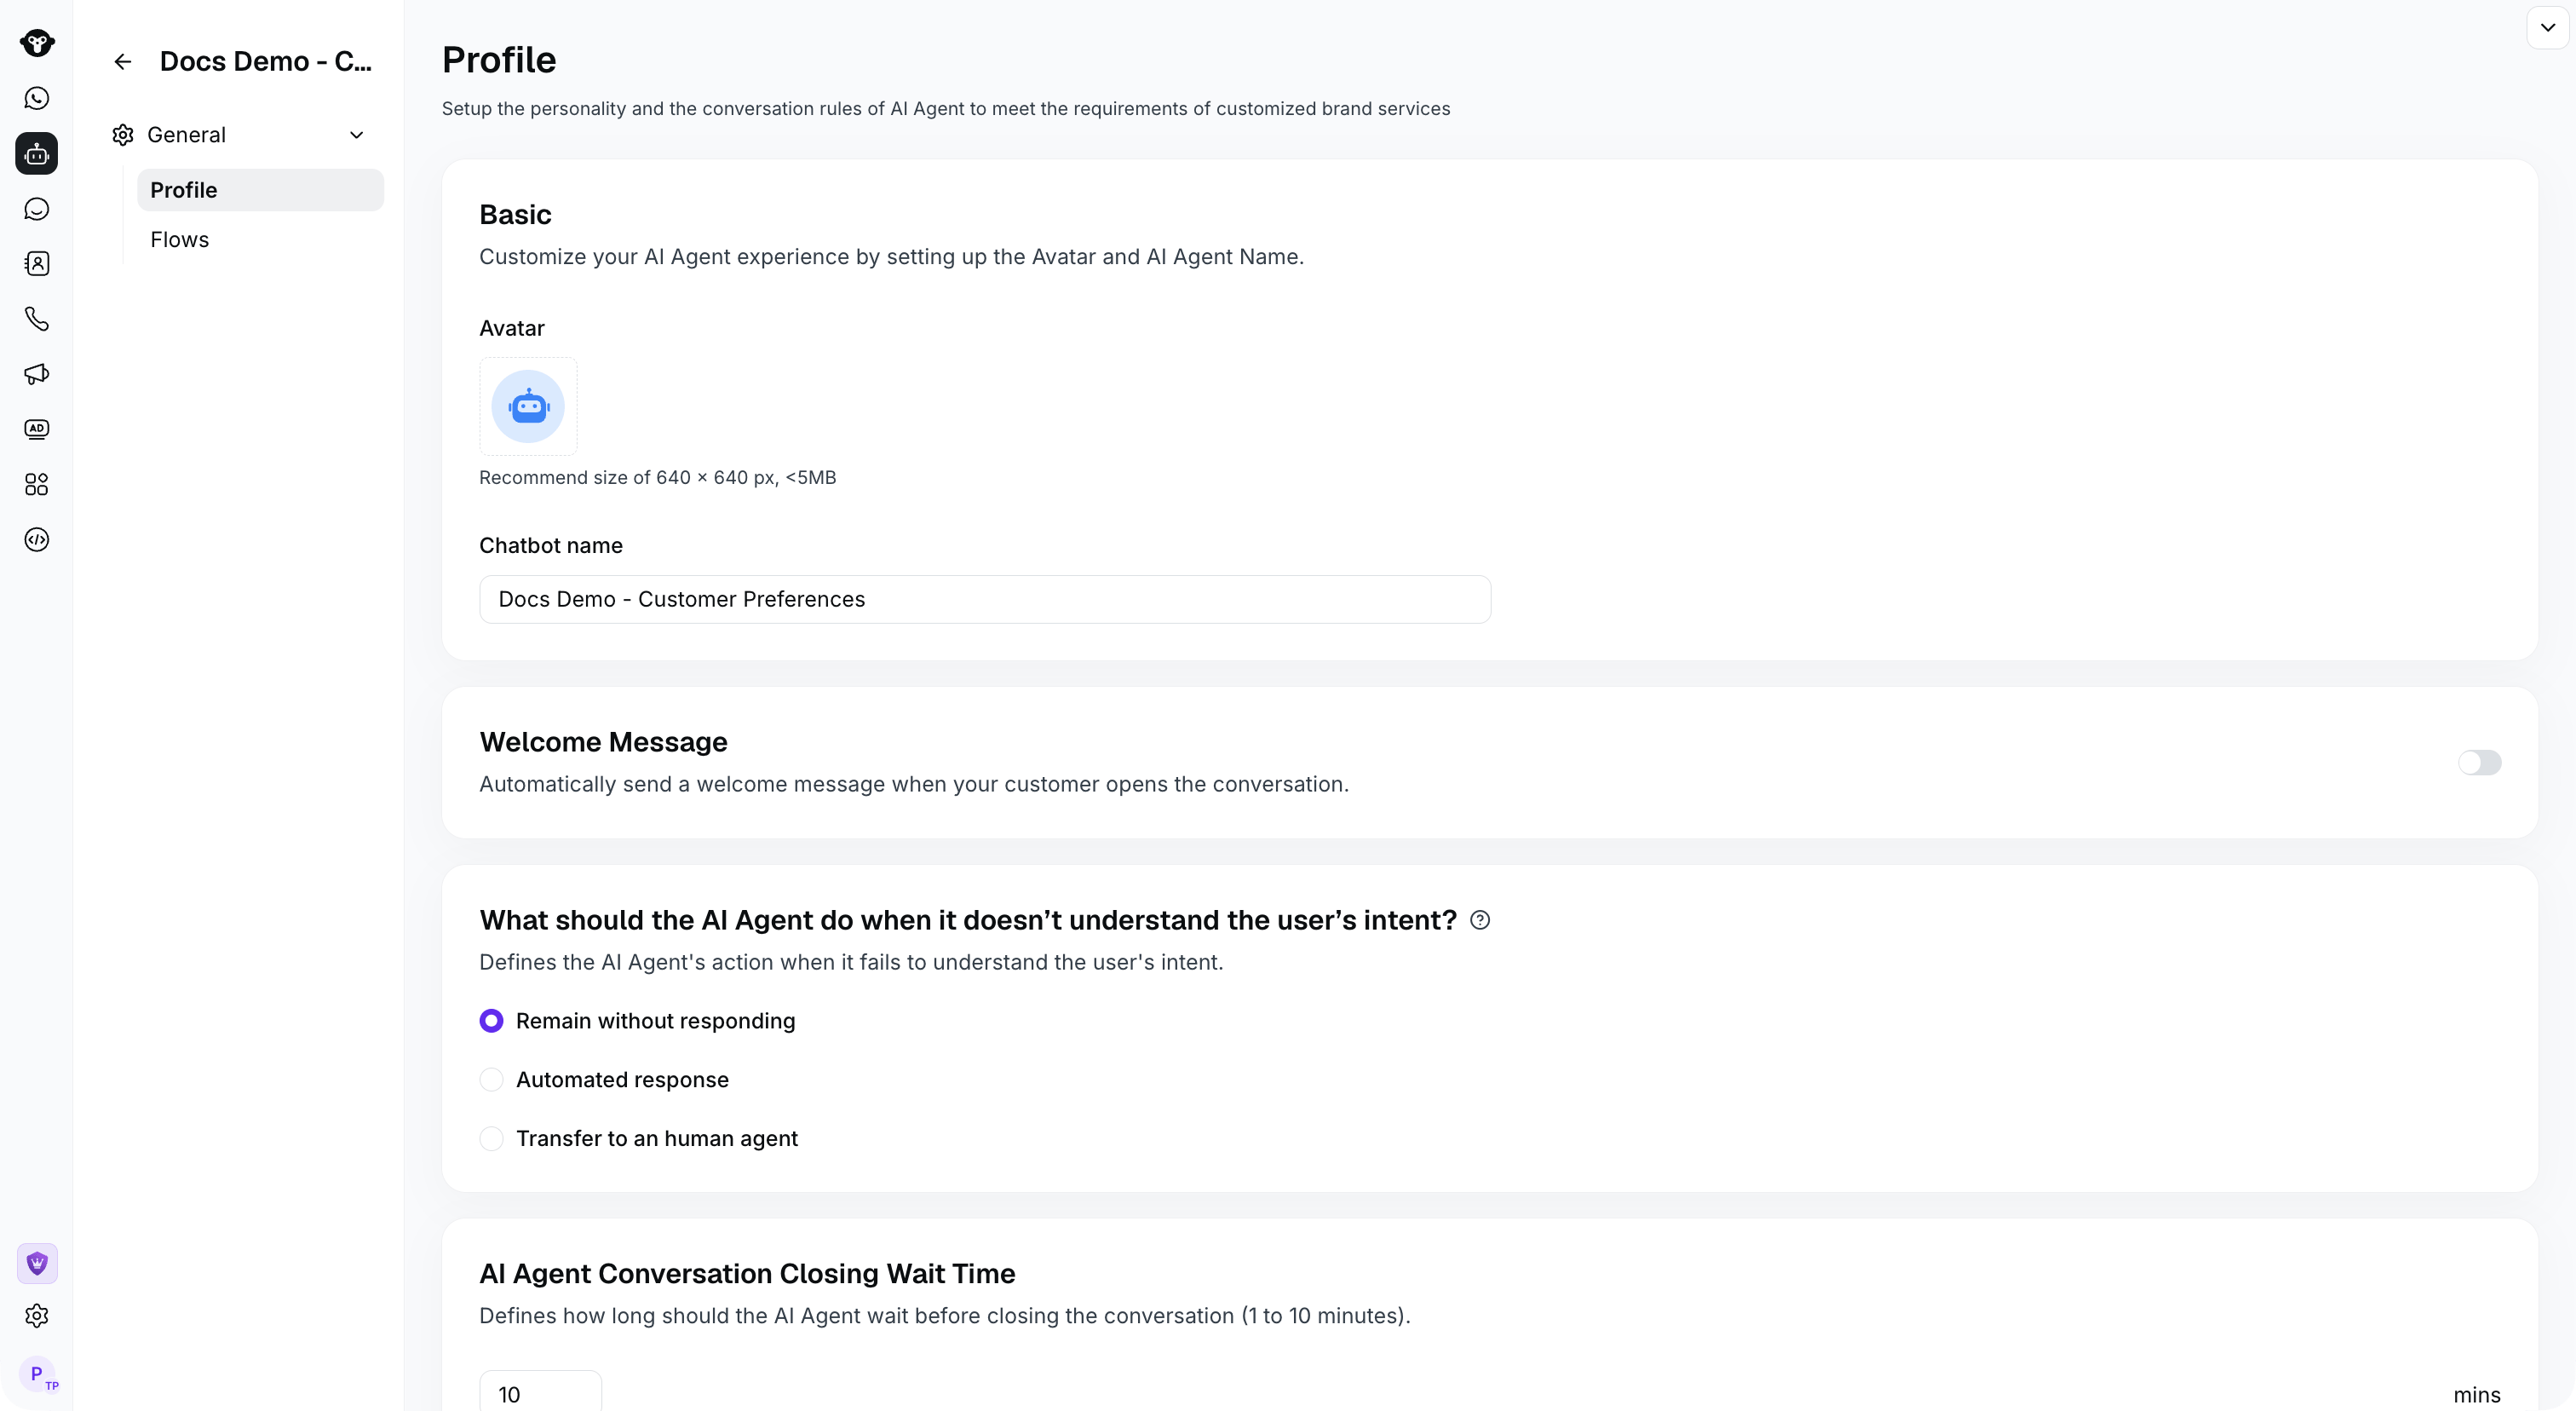
Find Welcome Message in the rule-based agent's Profile settings.