

Accept the invitation
Find the corresponding activation email and click the Activate account button to accept the invitation and complete account activation.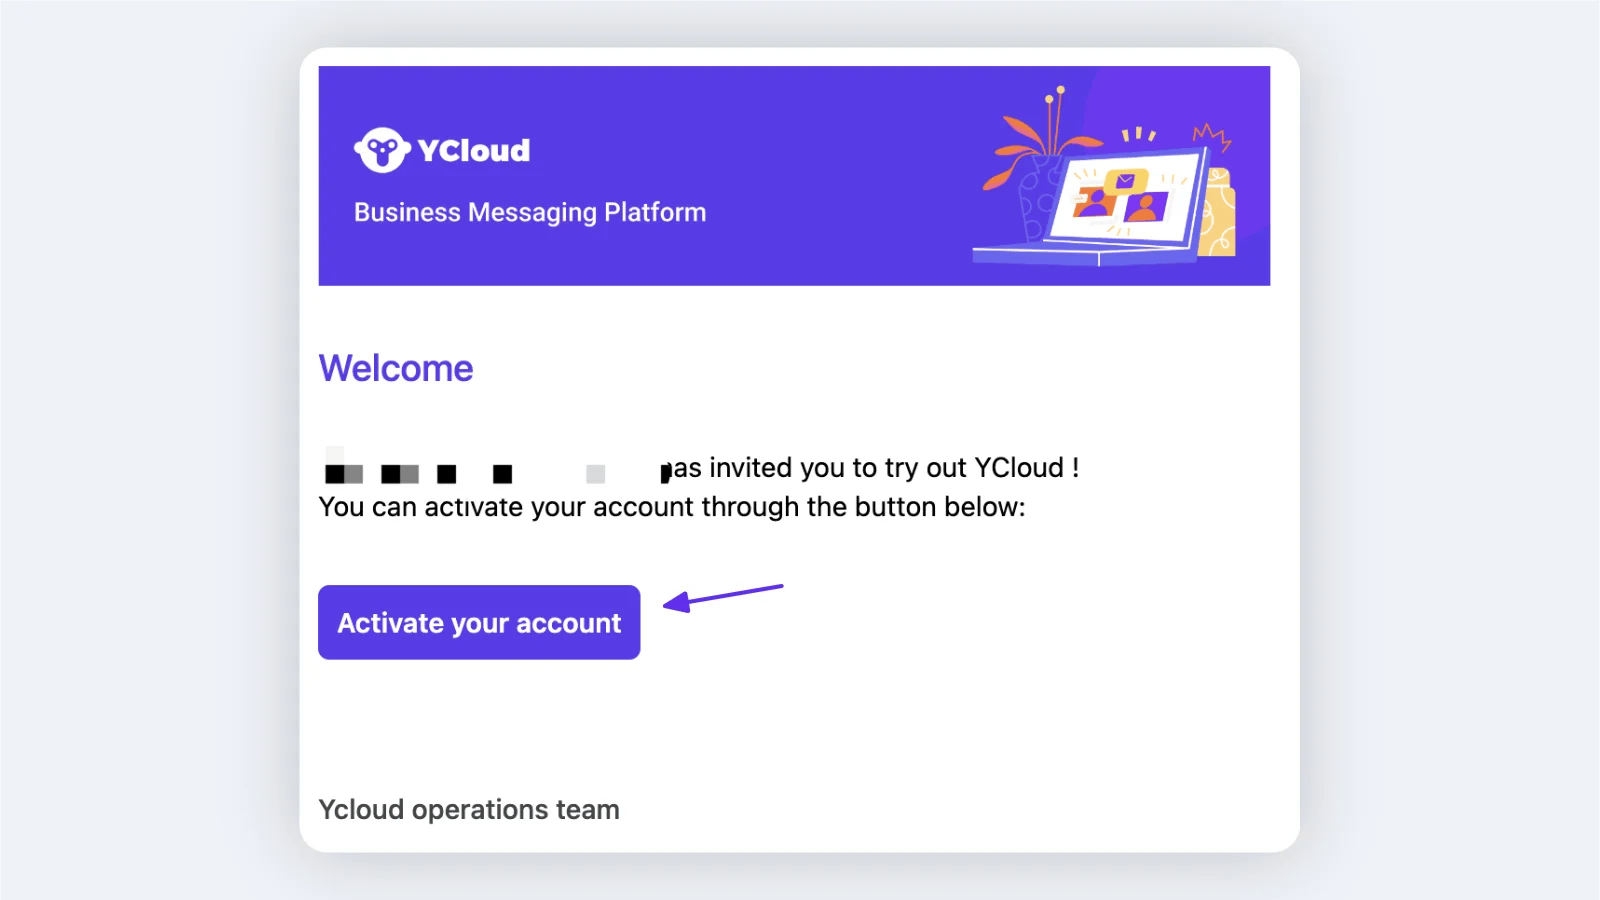
Select Activate account in the invitation email to finish setting up your account.
Personal account settings
Personal preferences
Find Account (the avatar in the lower-left corner) and click Edit to go to Account > Profile Upload an avatar. Recommended size: 640×640, under 5 MB, and fill in the basic information. PS: This information is only used for internal management and identification. Customers can only see the avatar of the corresponding WhatsApp number.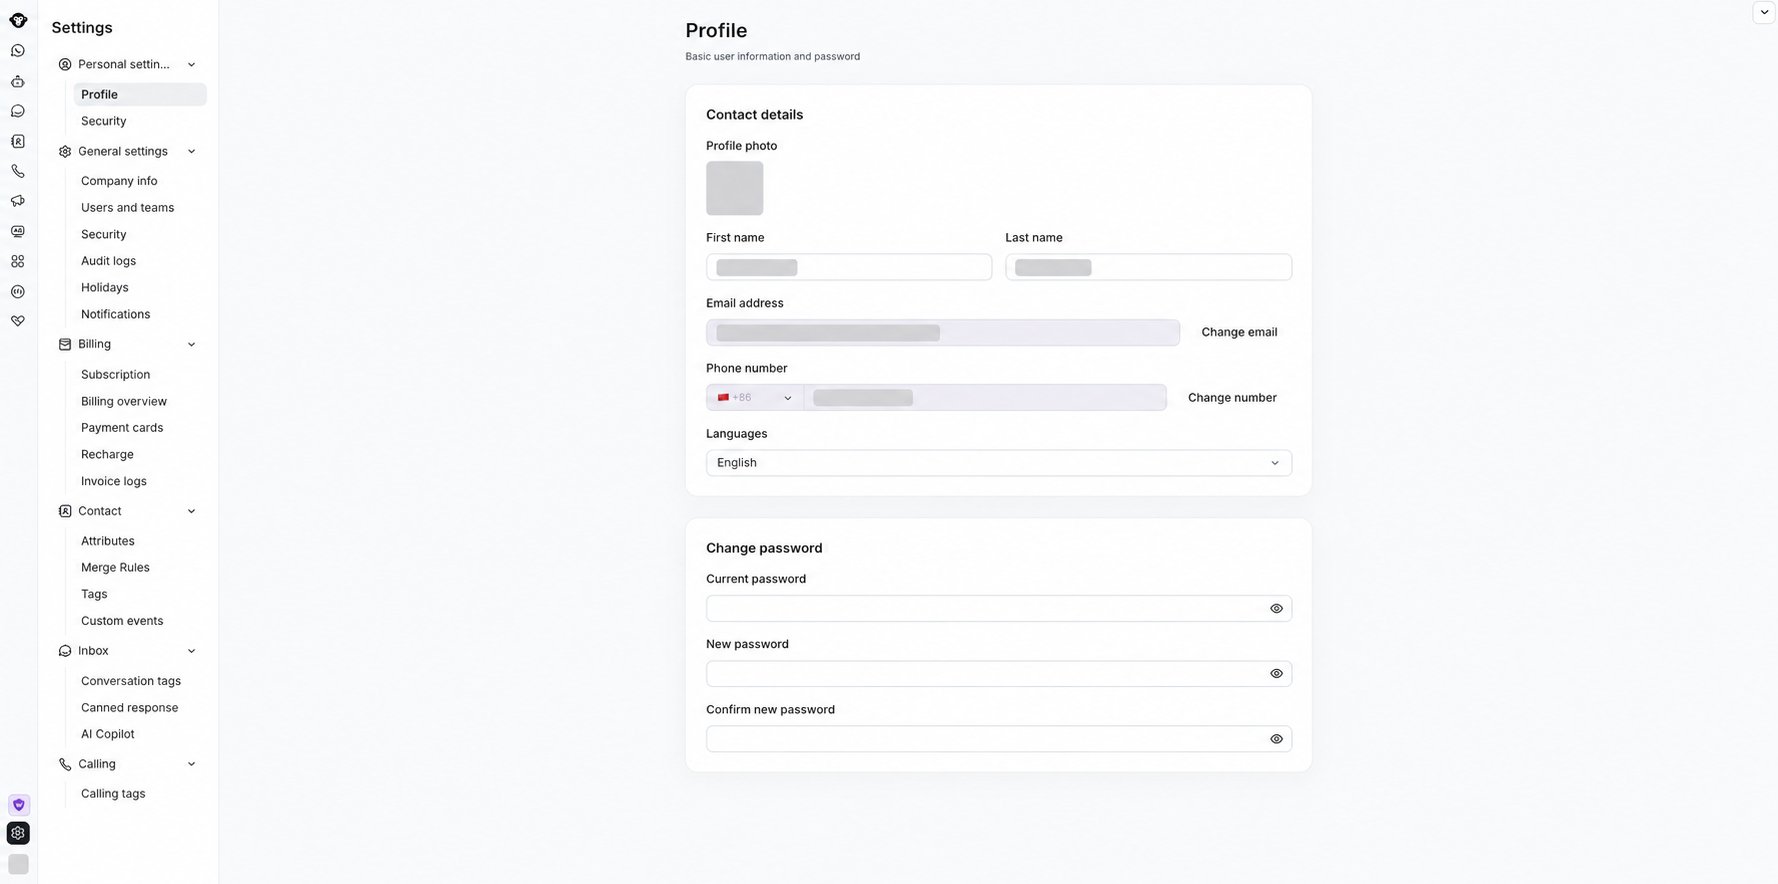
Update your profile details and password under Personal settings.
Notification preferences
Set the scenarios that trigger inbox notifications: Inbox - Settings - Notifications- Set when sound alerts are triggered
- Set when browser pop-up alerts are triggered (browser notification permission must be enabled)

Choose when audio and push alerts should trigger. Enable push notifications if you want browser alerts.
Receive customers
Get familiar with the Inbox chat interface
Please refer to the documentation.Start chatting
Personal status settings
After logging in, the status is Away. Change the status to Available, and new incoming conversations will be automatically assigned. Customer service status is the basis the system uses to determine whether conversations are automatically assigned.| Name | Display | Explanation |
|---|---|---|
| Away | Away: when the assignment rule is set to “Only assign to online agents”, new conversations will not be automatically assigned to away agents; they can still be manually transferred new conversations | |
| Available | Available: new conversations will be automatically assigned; conversations can be manually transferred | |
| Offline | Not logged in to the system: new conversations are assigned only when the assignment rule is Owner priority. Conversations can be manually transferred |
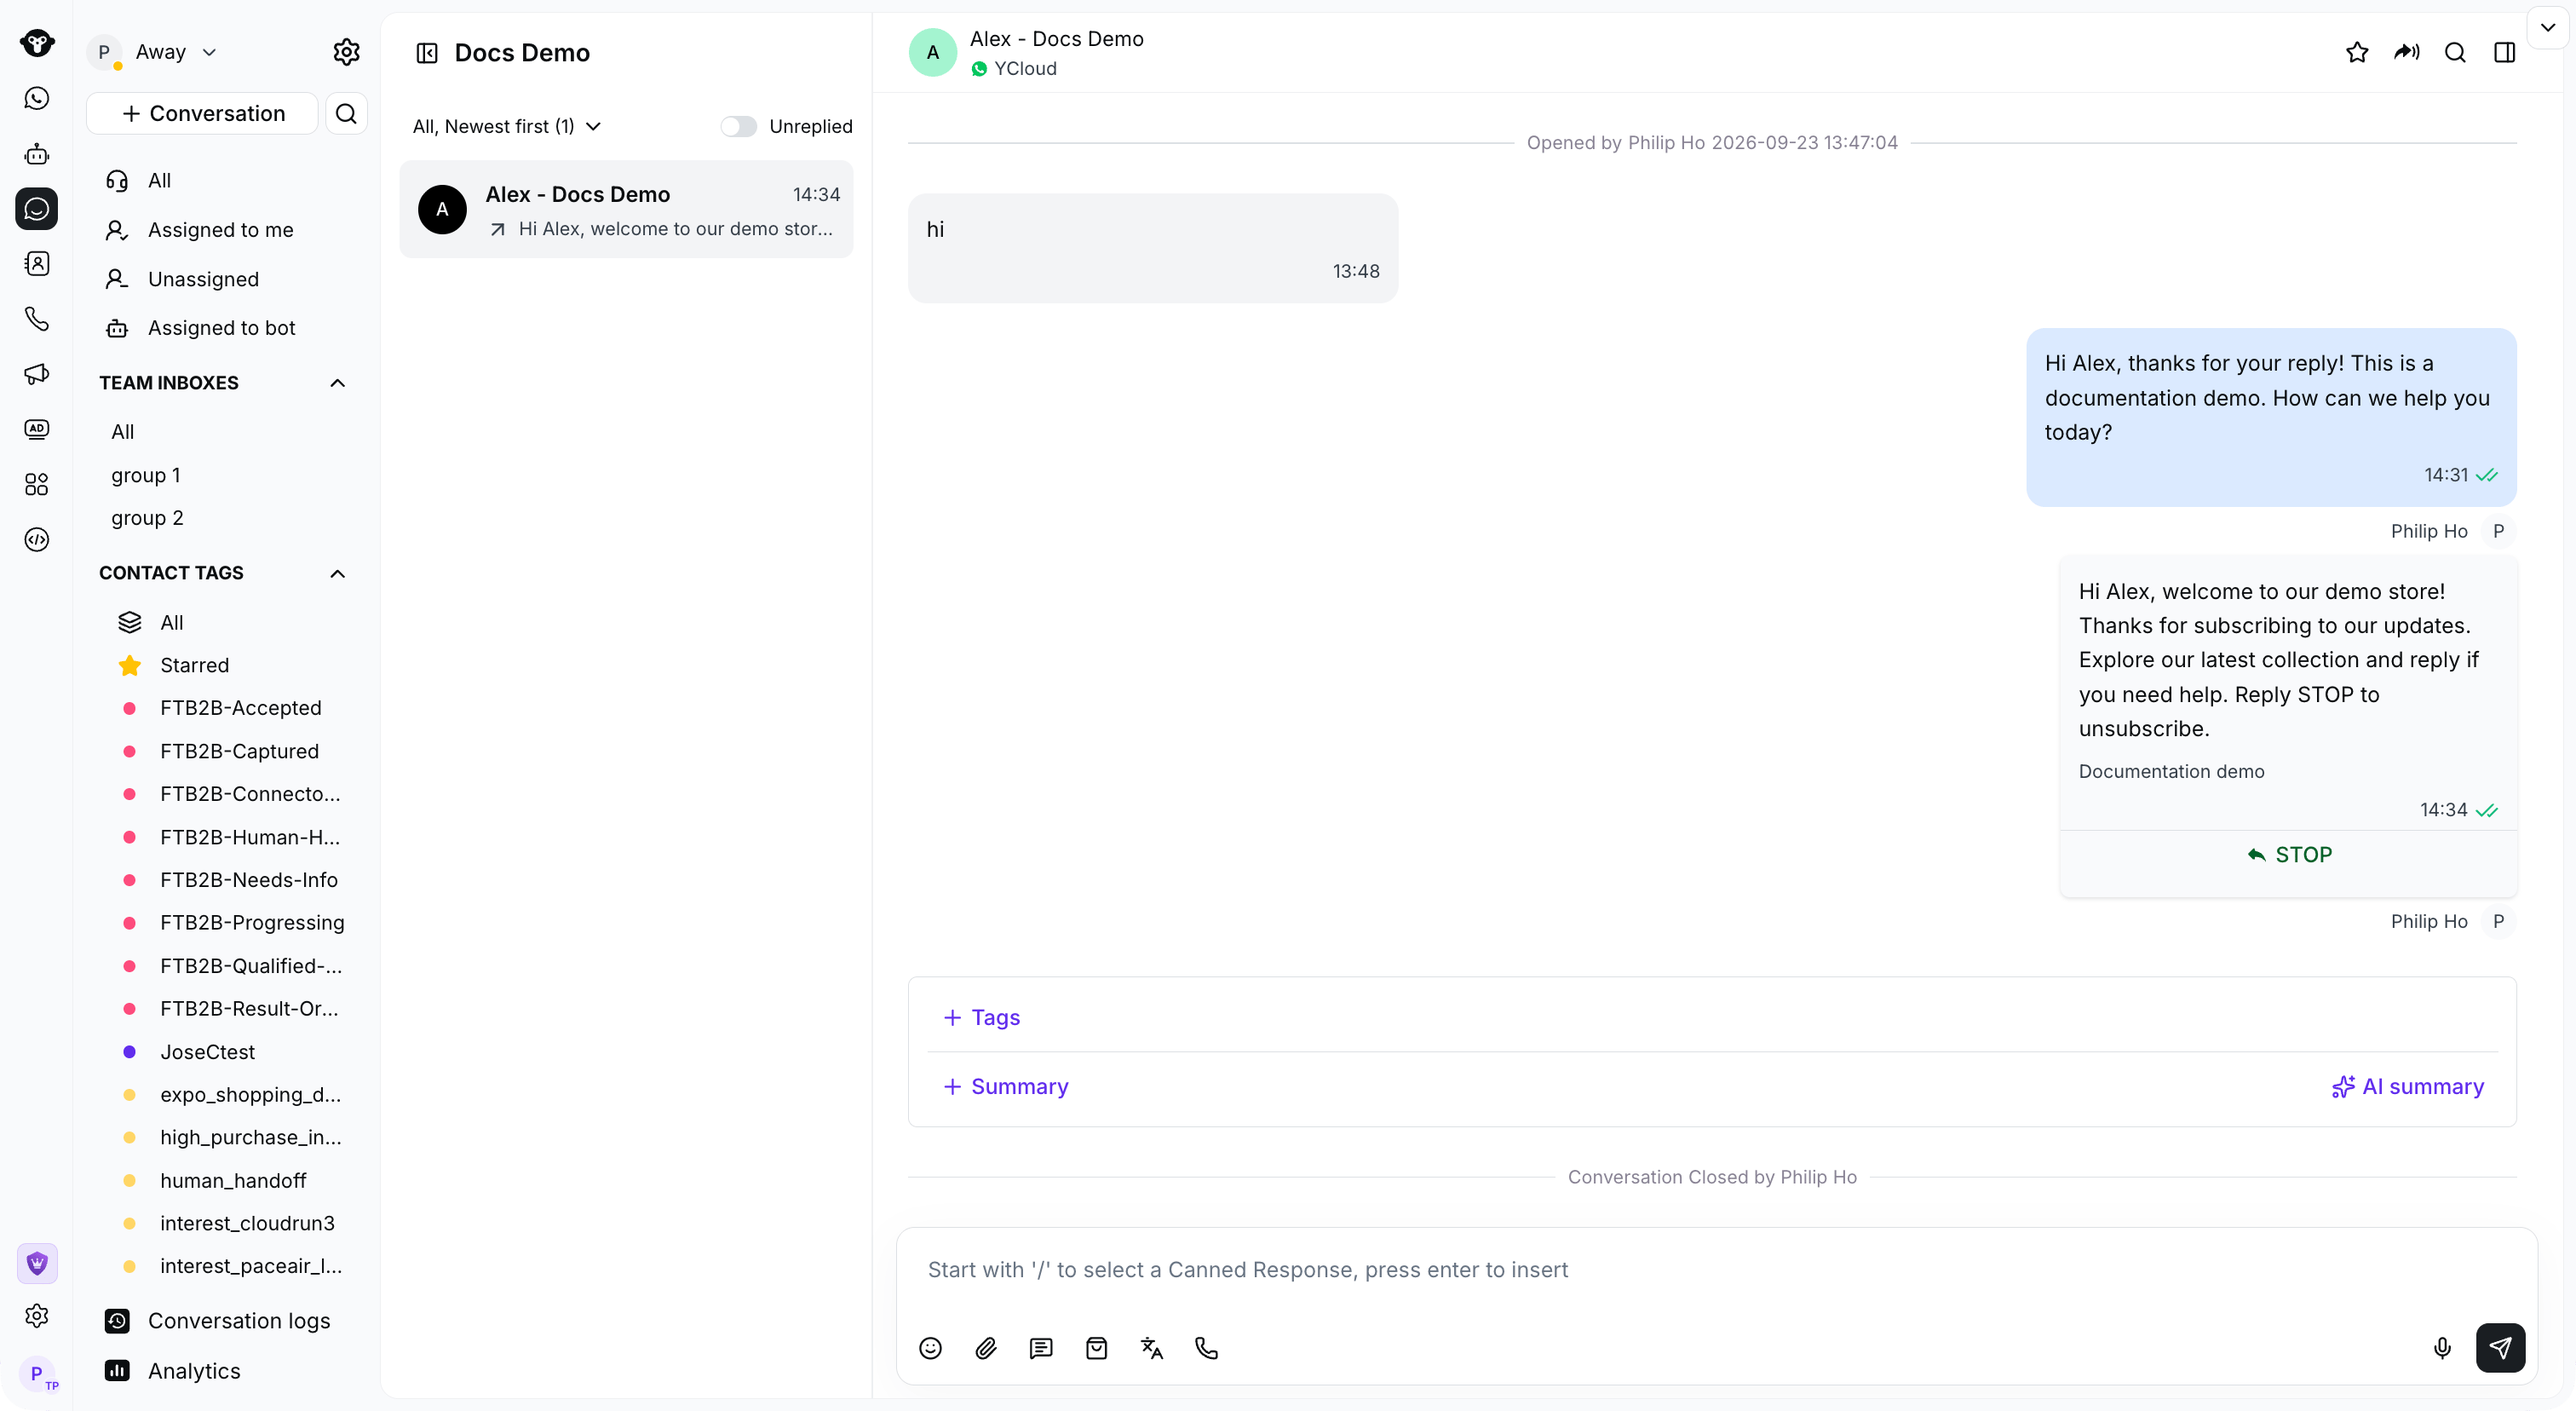
Your availability is shown beside your profile at the upper left of Inbox. Open Away to change it to Available when you are ready.
Start a new chat
Please refer to the documentation: Start a new chatIn chat
Use the chat box
Please refer to the documentation: Inbox chat areaEdit customer information
- When a customer initiates a conversation, the customer-related information will be recorded in Contact. During chat, you can view the user’s information. The path is:
- Click the user’s name area
- Click the expand button on the right
- Record useful information, add tags for the customer, and modify attributes.
- Add tags: find the Tags section, then click the ➕ button to select an existing tag
- Modify attributes: click the text after the attribute to change the relevant attribute. Click a blank area with the mouse to save (you can also press Enter on the keyboard to save).
- Star important customers
- Add a star: click the star icon to light up the star for the user. The user can then be quickly filtered in the Tags category under Starred
- Remove a star: click the star icon again. The star changes from yellow to colorless, which means the star has been removed
End your chat
Close the conversation
Click the Close button next to the user’s name at the top of the conversation area to end the conversation. The conversation status changes to Closed.TipPlease note: If you have already set up an automatic reply in AI Agent, you still need to click the transfer button to transfer the conversation to a human agent. Otherwise, even if a human agent replies first, AI Agent’s automatic reply will still be triggered.