

Usage Scenarios
Scan to claim a coupon, where customers use a QR code to claim a coupon in your business account.Tutorial
Step 1: Create a Coupon Campaign
Step 1.1: Enable Coupon Functionality
Entry: Integrations, click the Install button to enable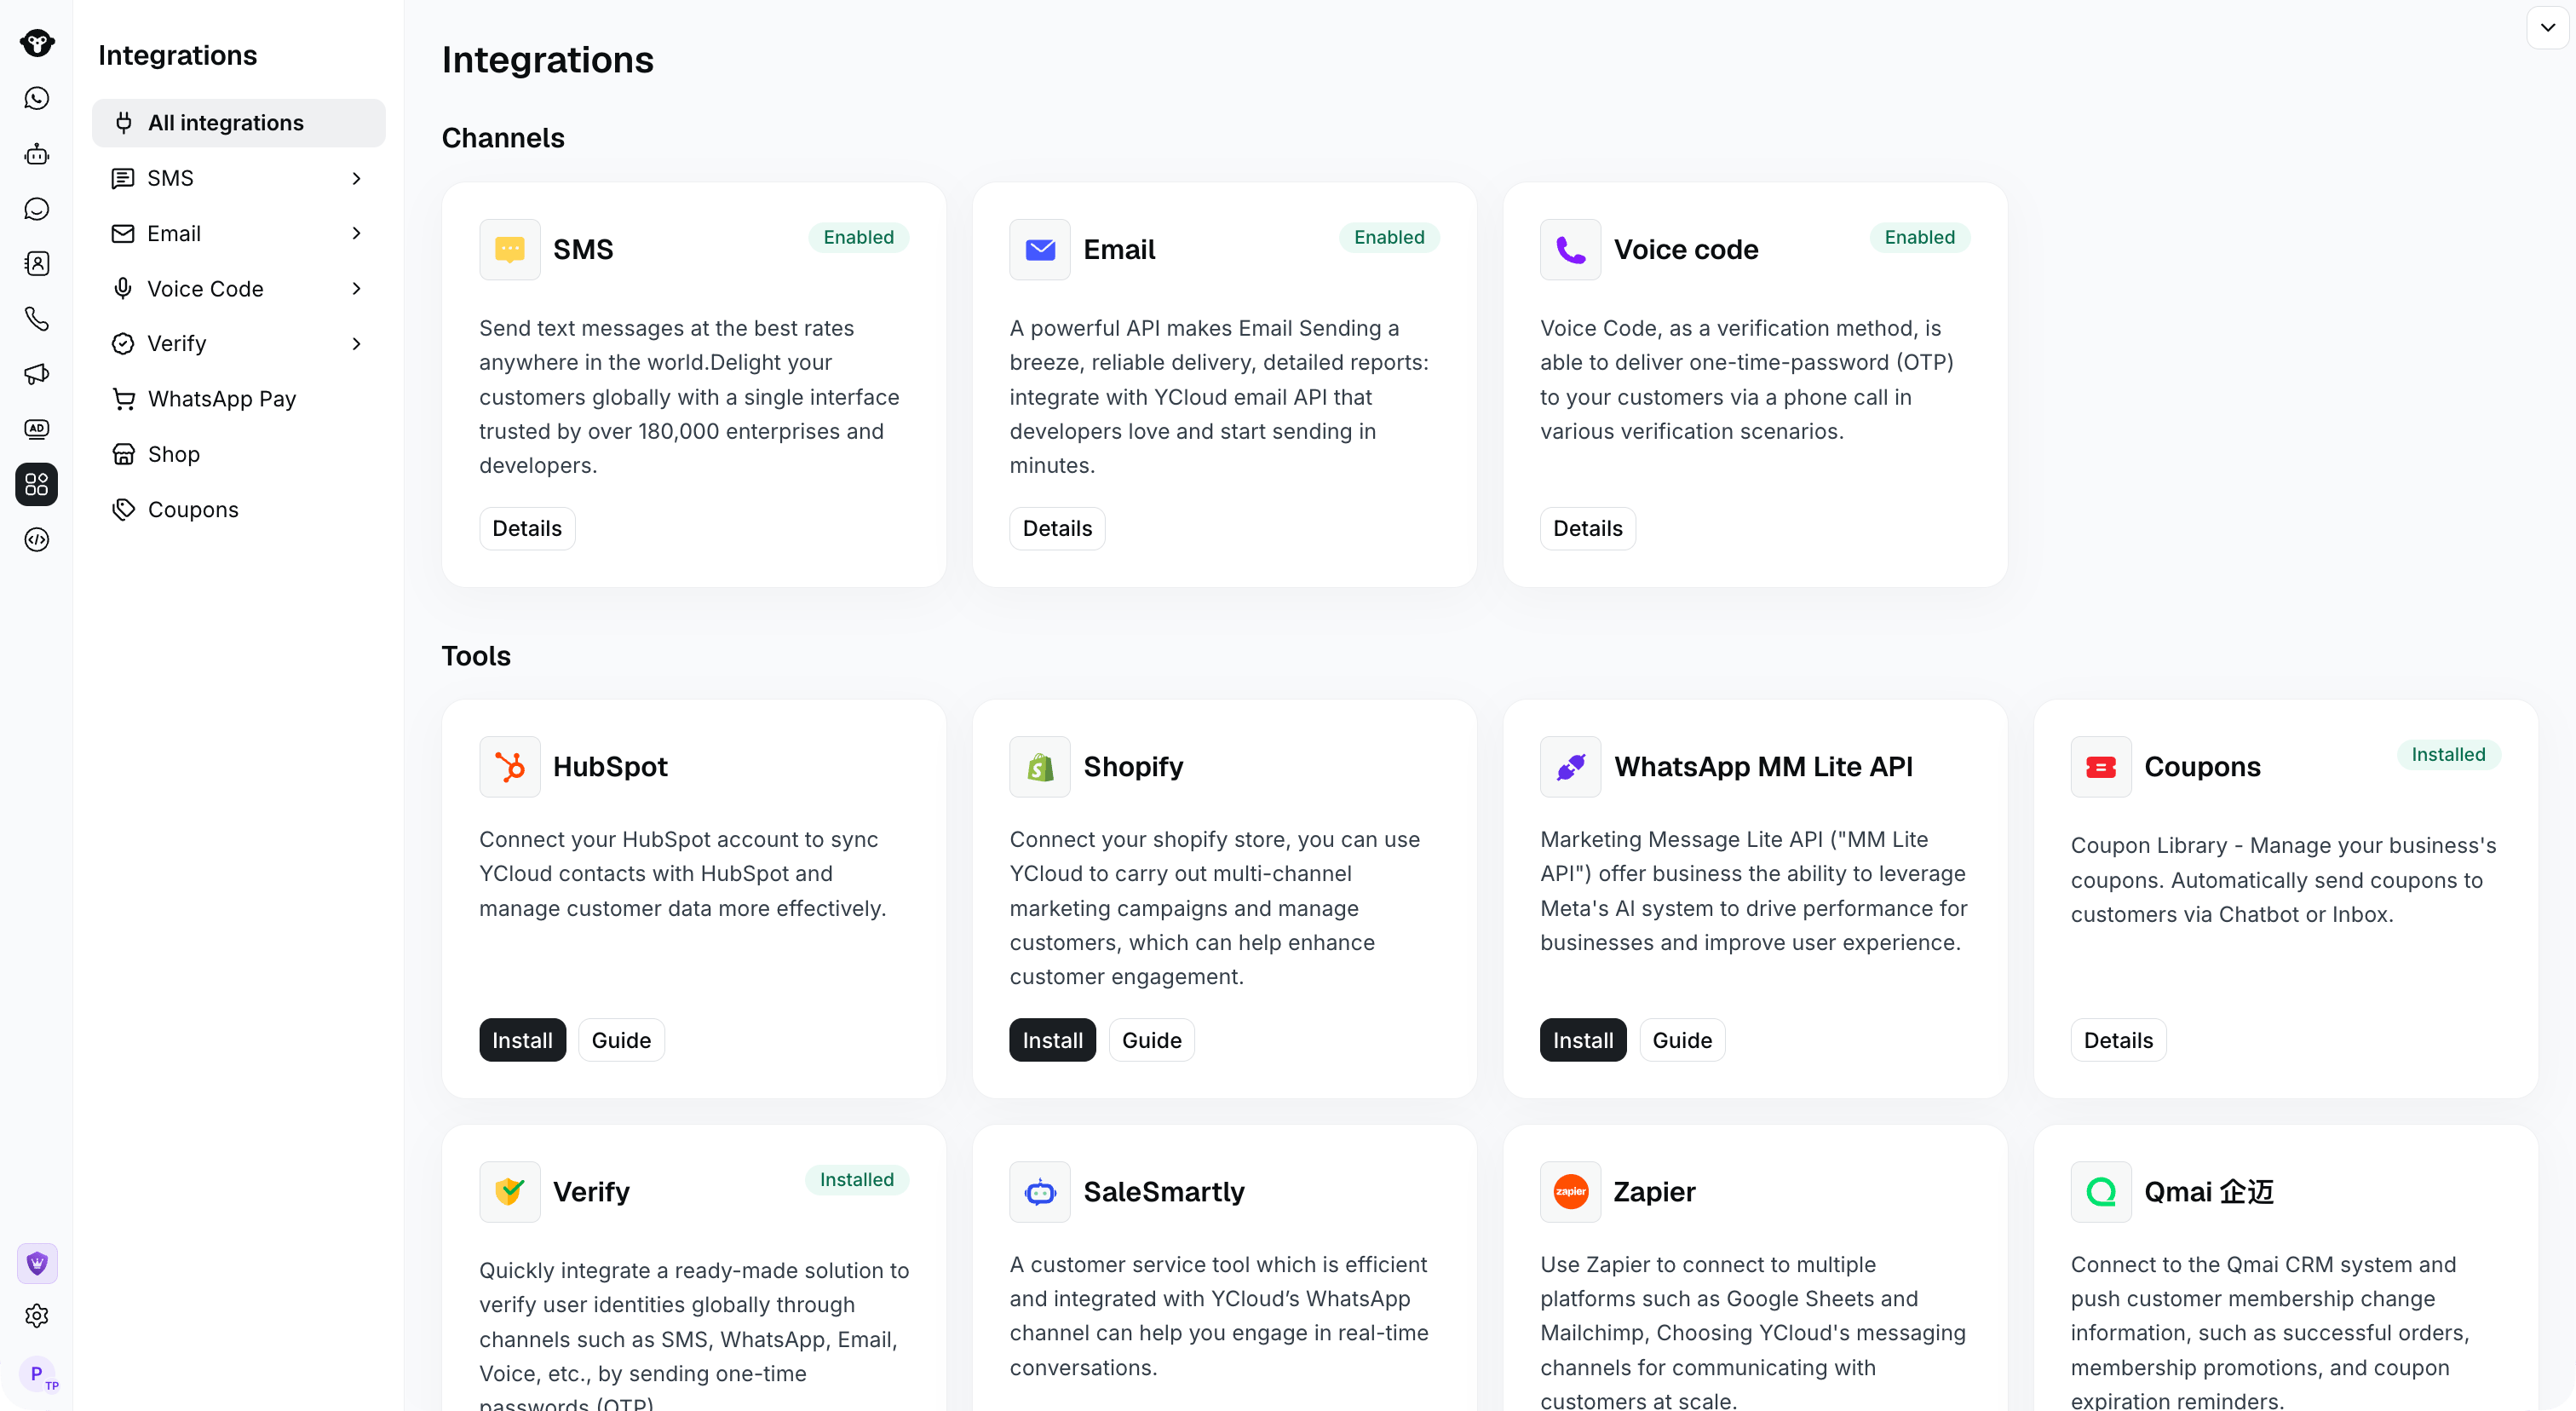
Find Coupons in Integrations. This example shows the installed state.
Step 1.2: Create a Coupon Campaign
Navigate from the left sidebar Integrations > Coupons to the Coupons page Click [+ New Coupons]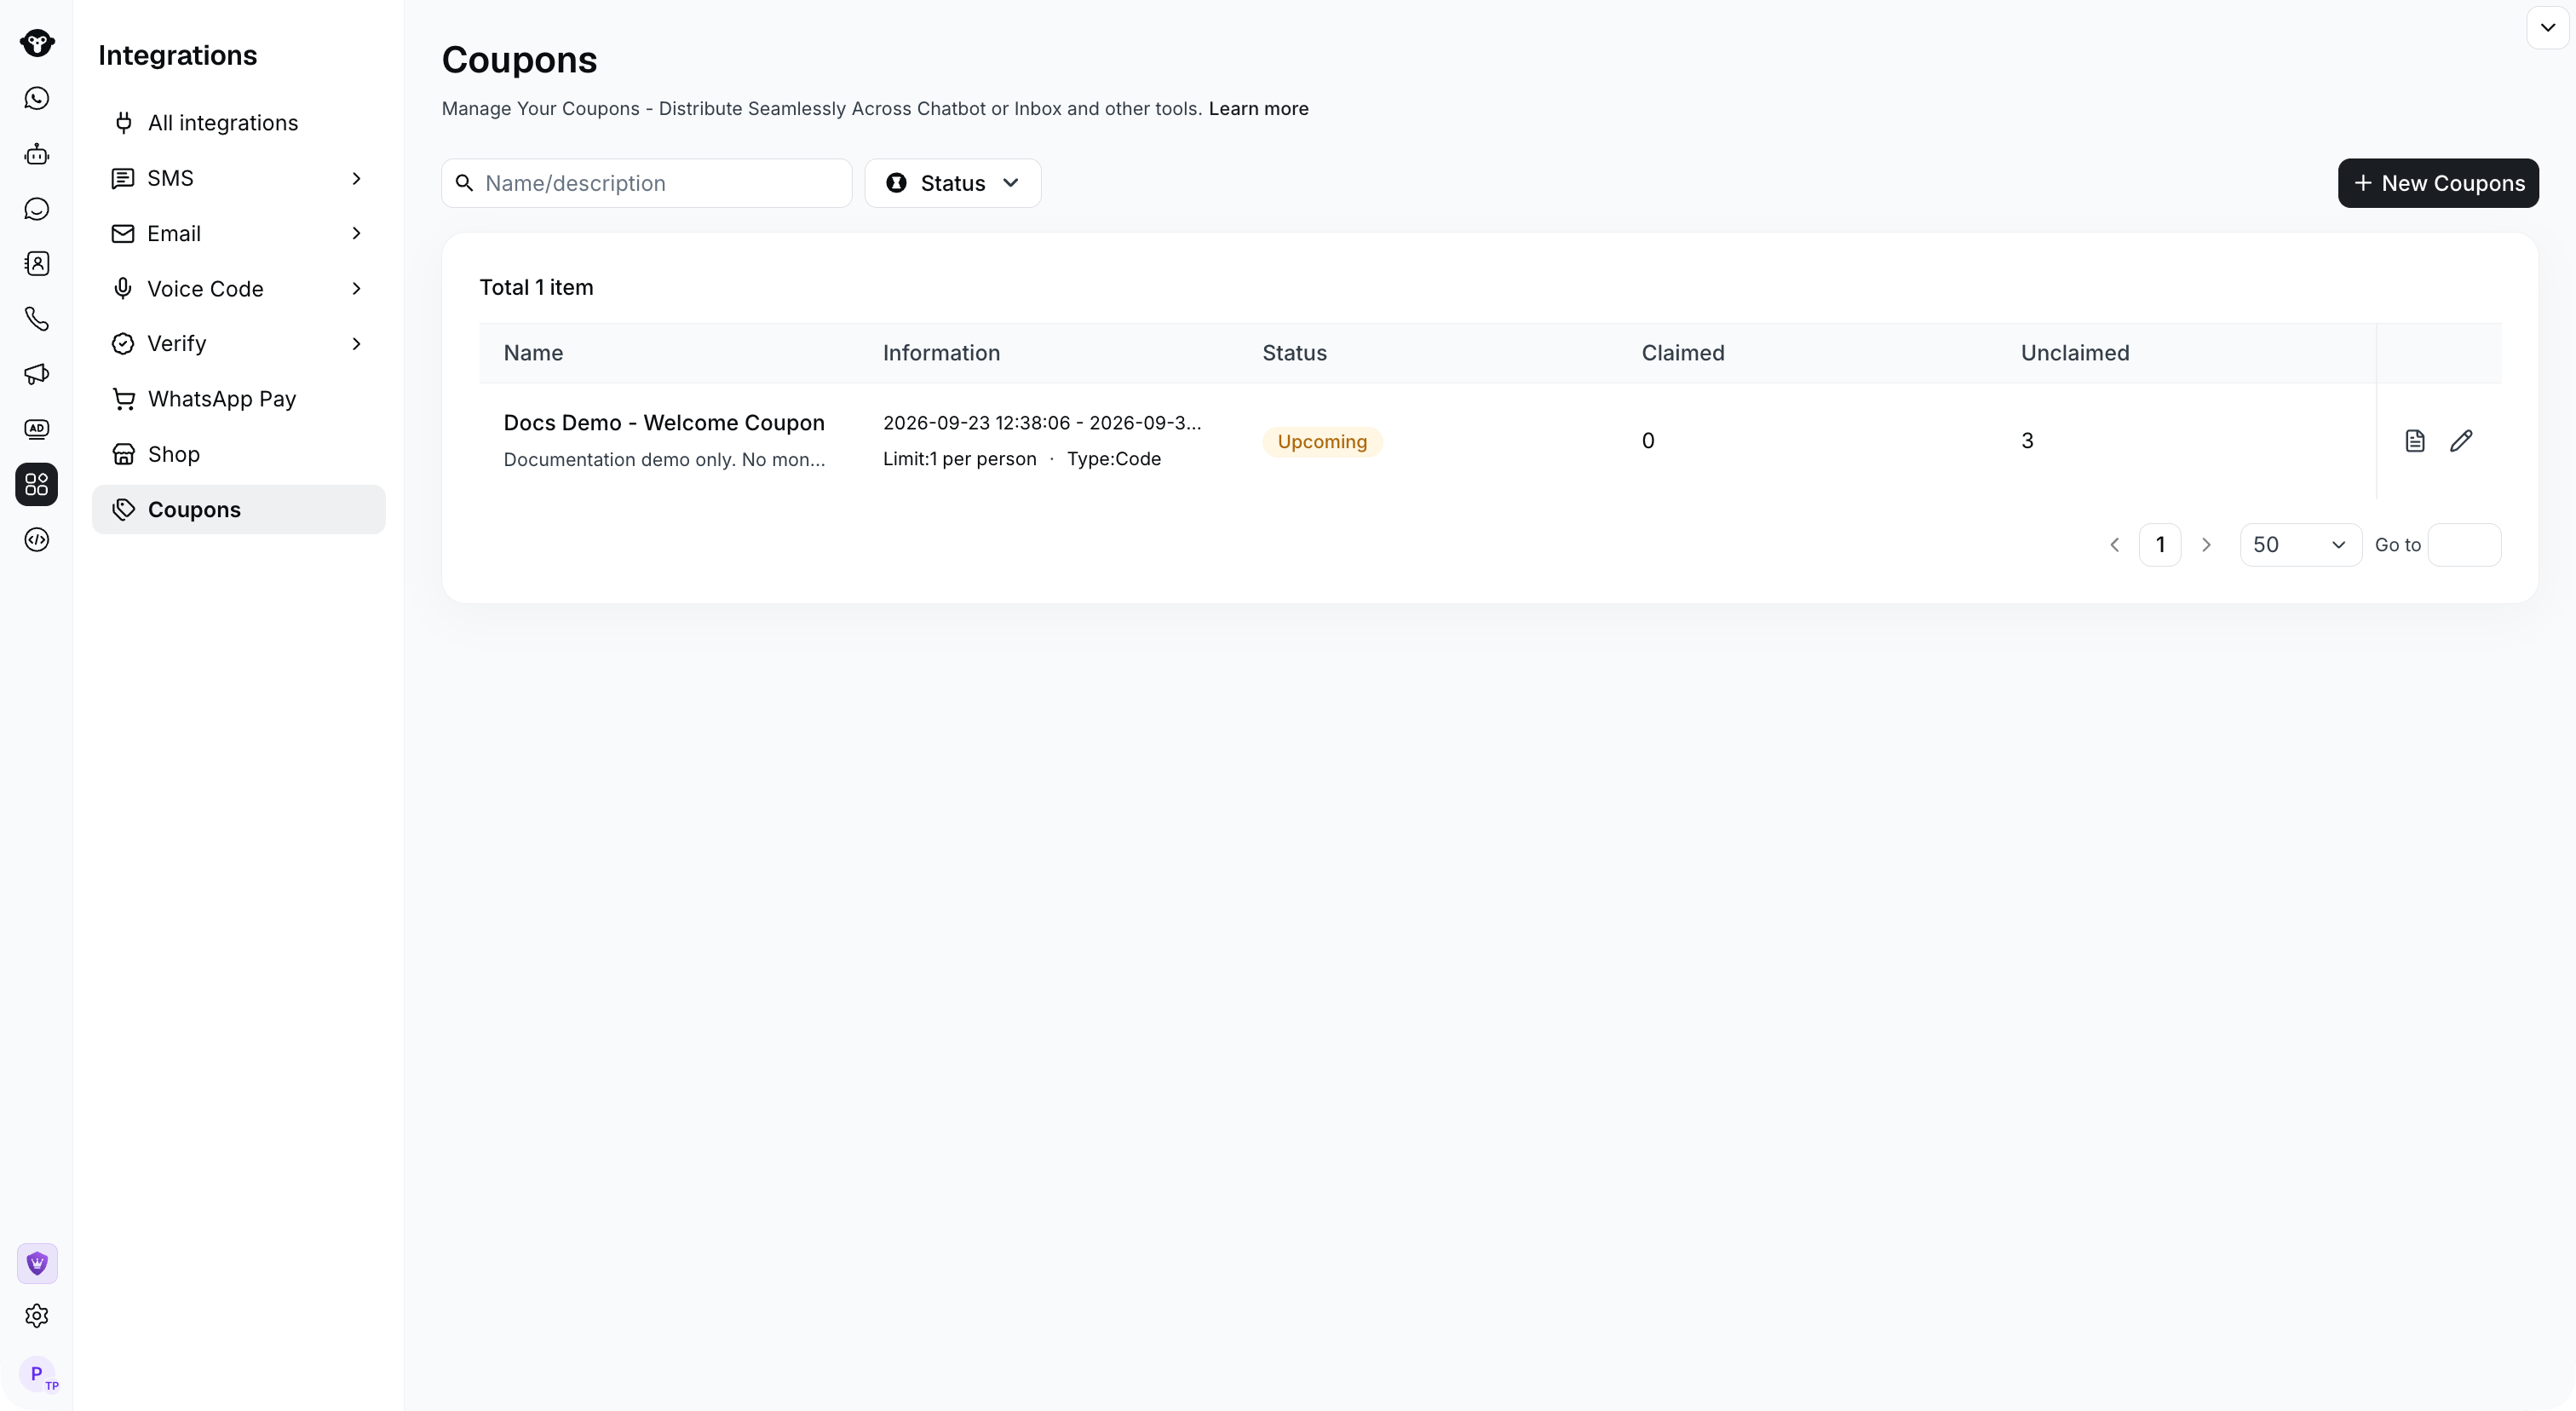
Select New Coupons to create a campaign.
Step 1.3: Configure Campaign Information
- Coupon Type: Code type (coupon code). Currently, only this type is supported; for other types, please contact us.
- Campaign Name: Name of the coupon campaign
- Campaign Notes: Notes about the campaign, optional.
- Claim Limit: Each person is allowed to claim only once.
- Campaign Duration: Set the campaign time. Coupons will stop being sent outside this time range.
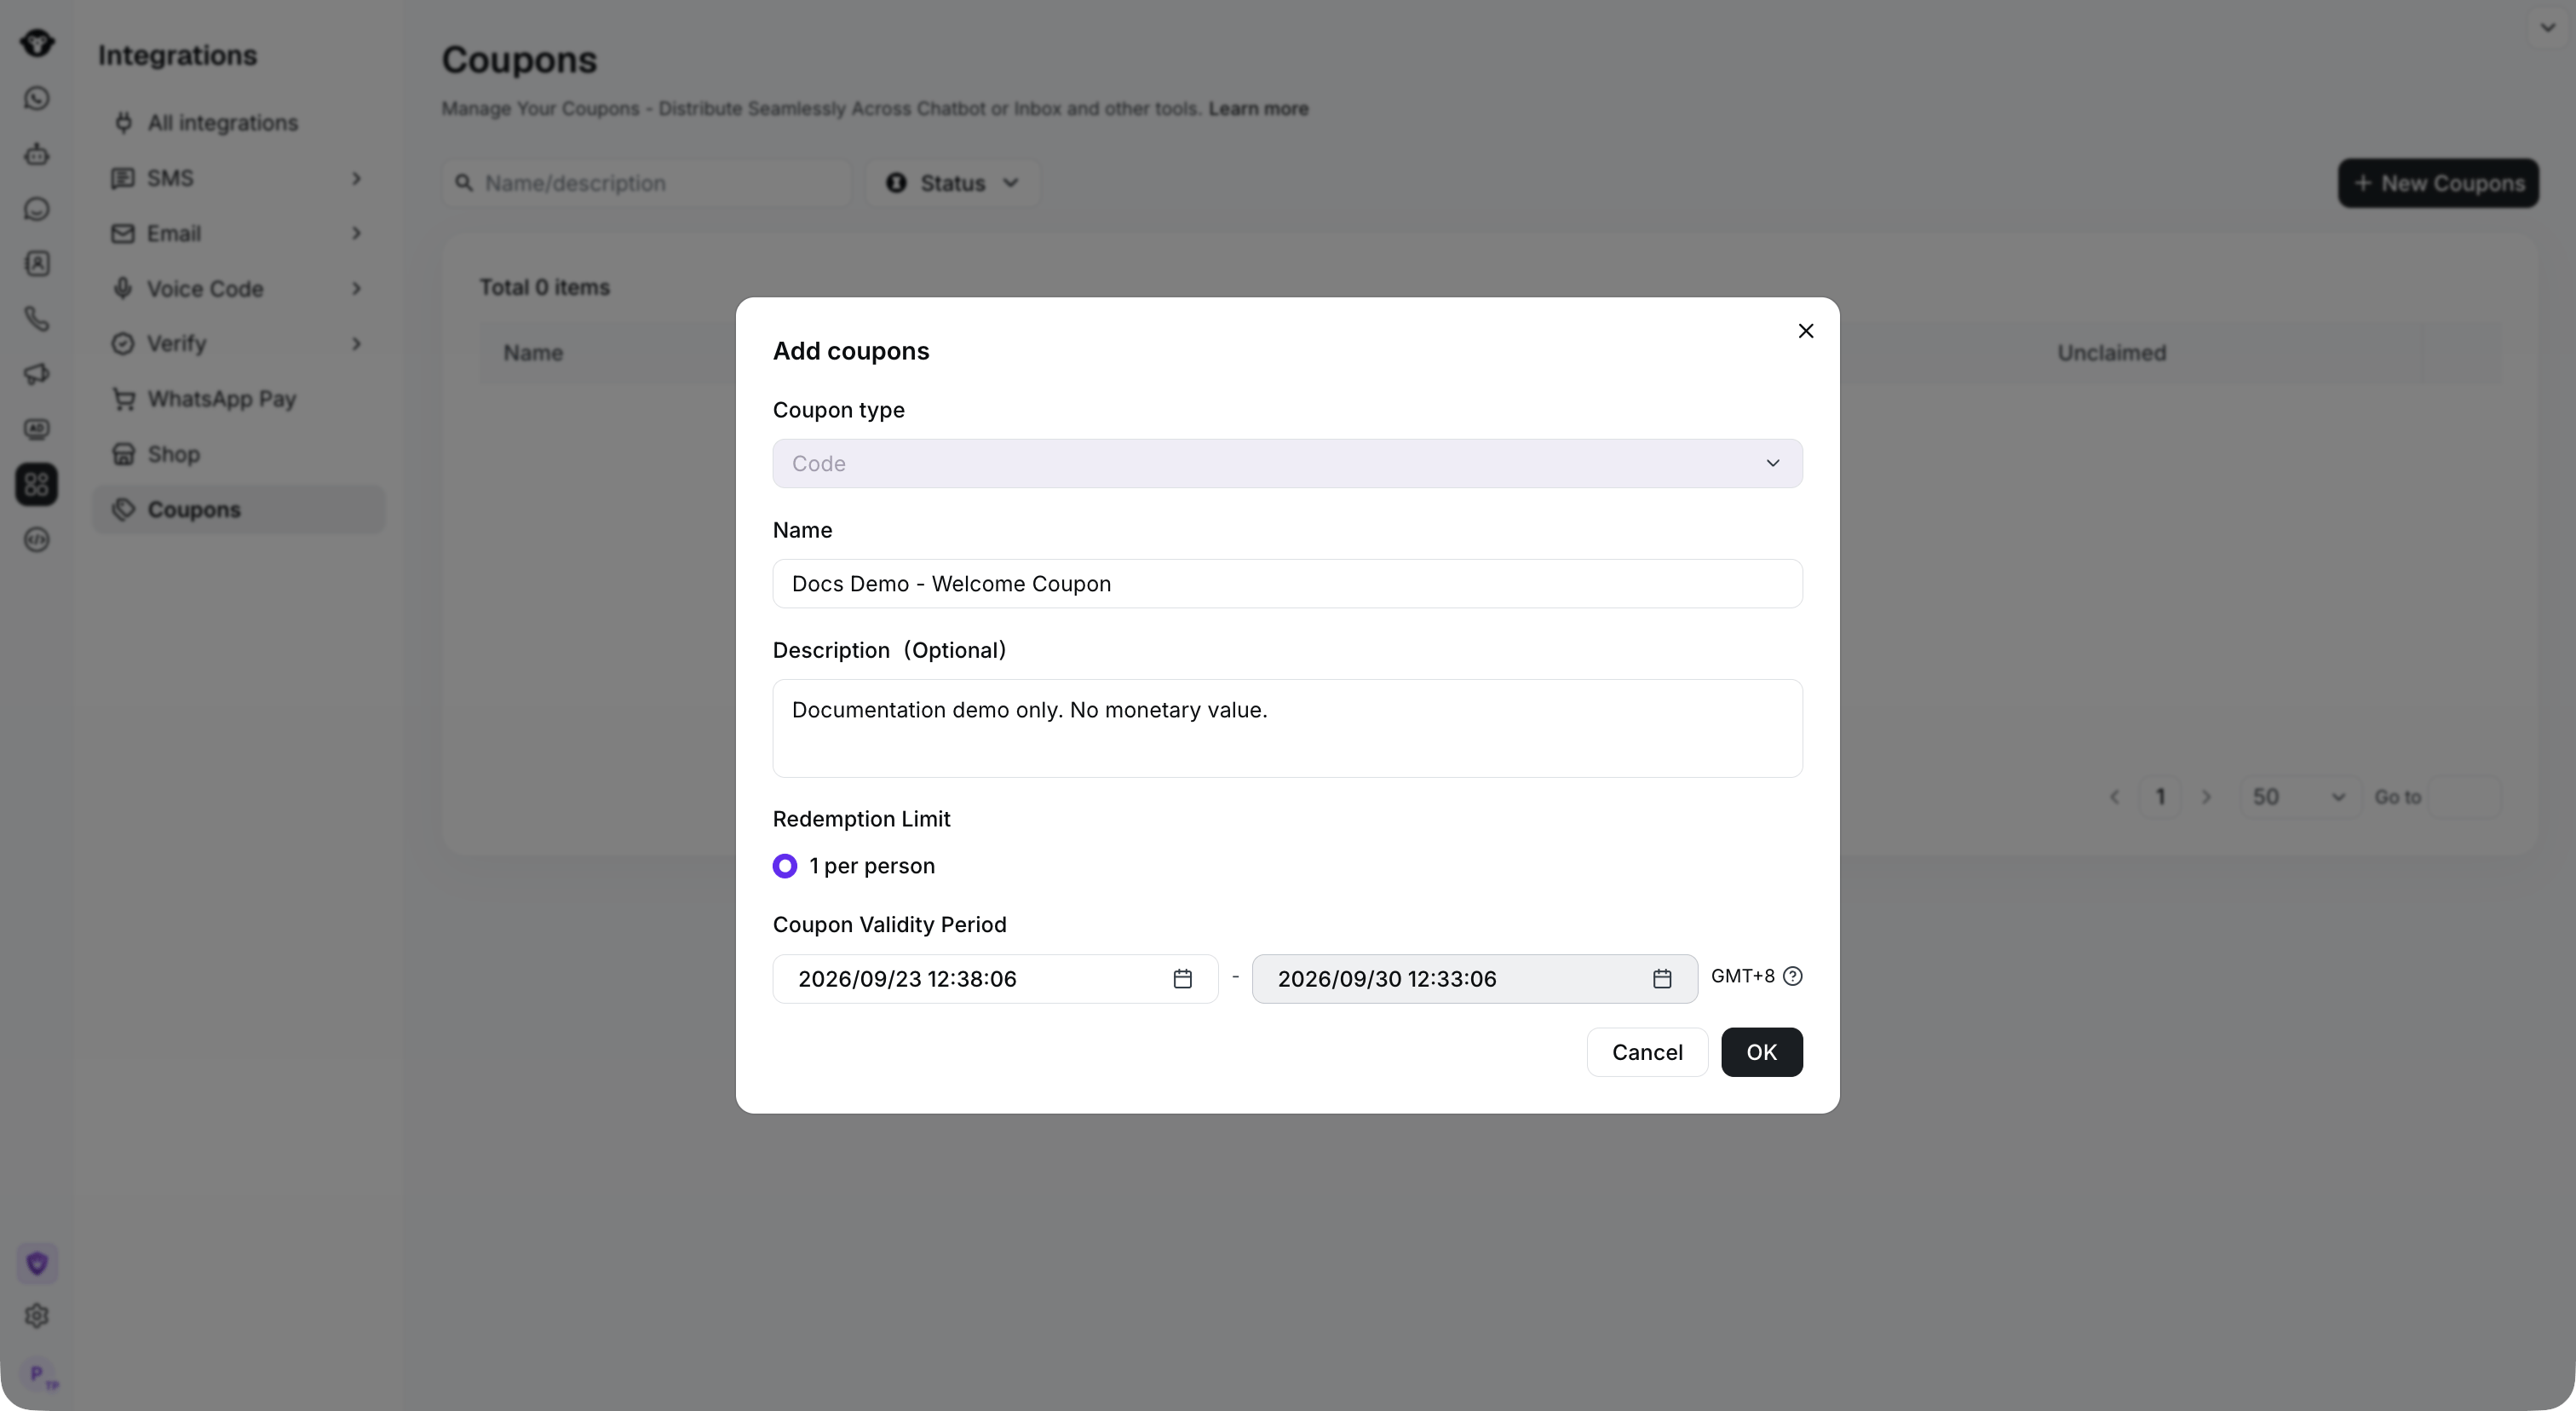
Set the campaign name, description and validity period, then click OK.
Step 1.4: Upload Coupon Codes
Click the upload button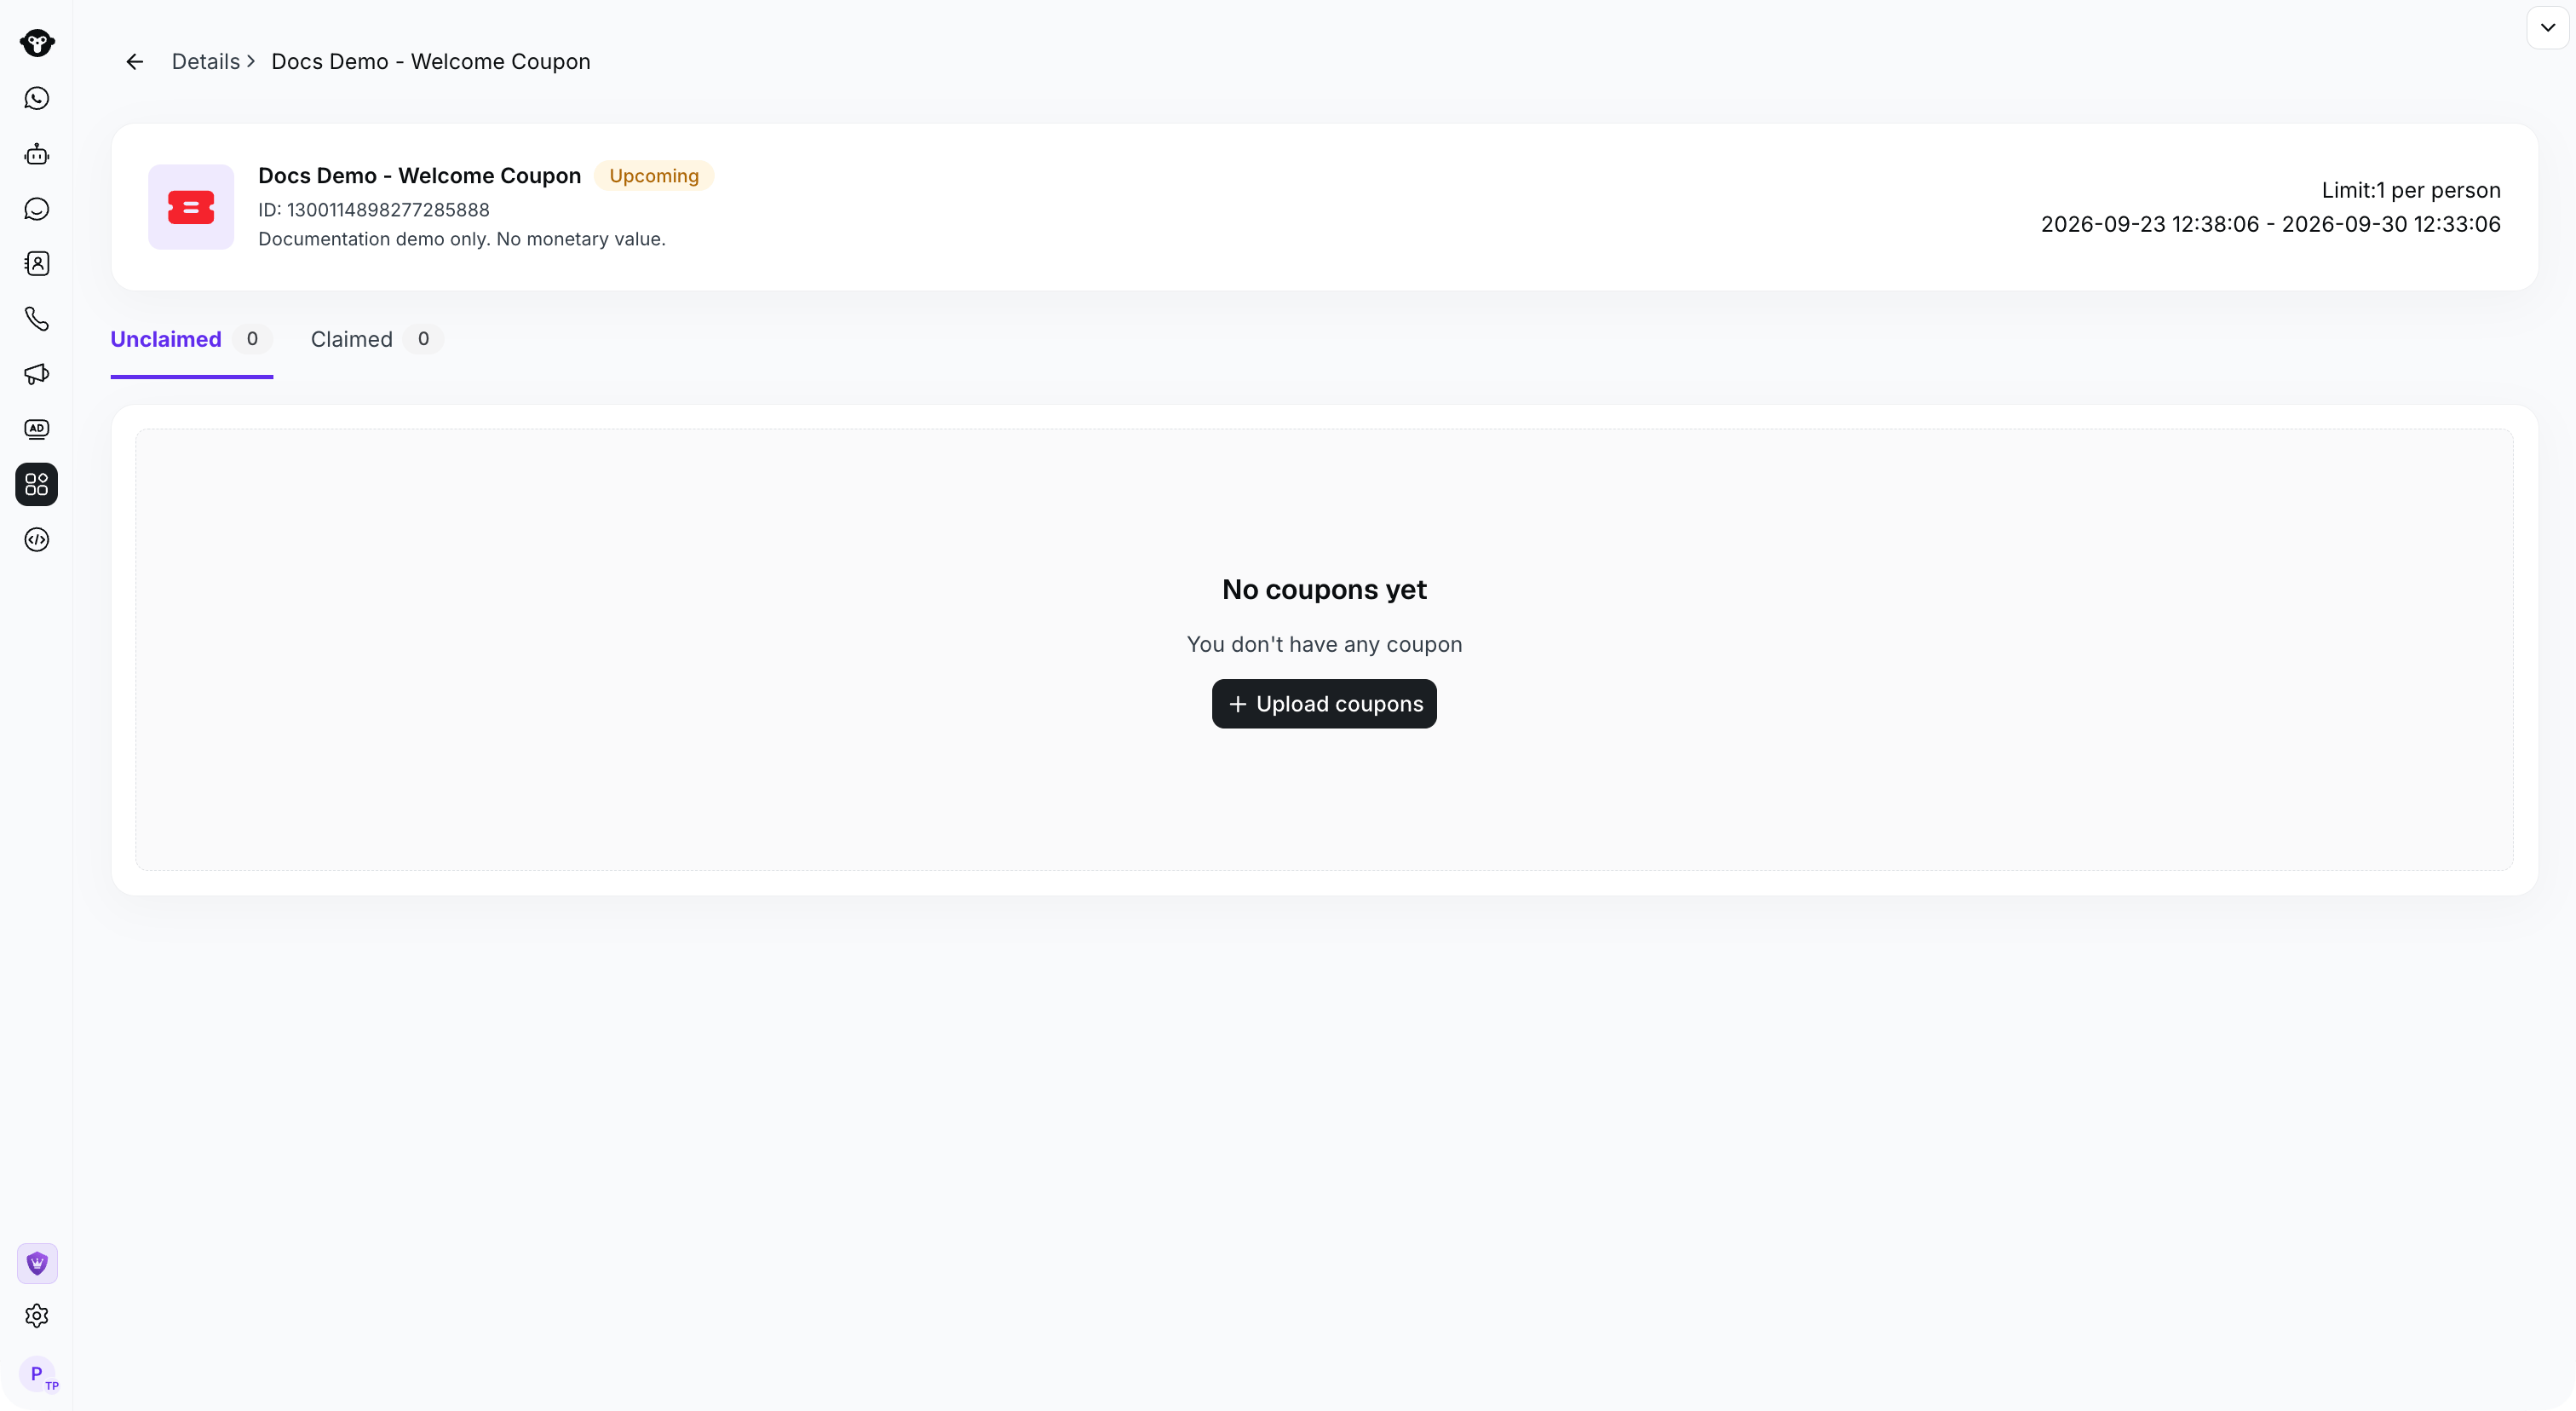
Open the campaign and click Upload coupons.
Note: In the uploaded Excel spreadsheet, the Code must be in the first column. YCloud will automatically remove duplicate coupon codes.
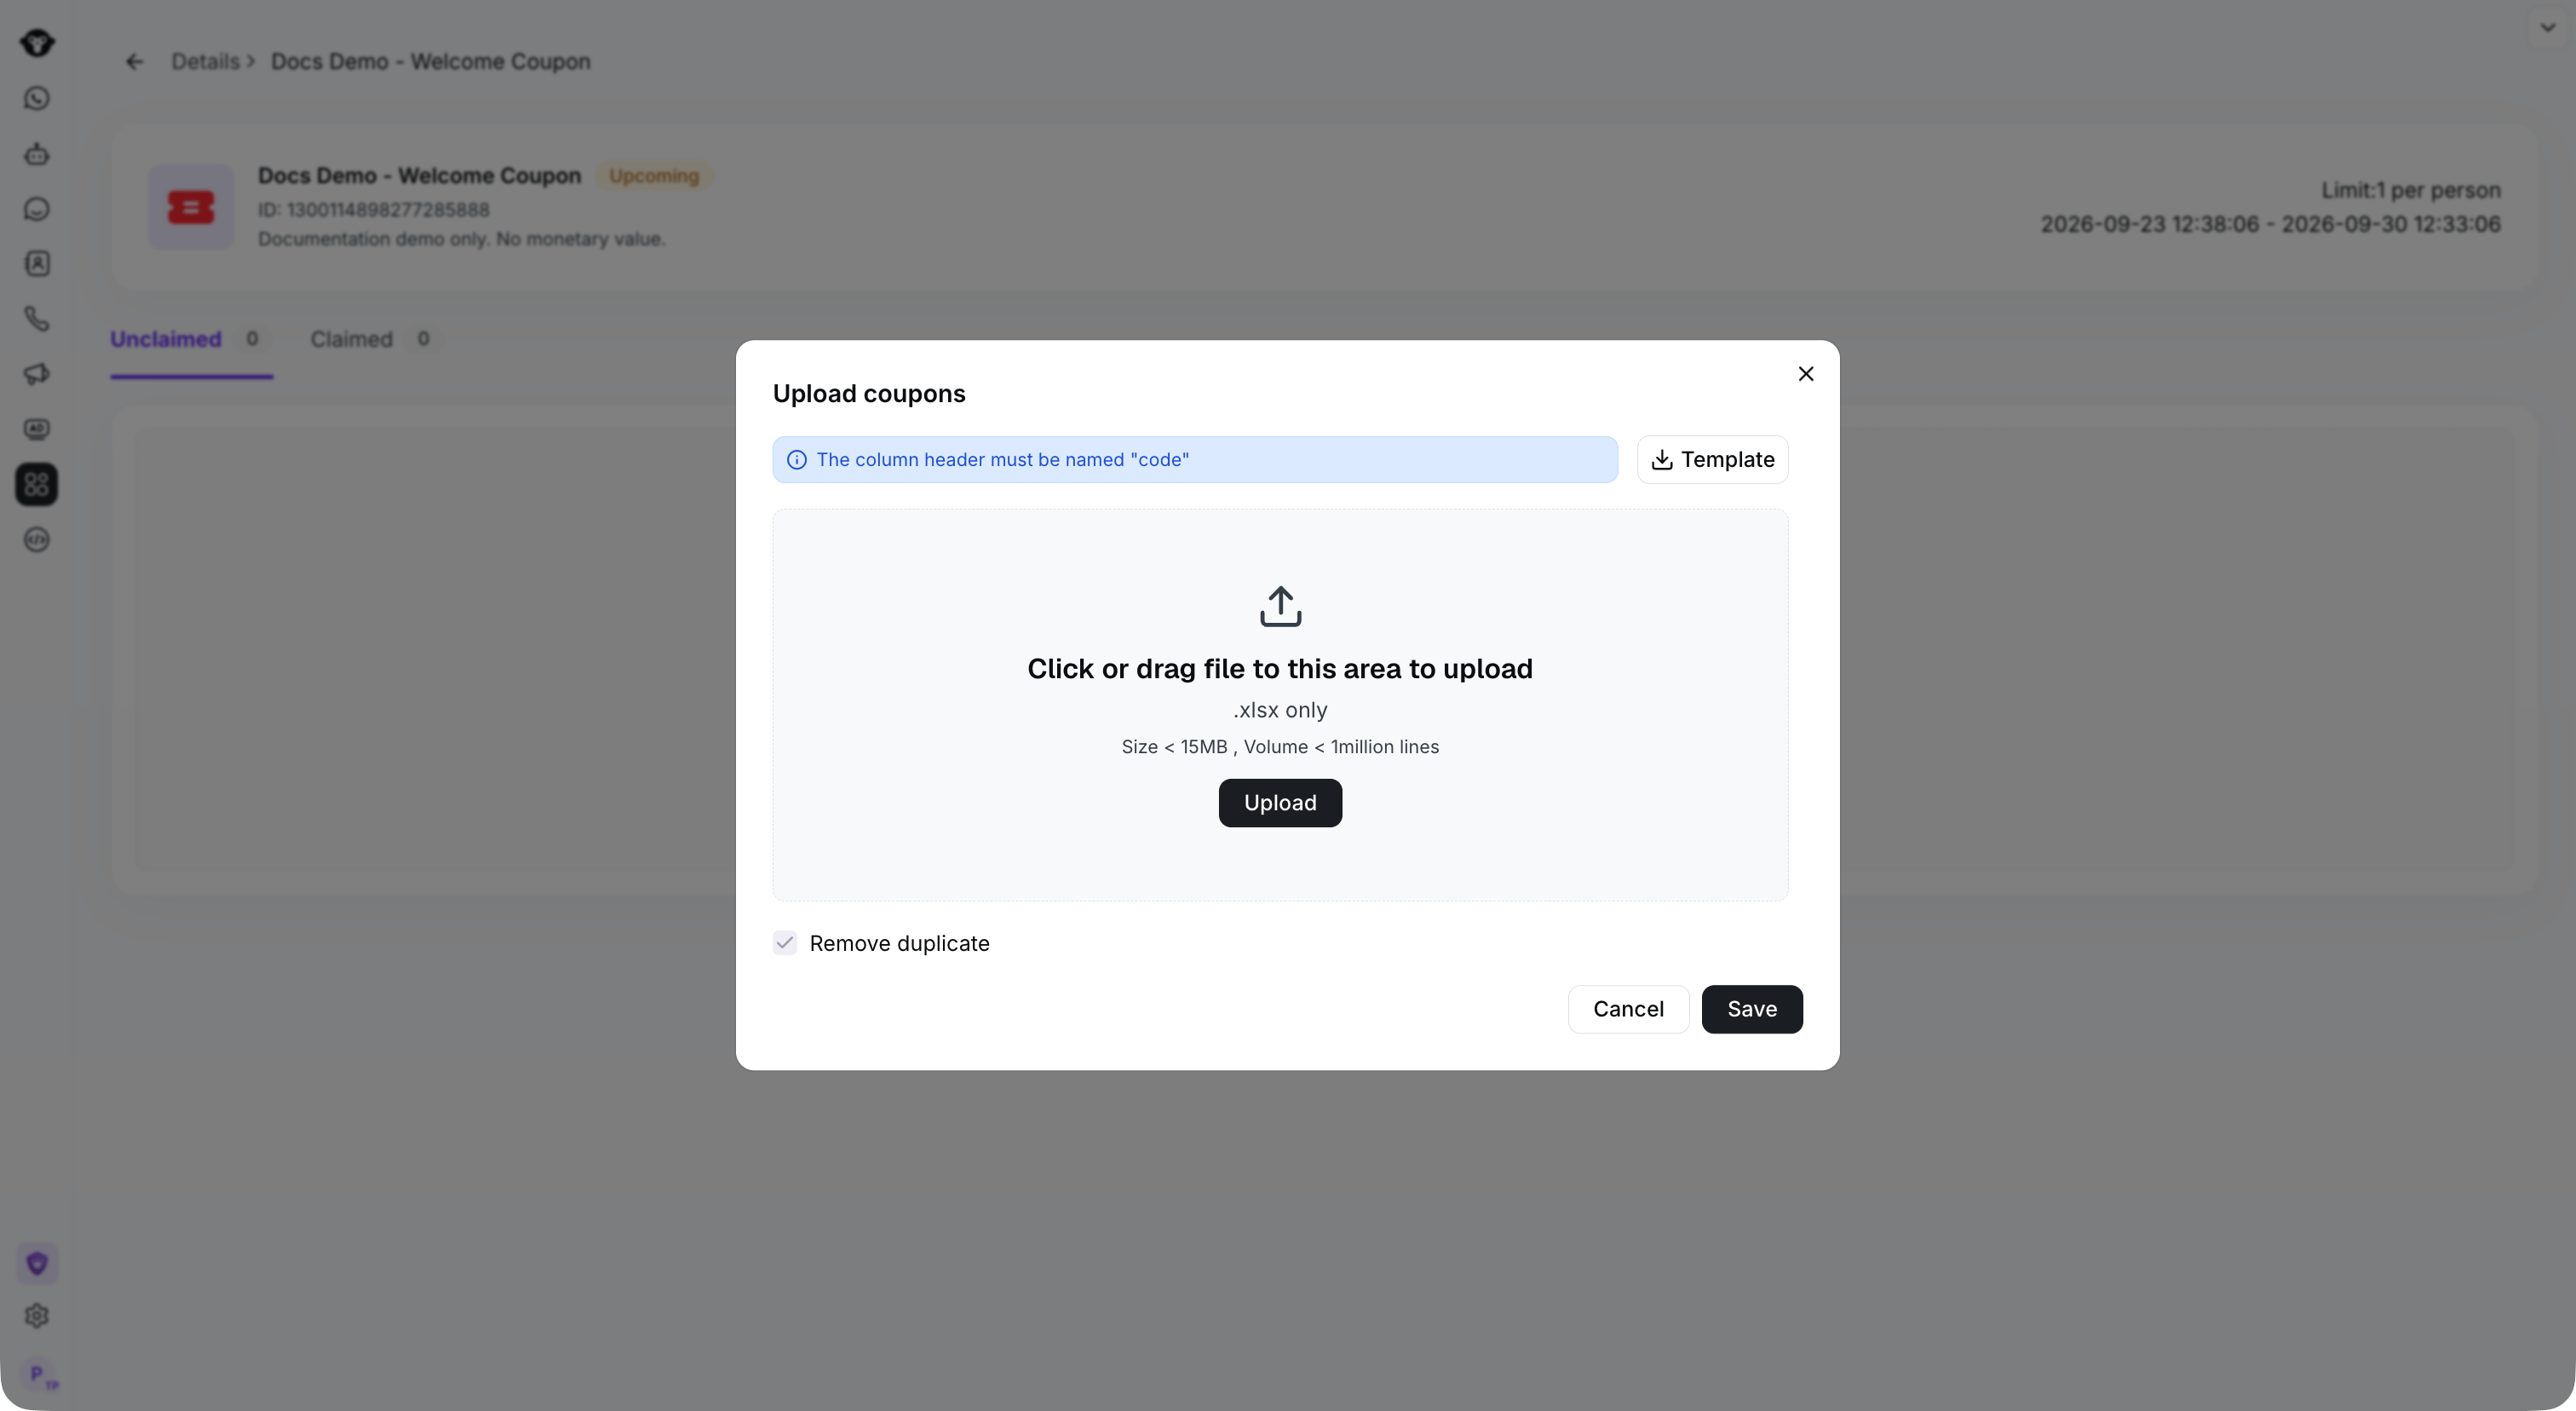
Use an XLSX file with a code column.
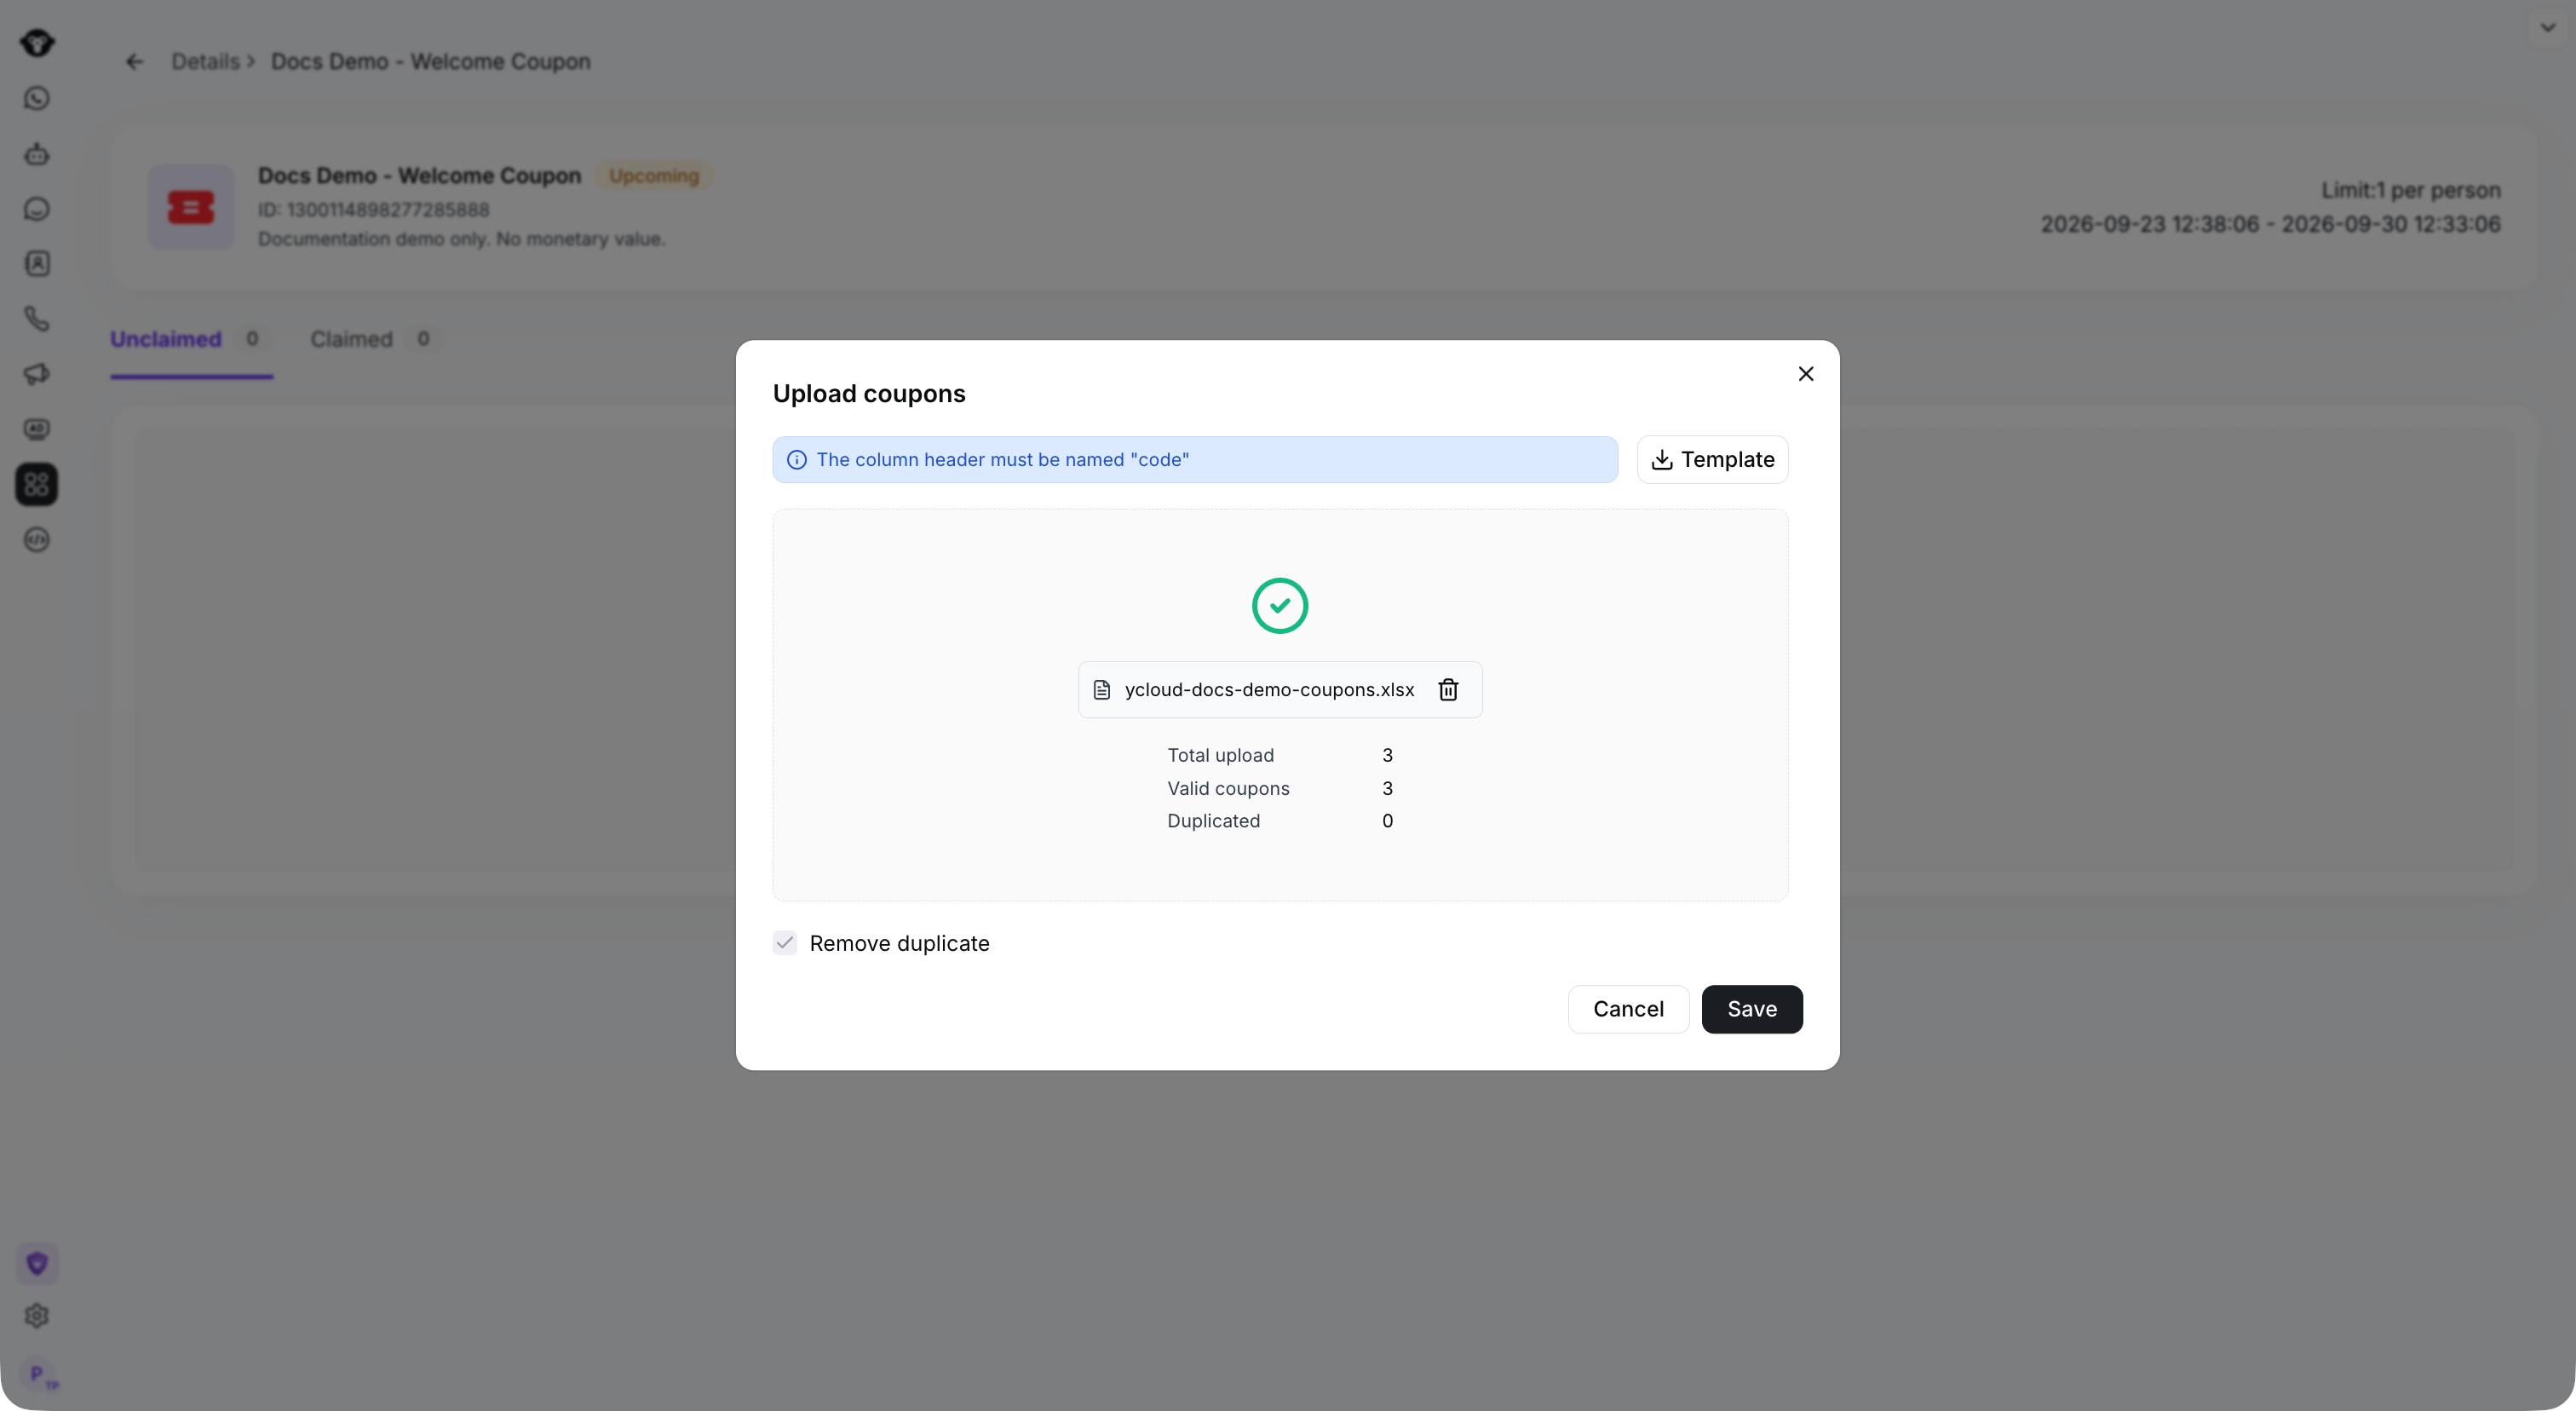
Check the valid and duplicate counts, then click Save.
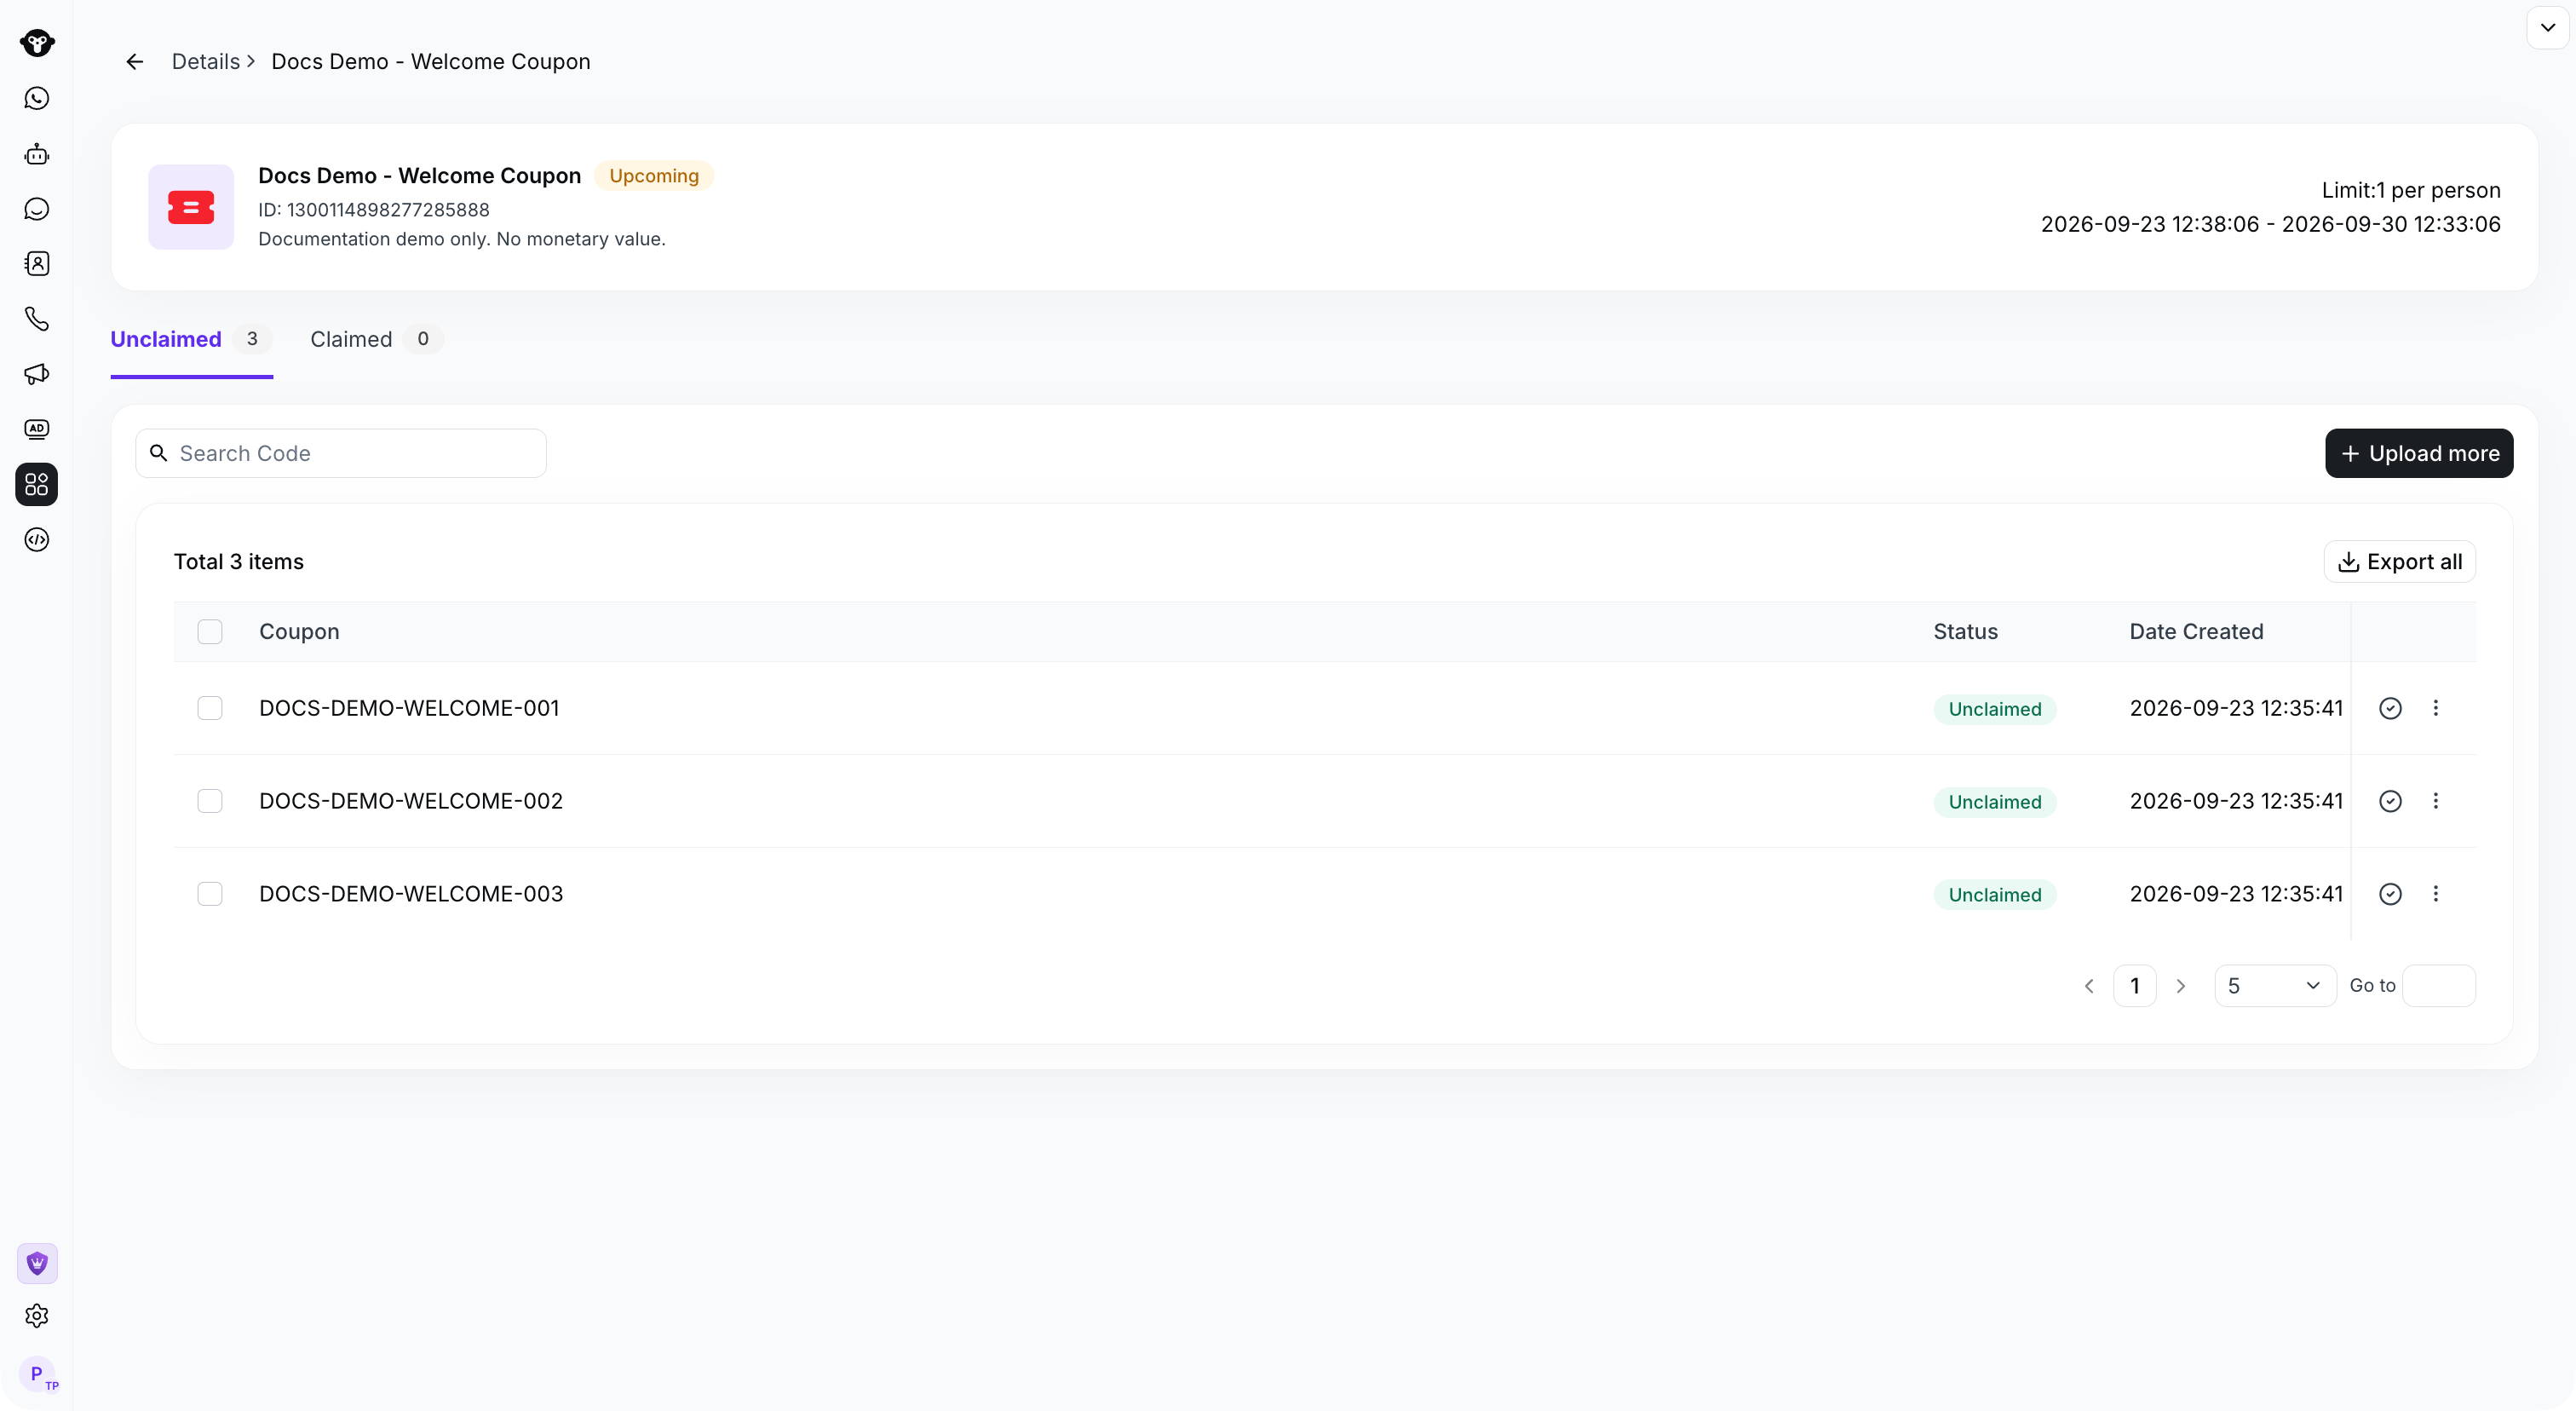
Saved codes appear in the Unclaimed tab.
Step 2: Configure the claim process in a Rule-based Agent
Step 2.1: Create a Rule-based Agent
Open an existing Rule-based Agent, or see Create a Flow to configure one.Step 2.2: Create a Flow
Select the Rule-based Agent, then select Create Flow.
Open the rule-based agent and click Create a flow.
Step 2.3: Configure Flow Keyword
Set the Keyword to the claim keyword. Example: If you want customers to receive a coupon when they hit “Claim New User Coupon”, set the Keyword to Claim New User Coupon.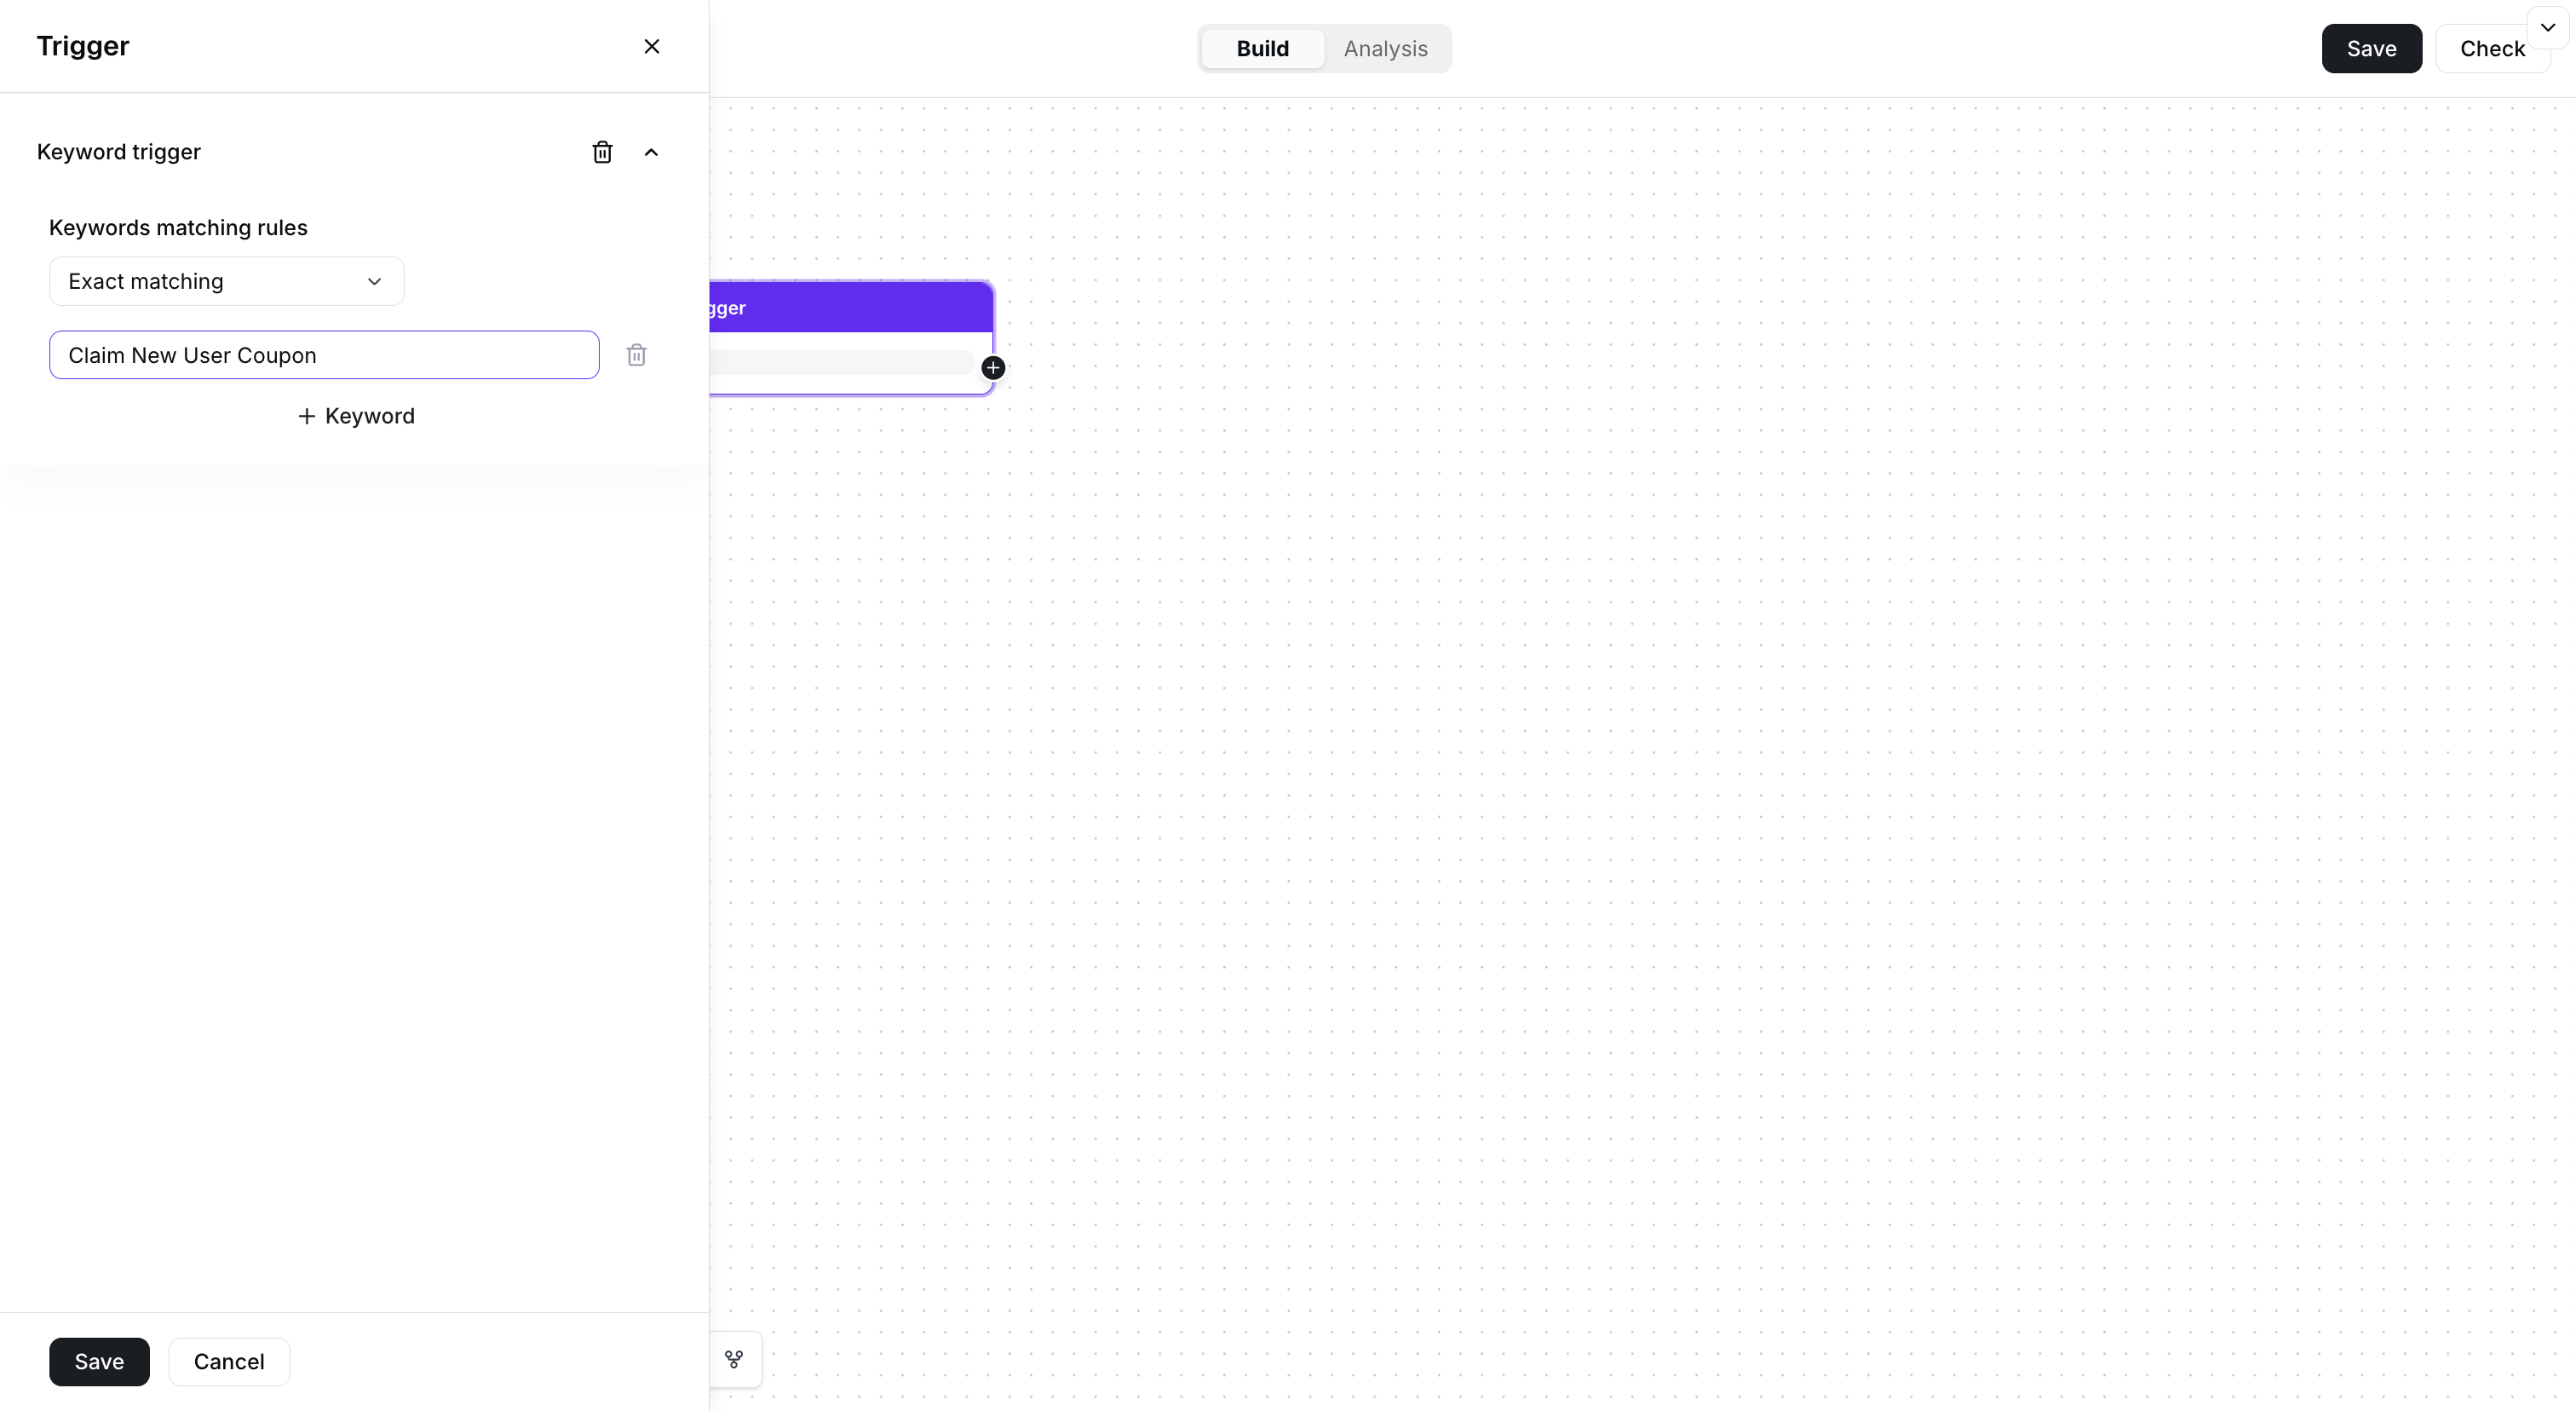
Set the claim keyword in the trigger.
Step 2.4: Configure the Sent Coupon
Add a Send message component in the Flow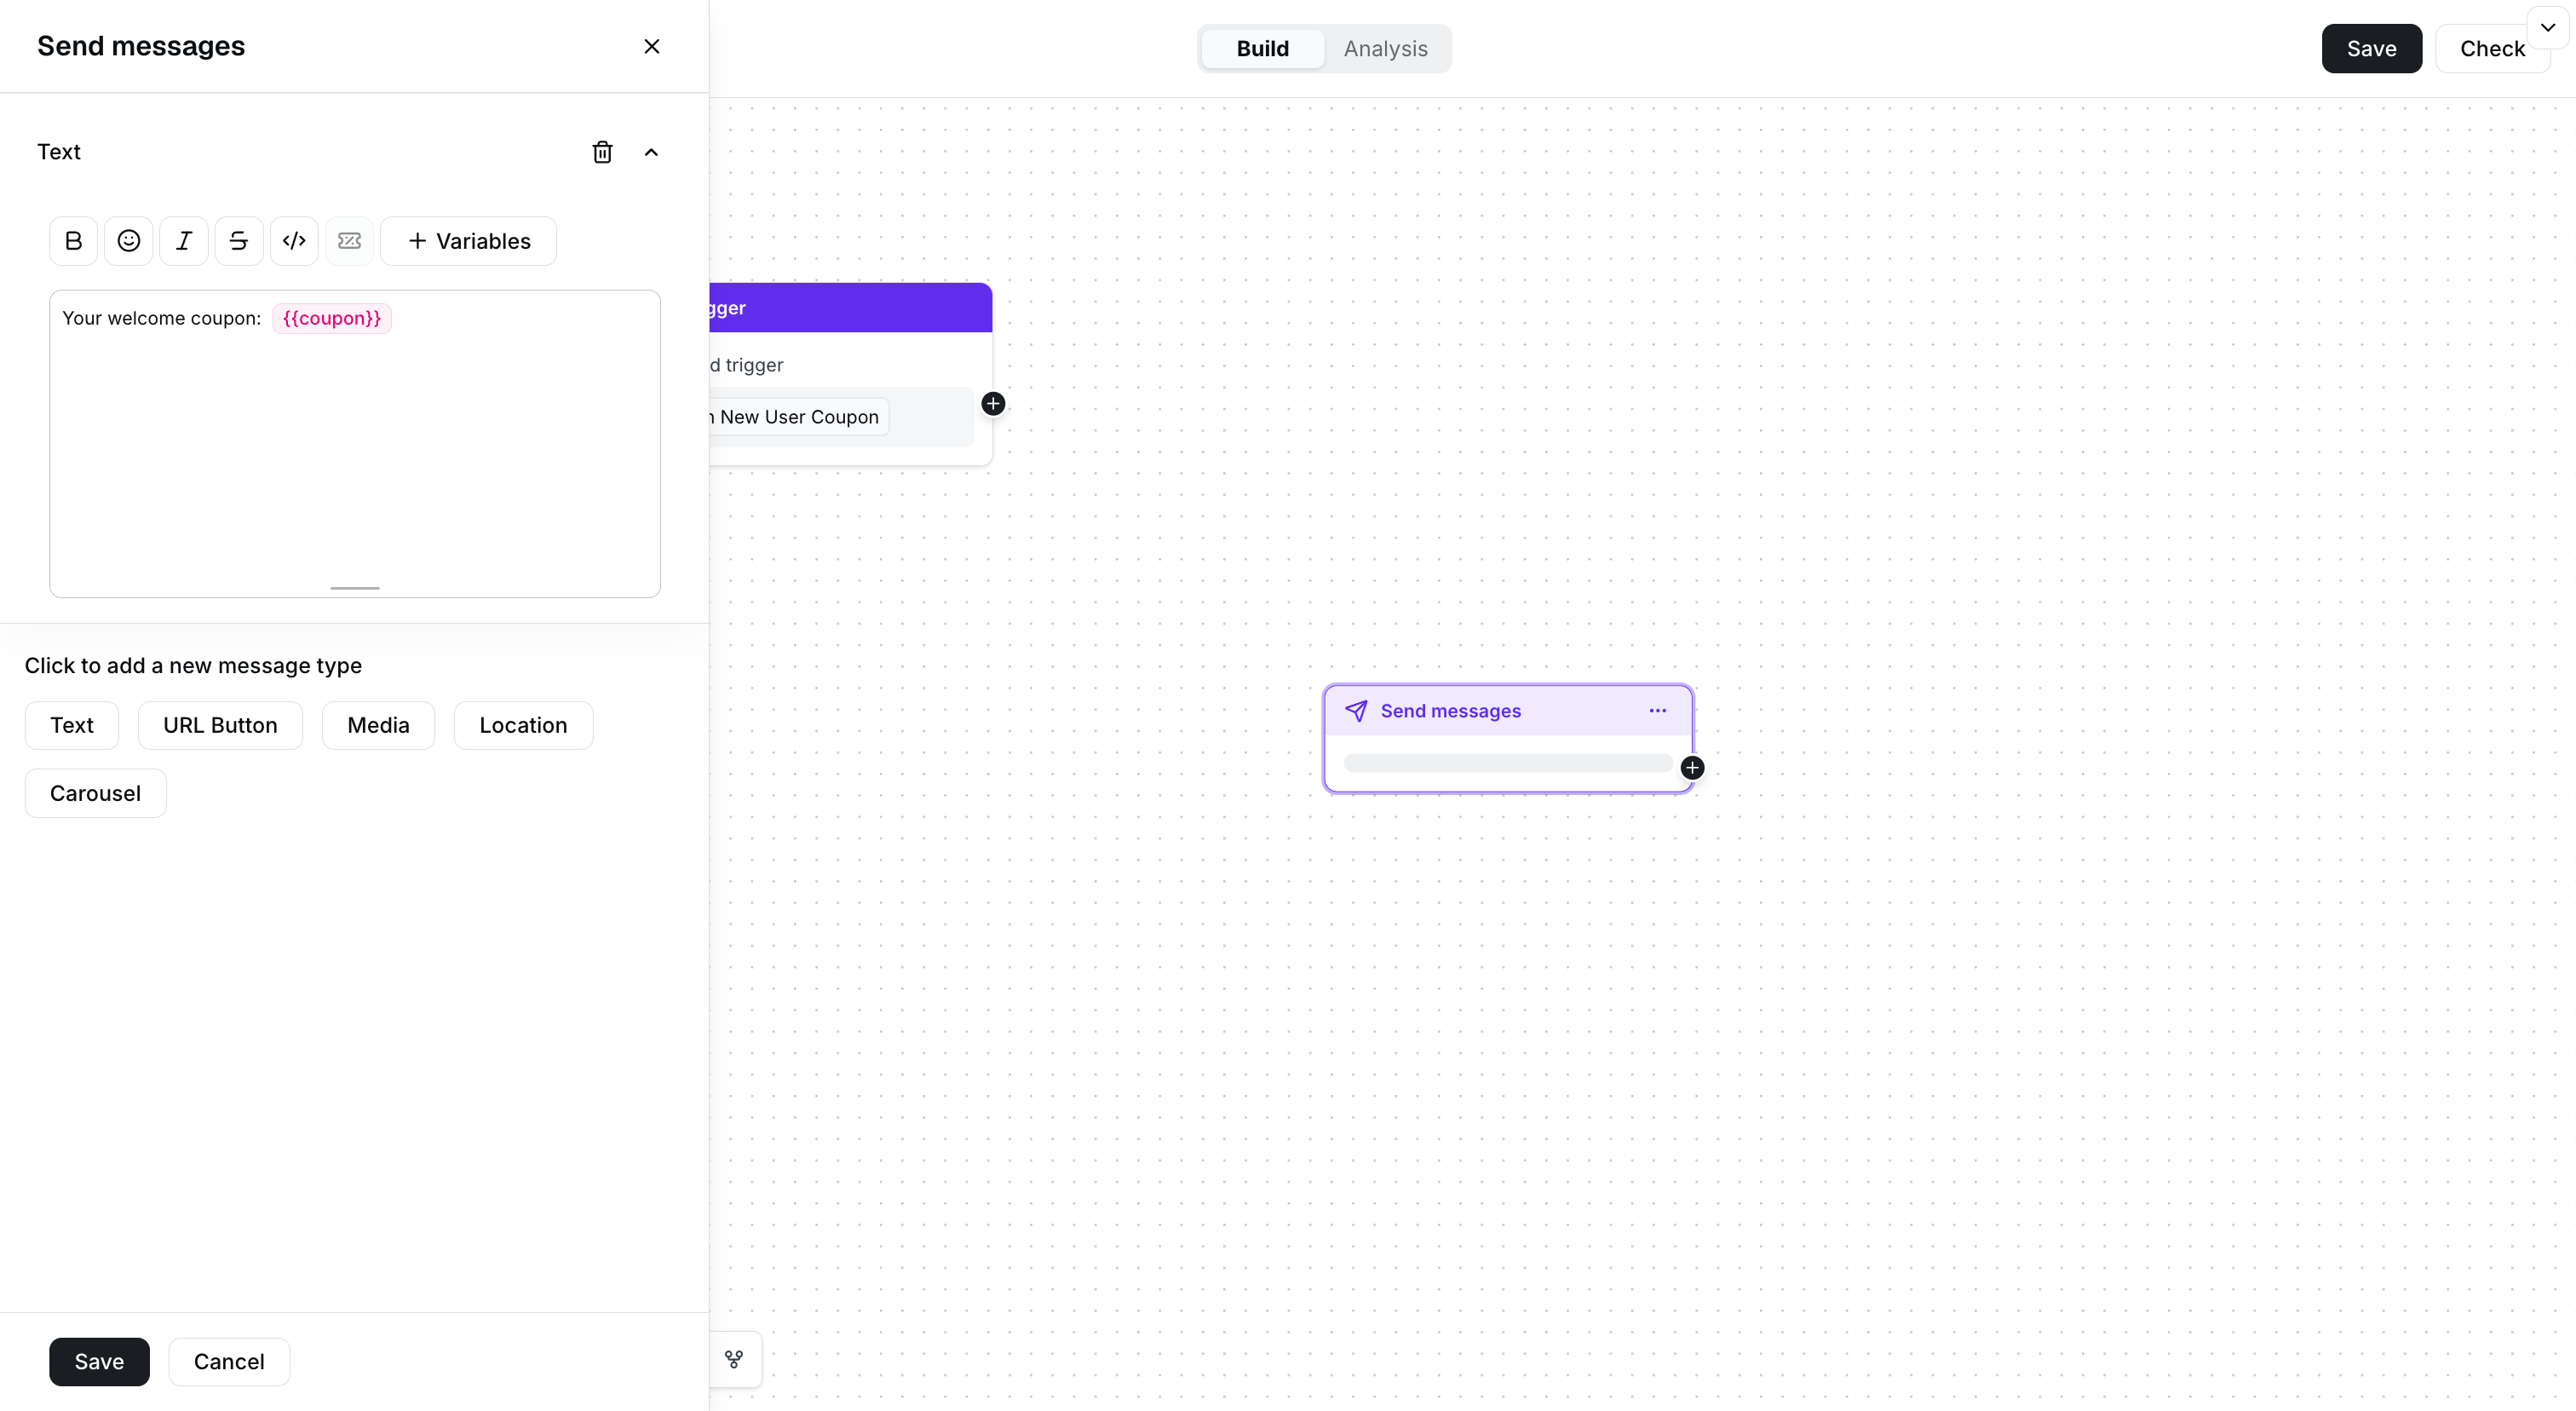
Add a text message and insert the coupon variable.
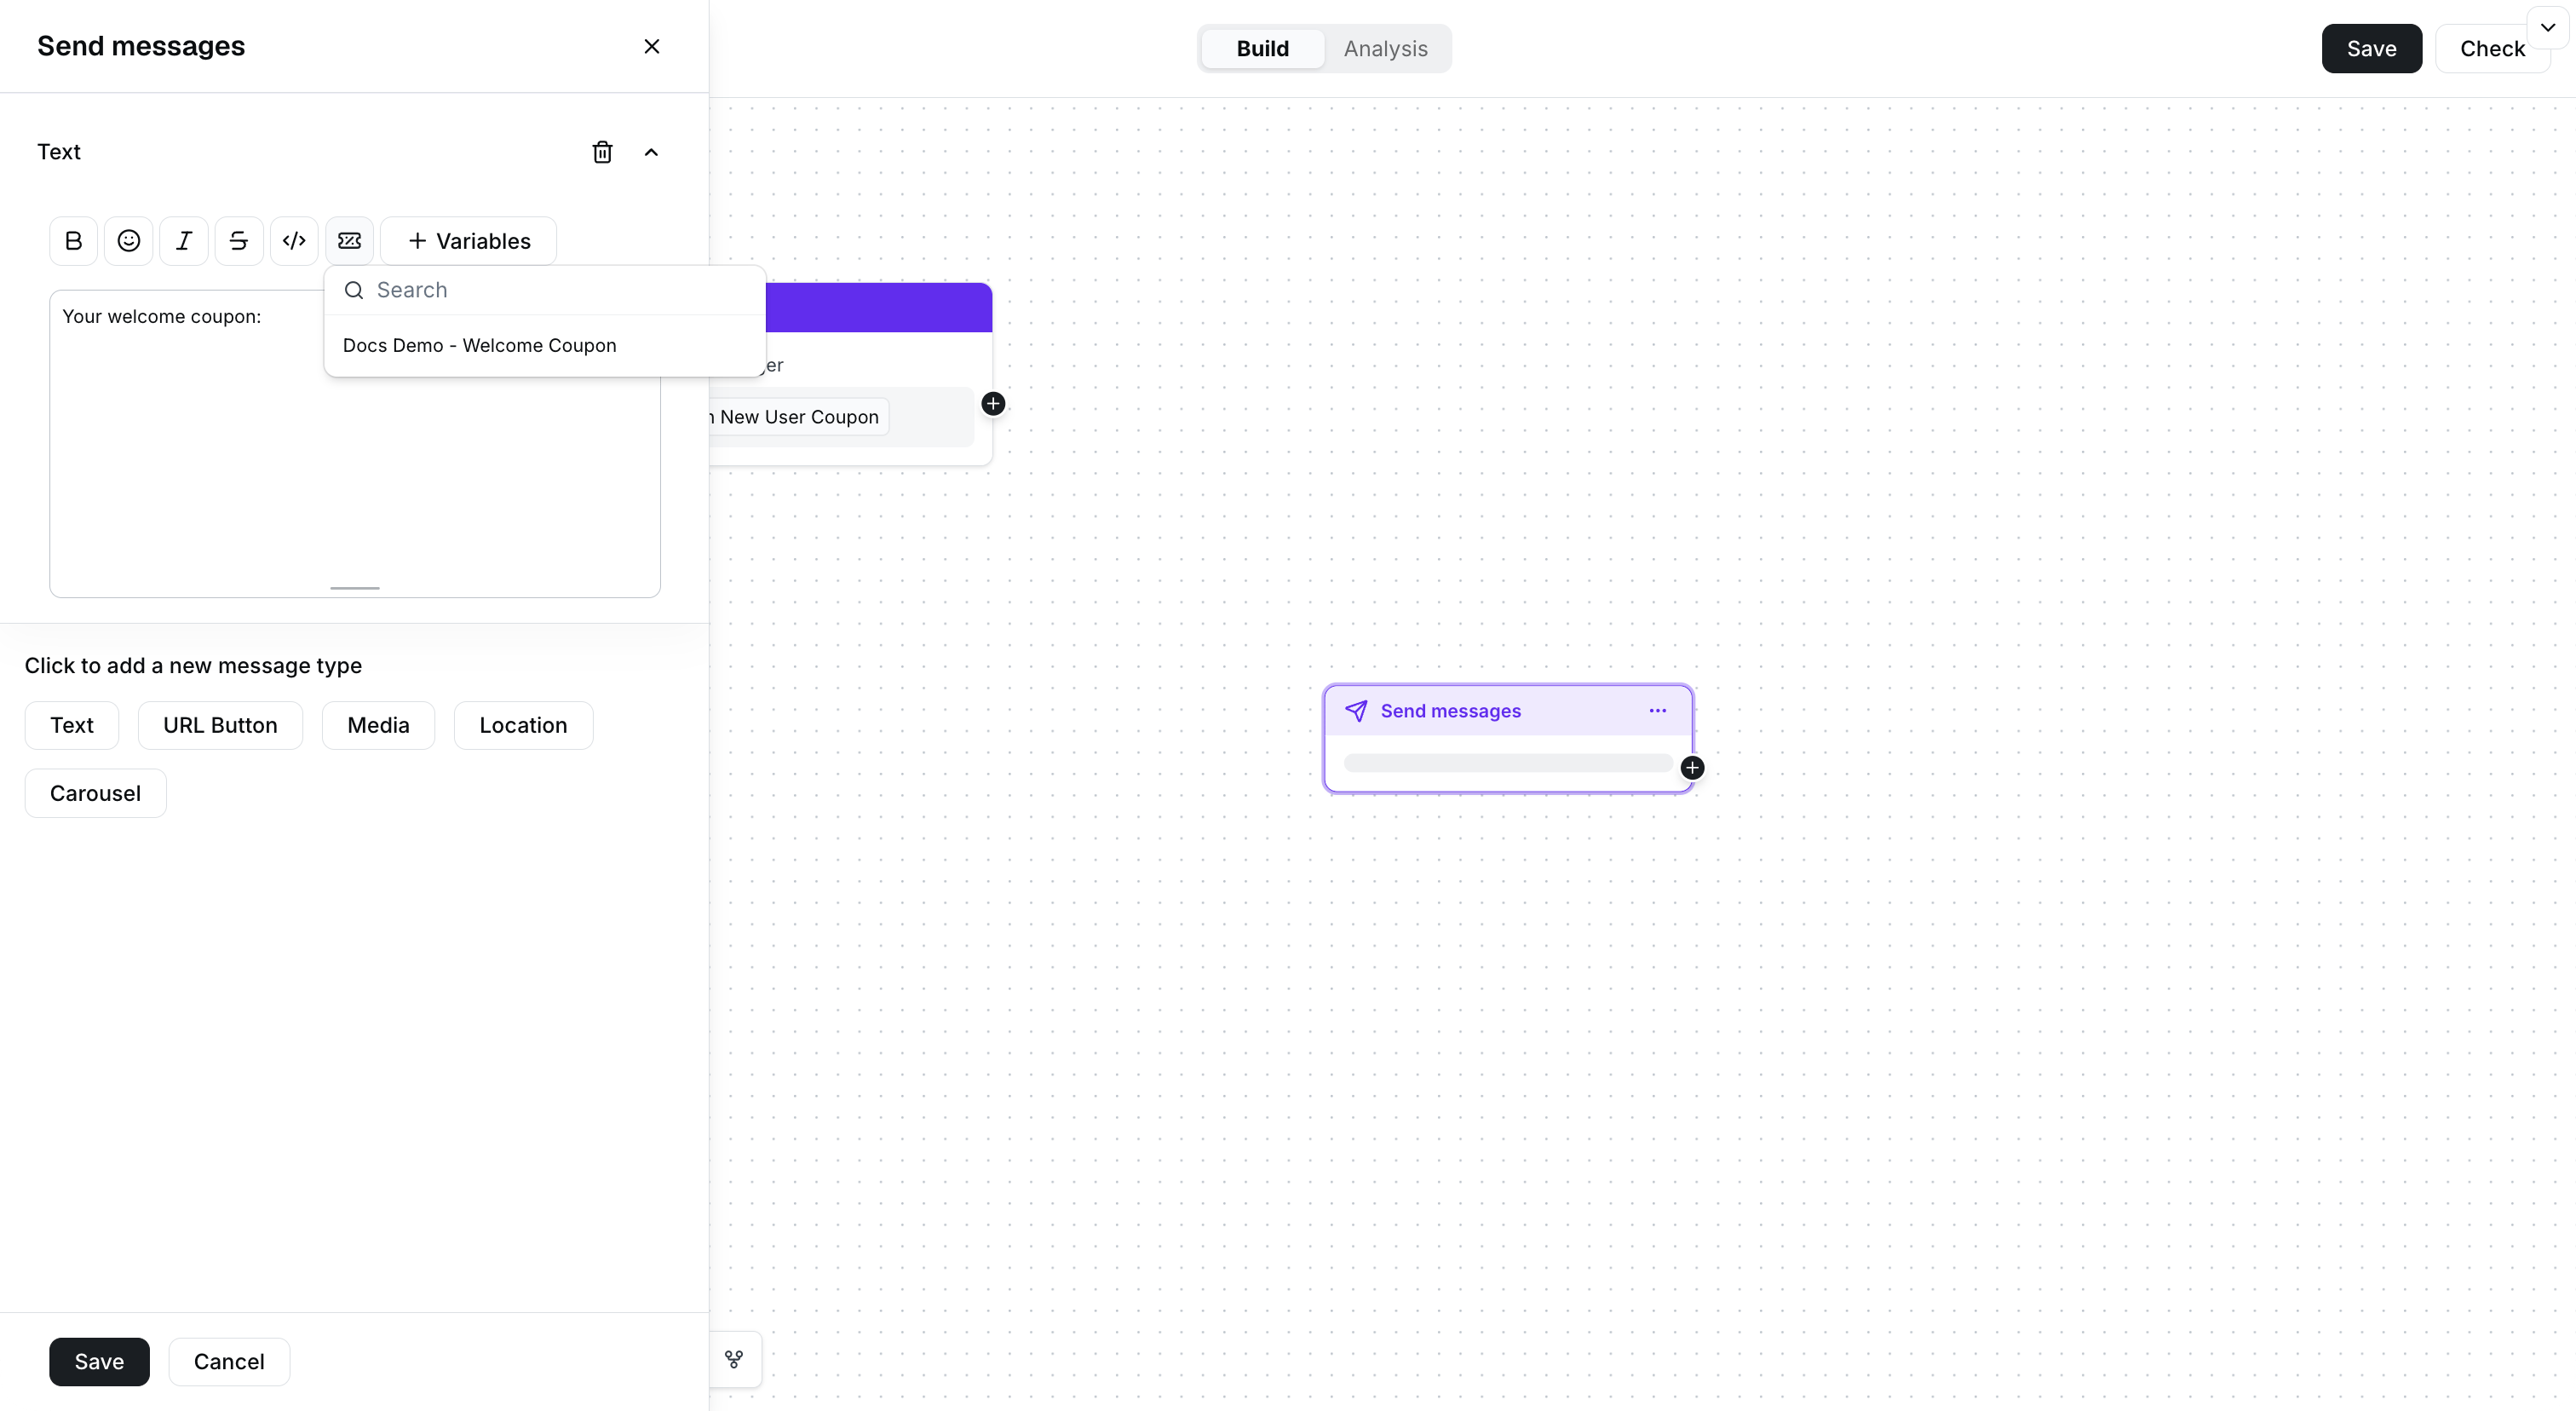
Select the coupon campaign from the Coupons menu.
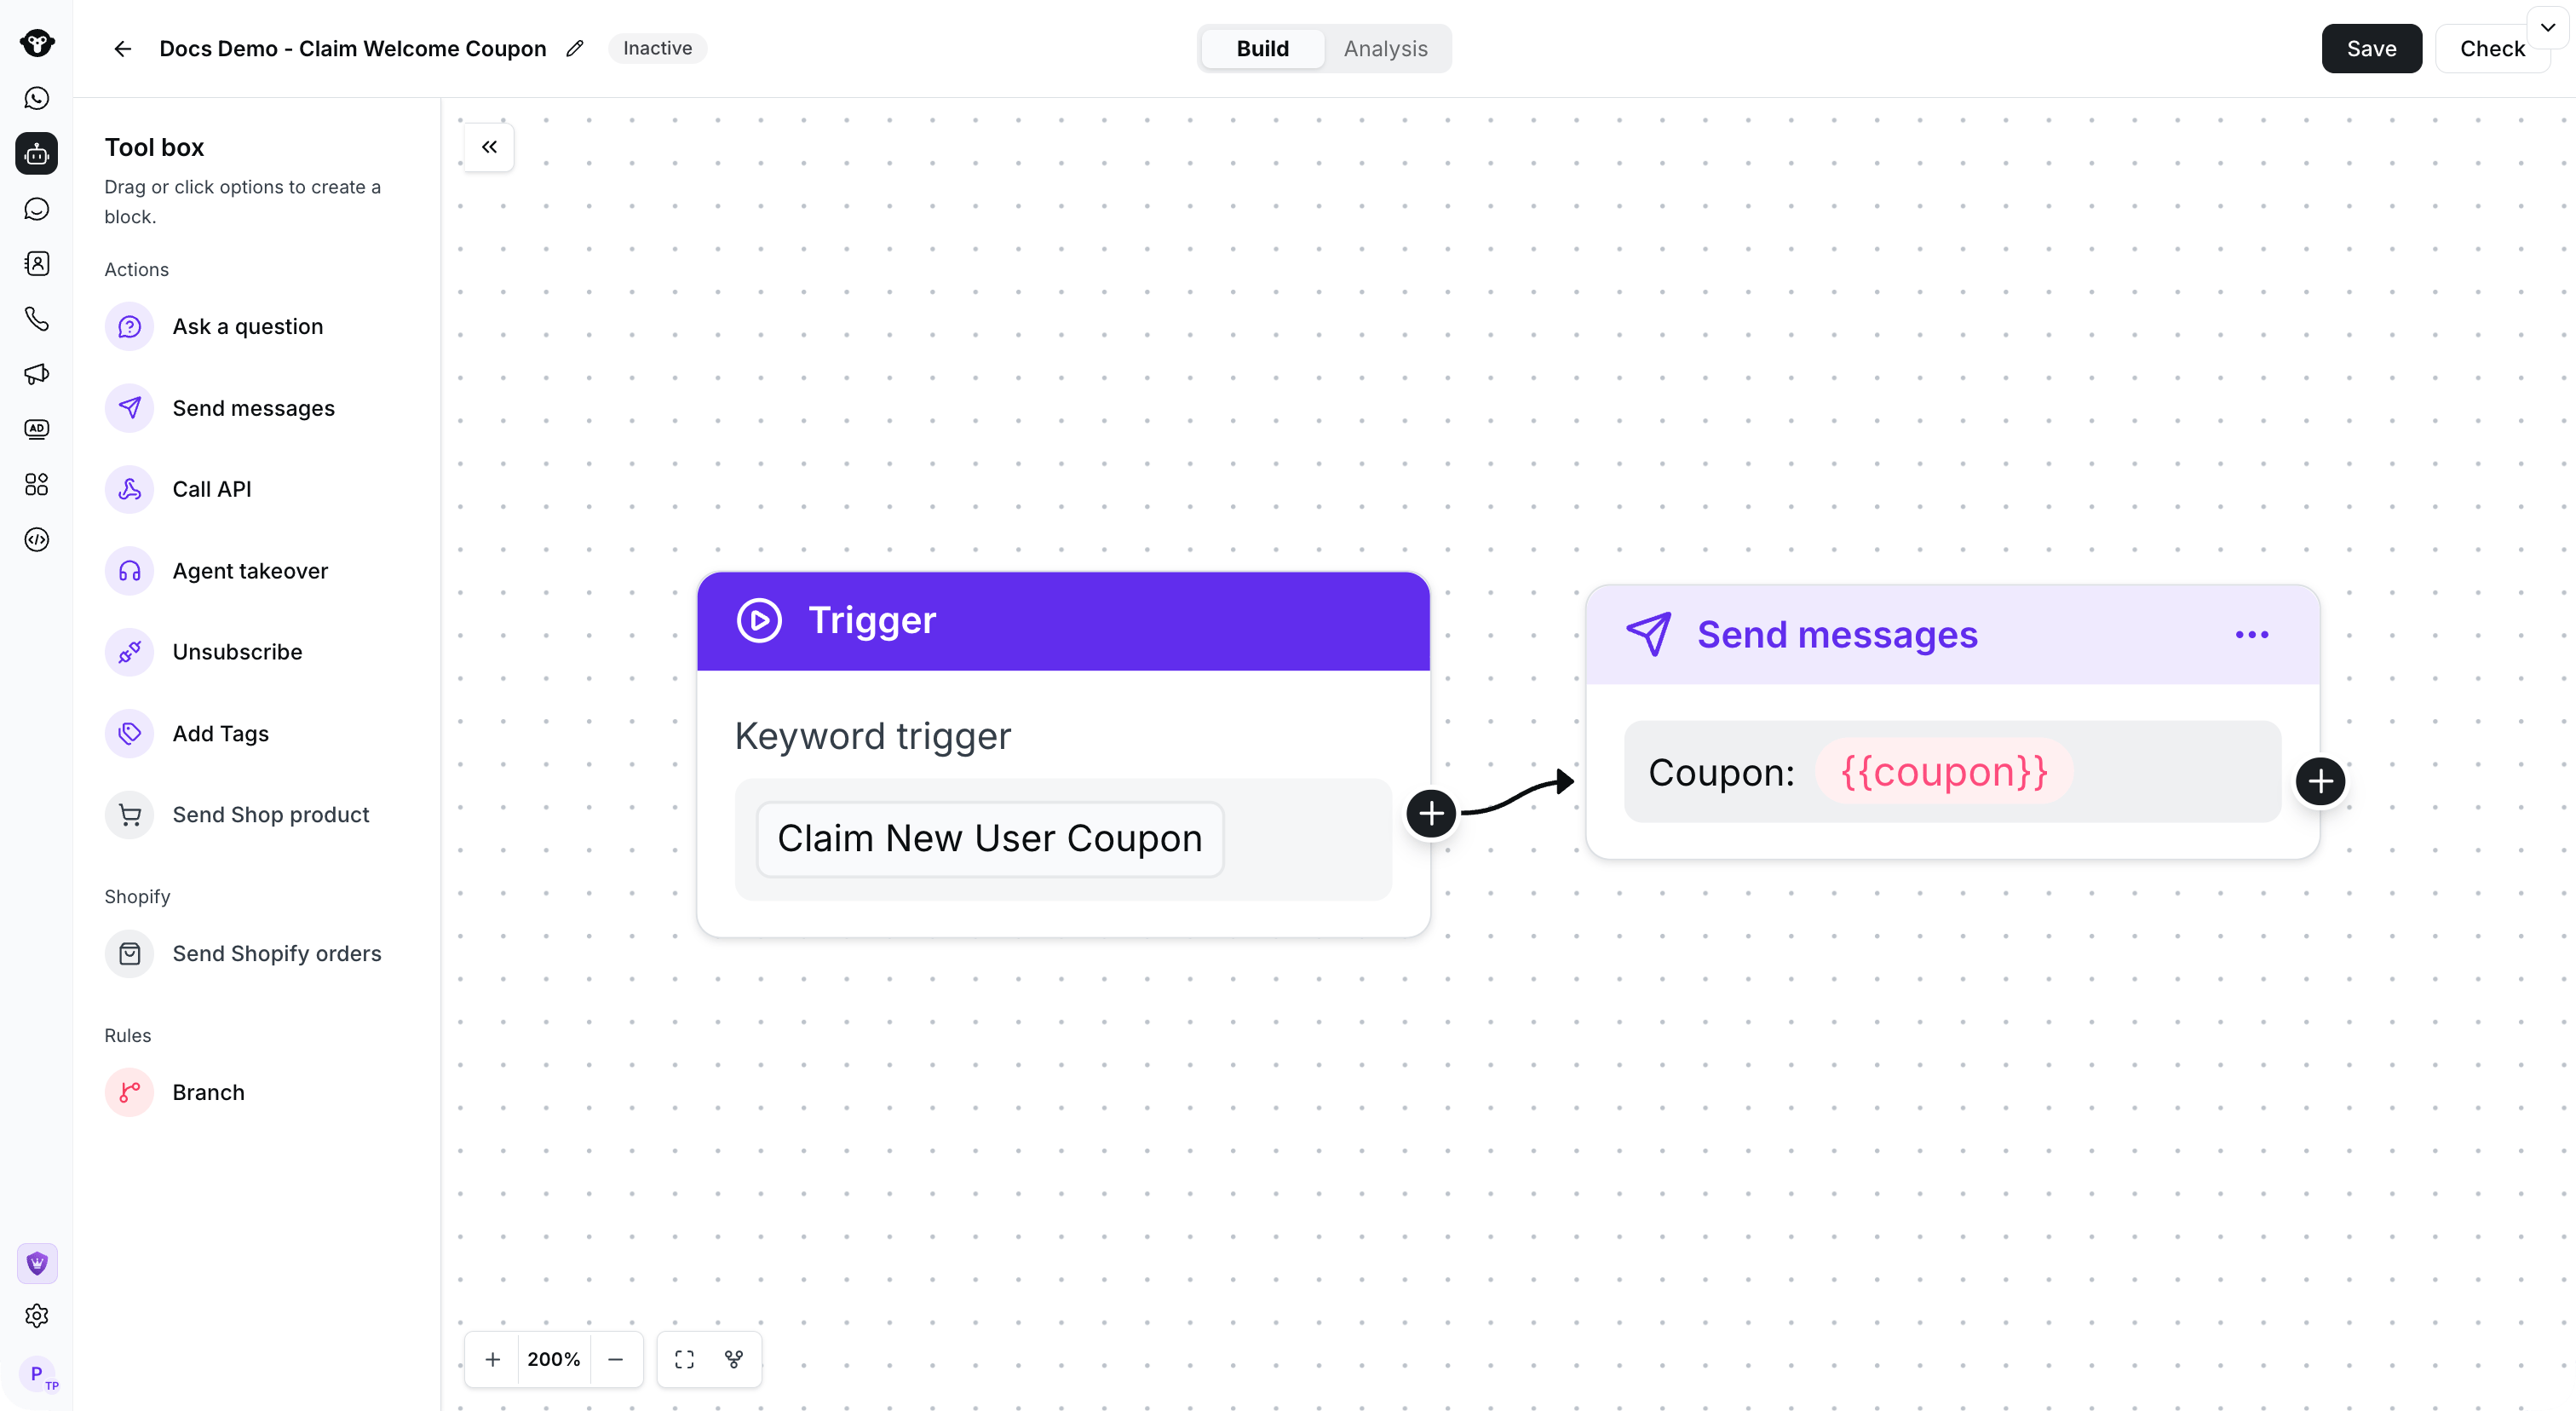
Connect the trigger to the coupon reply and save the flow. This example remains inactive.
Step 3: Generate a QR Code for Sharing (Optional, only for QR code claim scenario)
Generate a QR code for the number, set the keyword to: Claim New User Coupon. See detailed chat link configuration tutorial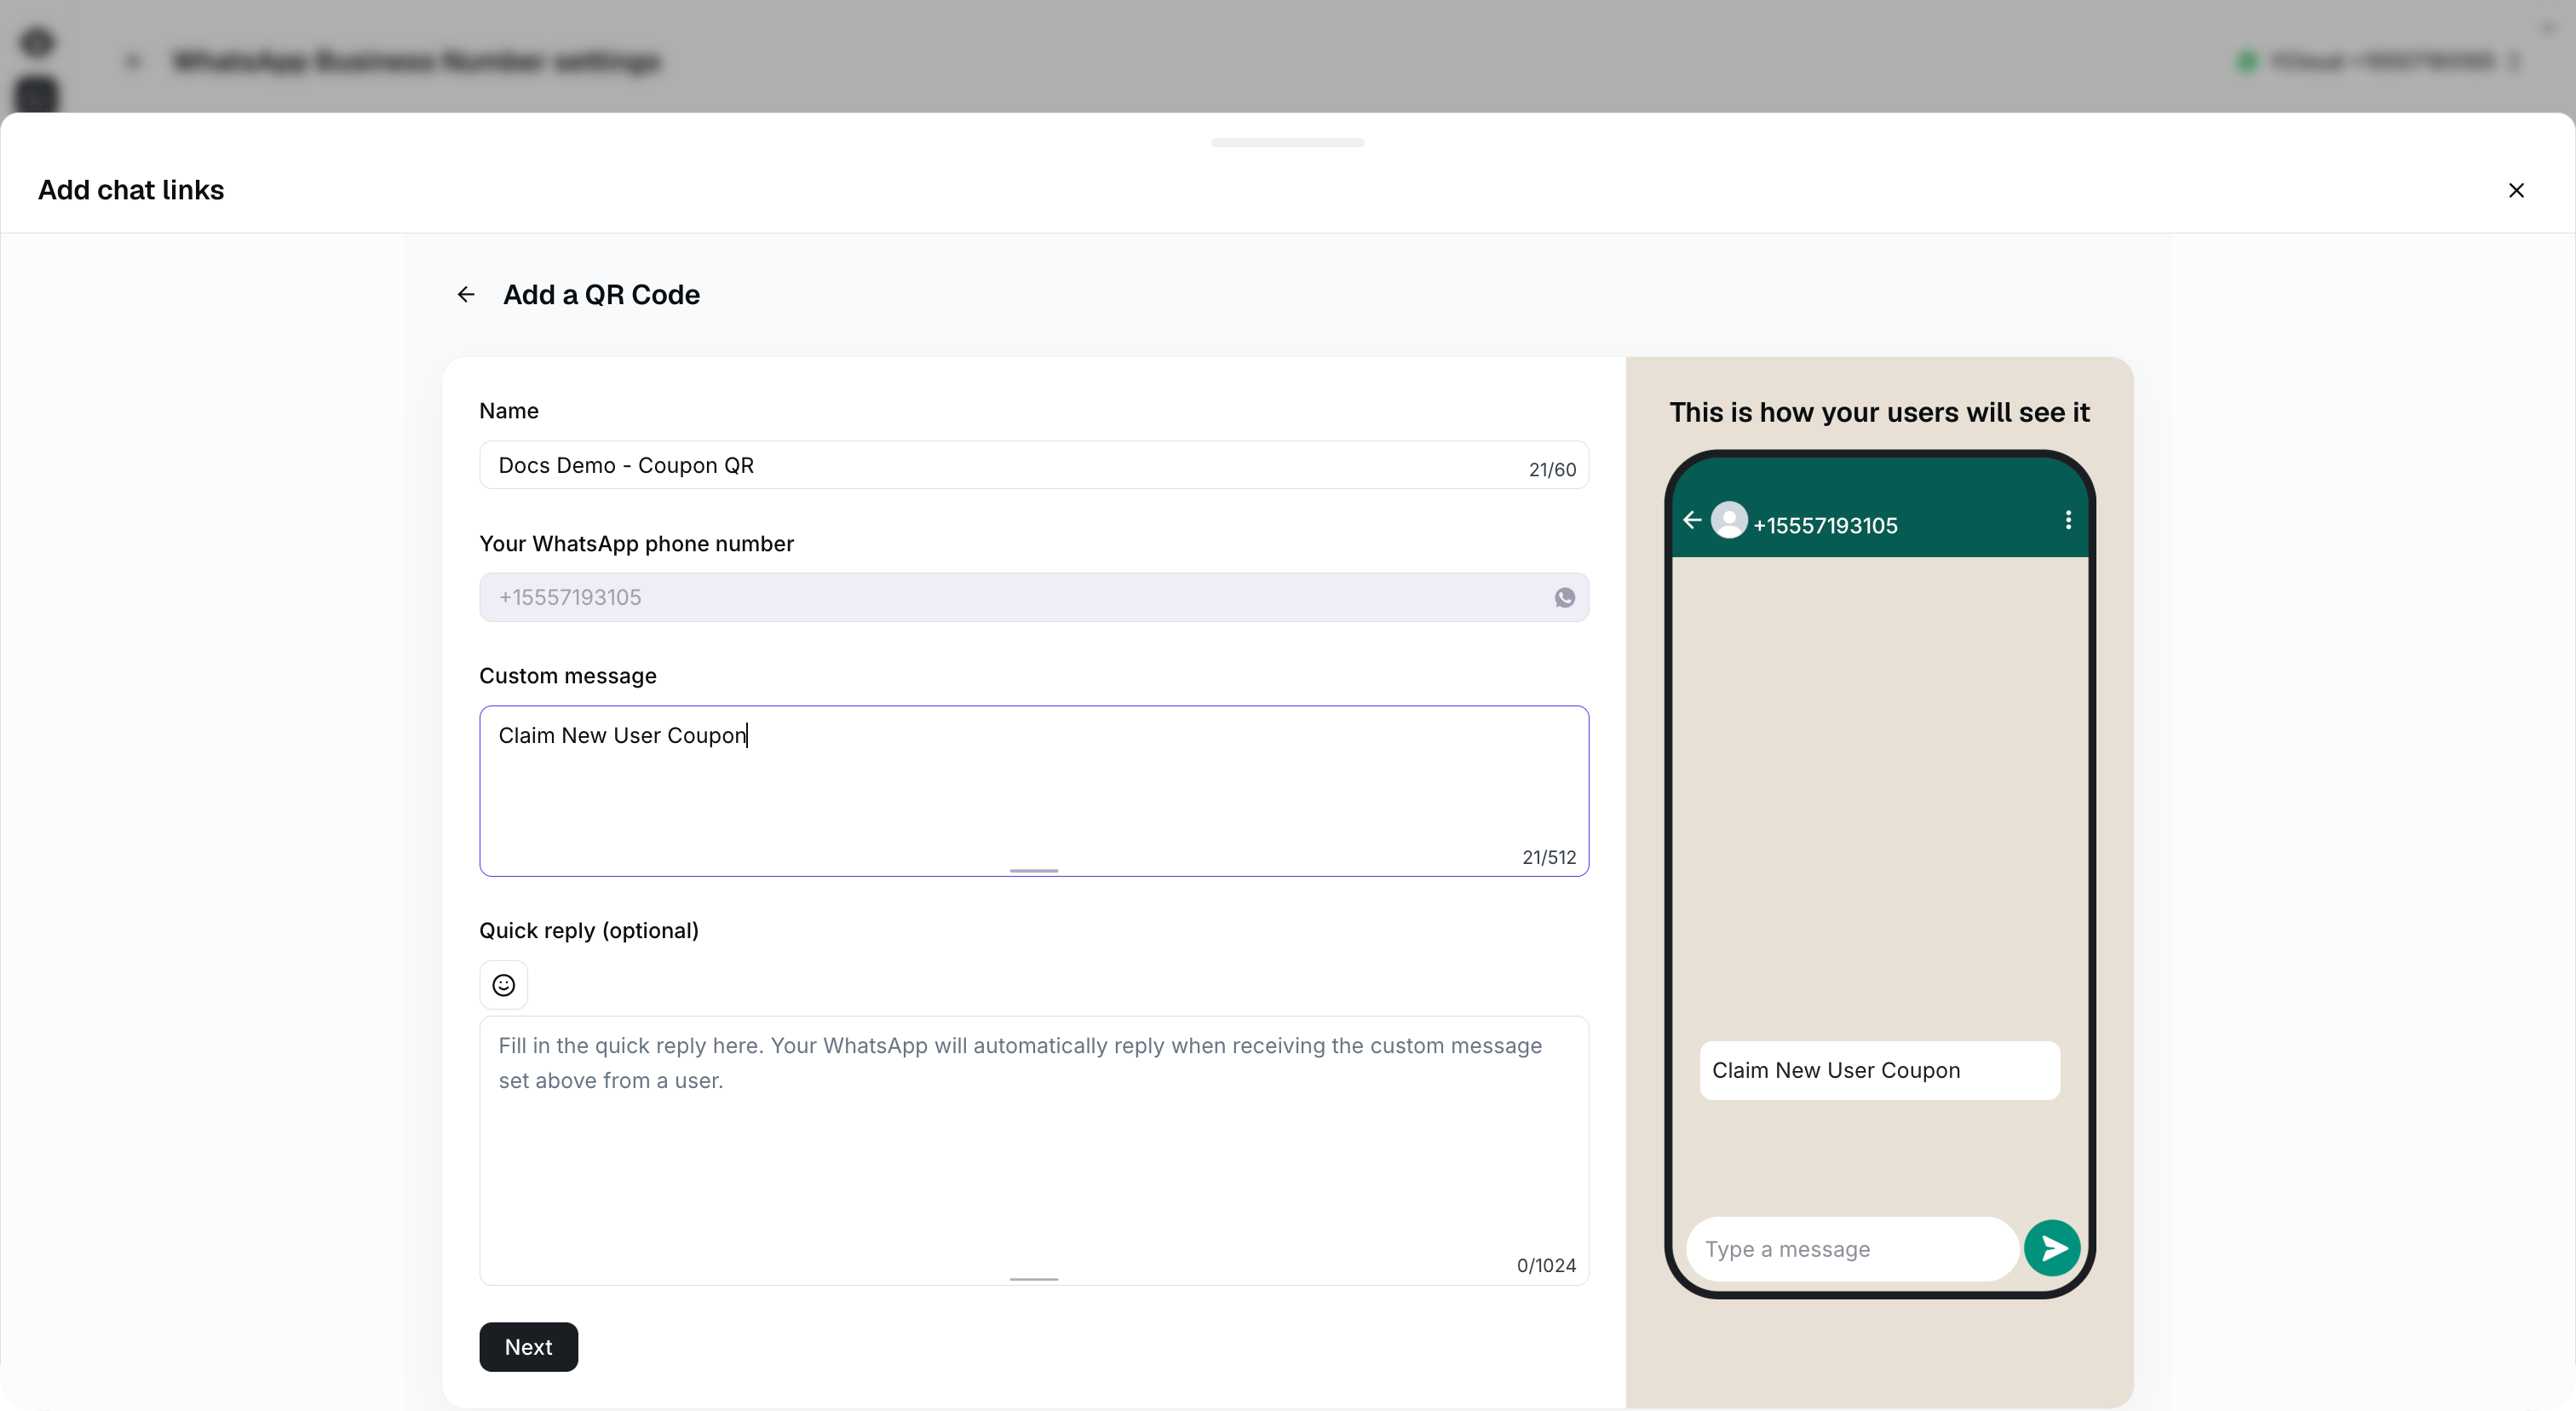
Use the same custom message as the rule-based flow keyword: Claim New User Coupon.